Loading ...
Loading ...
Loading ...
Electrical
requirements
If codes permit and a separate
ground wire is used, it is
recommended that a qualified
electrician determine that the ground
path isadequate.
Important: Observe all governing
codes and ordinances.
A four-wire or three-wire (Canada:
four-wire only), single-phase, 120/240-
volt, 60-Hz, AC-only electrical supply
(or four-wire or three-wire, 120/208-
volt, if specified on the model/serial
rating plate) is required on a
separate, 30-ampere circuit, fused on
both sides of the line, A time-delay
fuse or circuit breaker is
recommended,
Recommended
ground method
In U.S.:
It is the personal responsibility and
obligation of the customer to contact
a qualified electrician to assure that
the electrical installation isadequate
and in conformance with the
National Electrical Code, ANSI/NFPA
70*, and all local codes and
ordinances,
In Canada.:
It isthe personal responsibility and
obligation of the customer to
install the dryer in accordance
with CAN 1-B149 installation
codes'* and all national or local
codes.
Canadian models are equipped
with a four-wire, 30-amp rated
flexible-type power cord. The
power cord must be plugged into
a mating 30-amp receptacle.
(NEMA type 14-30R).
Copies of the standards listed above may
be obtained from:
* National Fire Protection Association
One Baited/march Park
Quincy, Massachusetts 02269
**CSA International
8501 East Pleasant Valley Road
Cleveland, Ohio 44131 _75
Now Start...
Excessive Weight Hazard
Usetwo or more peopleto moveand
installdryer.
Failureto do so canresultin backor
other injury.
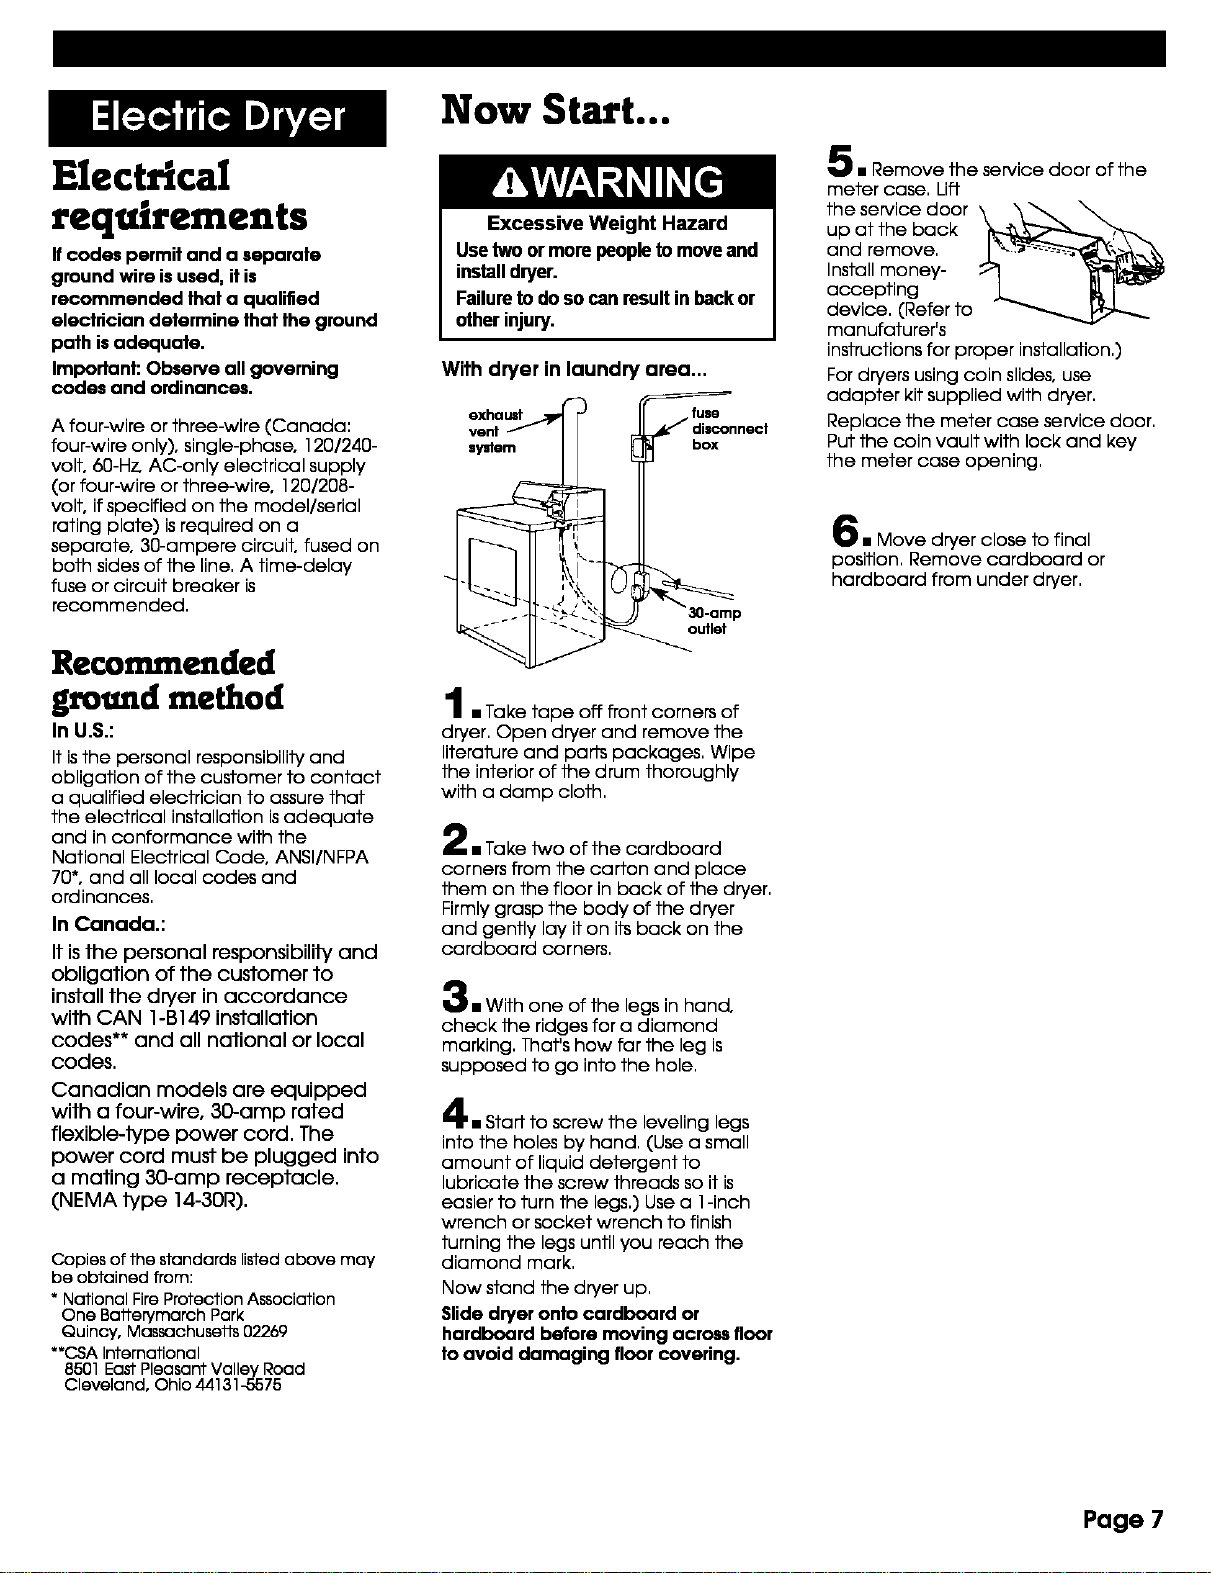
With dryer in laundry area...
exhaust fuse
syste_vent disconnect
l mTake tape off front corners of
dryer, Open dryer and remove the
literature and parts packages, Wipe
the interior of the drum thoroughly
with a damp cloth,
mTake two of the cardboard
corners from the carton and place
them on the floor in back of the dryer,
Firmly grasp the body of the dryer
and gently lay it on its back on the
cardboard corners,
mWith one of the legs in hand,
check the ridges for a diamond
marking, That's how far the leg is
supposed to go into the hole,
mStaff to screw the leveling legs
into the holes by hand, (Use a small
amount of liquid detergent to
lubricate the screw threads so it is
easier to turn the legs,) Use a 1-inch
wrench or socket wrench to finish
turning the legs until you reach the
diamond mark,
Now stand the dryer up,
Slide dryer onto cardboard or
hardboard before moving across floor
to avoid damaging floor covering.
mRemove the service door of the
meter case, Lift
the service door
up at the back
and remove,
Install money-
accepting
device, (Refer to
manufaturer's
instructions for proper installation,)
For dryers using coin slides, use
adapter kit supplied with dryer,
Replace the meter case service door,
Put the coin vault with lock and key
the meter case opening,
mMove dryer close to final
position, Remove cardboard or
hardboard from under dryer,
Page 7
Loading ...
Loading ...
Loading ...