Loading ...
Loading ...
Loading ...
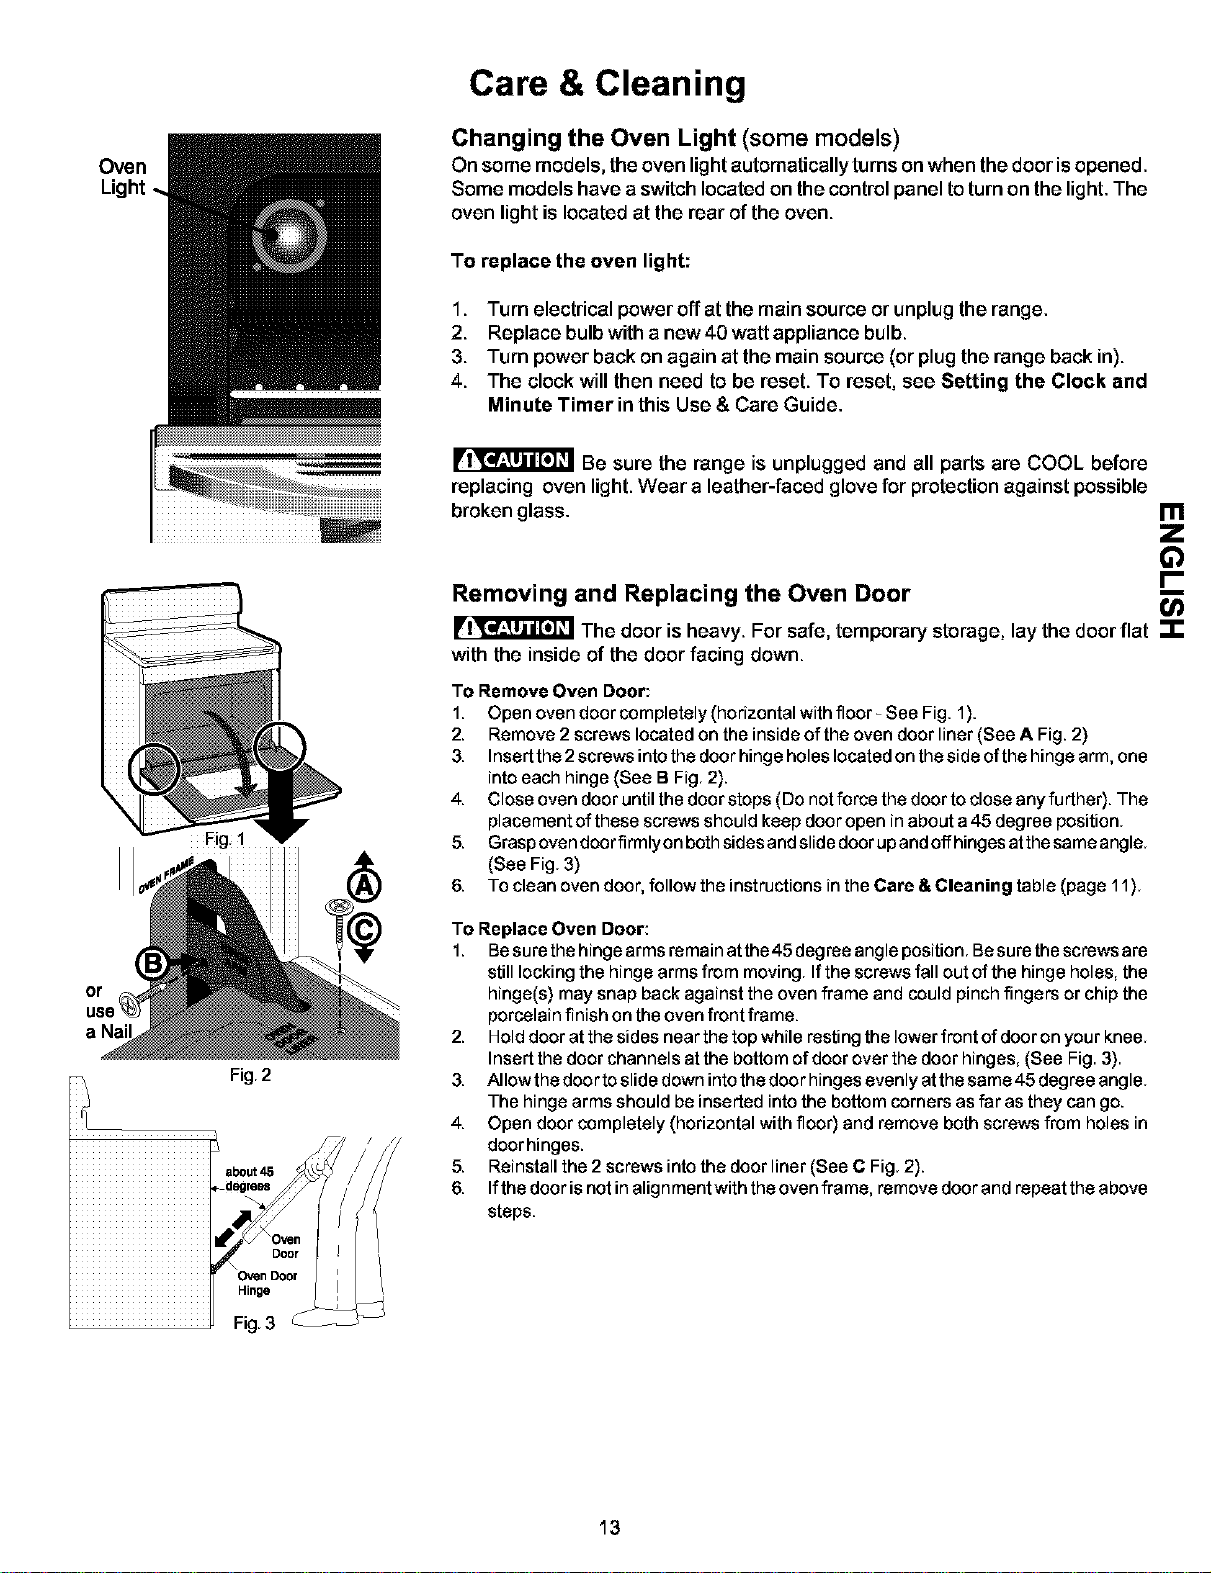
Oven
Care & Cleaning
Changing the Oven Light (some models)
On some models, the oven light automatically turns on when the door isopened.
Some models have a switch located on the controlpanel toturn on the light.The
oven light is located at the rear of the oven.
To replace the oven light:
1. Tum electrical power off at the main source or unplug the range.
2. Replace bulb with a new 40 watt appliance bulb.
3. Turn power back on again at the main source (or plug the range back in).
4. The clock will then need to be reset. To reset, see Setting the Clock and
Minute Timer in this Use & Care Guide.
or
use
a Nail
! !!i 111 iliiiiiiiiiiiiiiiiiii
Fig.2
about45
Hinge
Fig.3
Be sure the range is unplugged and all parts are COOL before
replacing oven light. Wear a leather-faced glove for protection against possible
broken glass.
i
Removing and Replacing the Oven Door
The door is heavy. For safe, temporary storage, lay the door flat -It"
with the inside of the door facing down.
To Remove Oven Door:
1. Open oven door completely (horizontal with floor- See Fig. 1).
2. Remove 2 screws located on the inside of the oven door liner (See A Fig. 2)
3. Insert the 2screws into the door hinge holes located on the side of the hinge arm, one
into each hinge (See B Fig. 2).
4. Close oven door until the door stops (Do not force the door to close any further). The
placement of these screws should keep door open in about a45 degree position.
5. Grasp oven dcor firmlyon both sides and slide door up and offhinges atthe same angle.
(See Fig. 3)
6. To clean oven door, follow the instructions in the Care & Cleaning table (page 11).
To Replace Oven Door:
1. Besure the hingearms remain atthe45 degree angle position. Besure the screws are
still locking the hinge arms from moving. If the screws fall out of the hinge holes, the
hinge(s) may snap back against the oven frame and could pinch fingers or chipthe
porcelain finish on the oven front frame.
2. Hold door at the sides near the top while resting the lower front of dooron your knee.
Insert the door channels at the bottom ofdoor over the door hinges, (See Fig. 3).
3. AIIowthedoortoslidedownintothedoorhingesevenlyatthesame45degreeangle.
The hinge arms should be inserted intothe bottom corners as far as they can go.
4. Open door completely (horizontal with floor) and remove both screws from holes in
door hinges.
5. Reinstall the 2 screws intothe door liner (See C Fig. 2).
6. Ifthe door is notin alignment with the oven frame, remove door and repeat the above
steps.
13
Loading ...
Loading ...
Loading ...