Loading ...
Loading ...
Loading ...
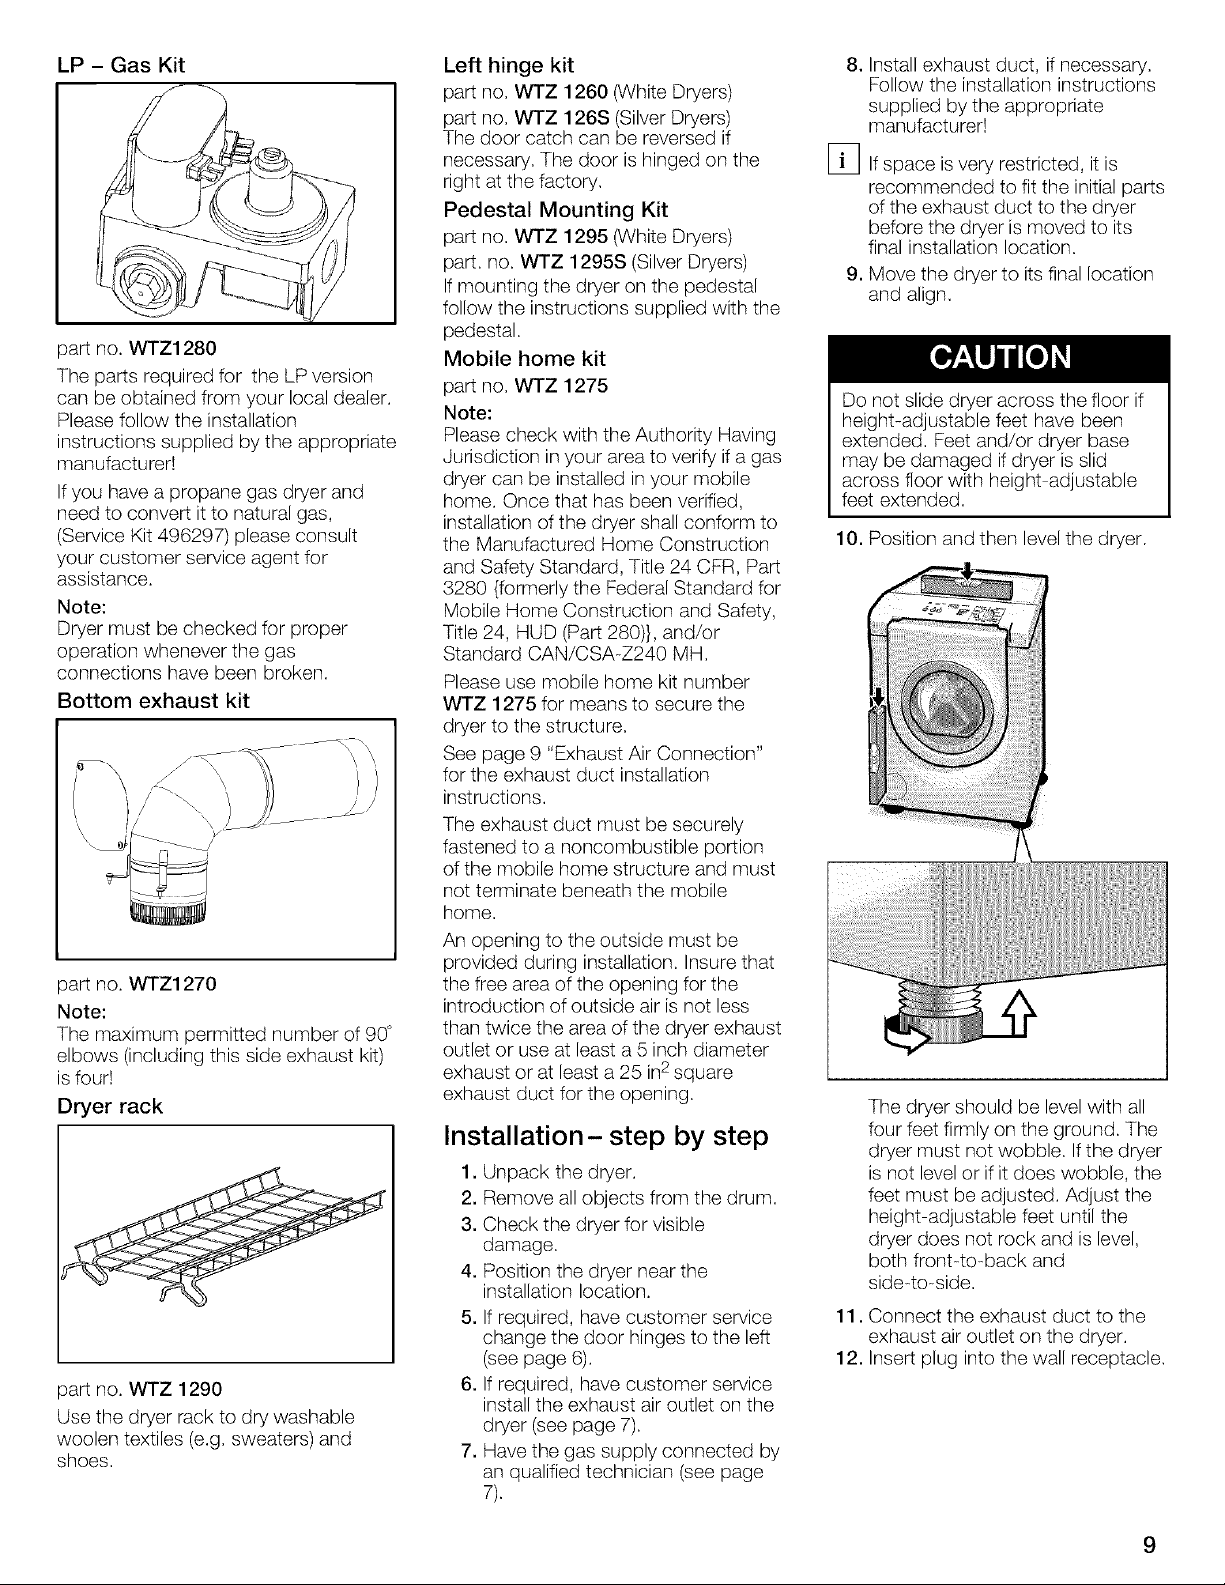
LP- Gas Kit
partno.WTZ1280
Thepartsrequiredfor theLPversion
canbeobtainedfromyourlocaldealer.
Pleasefollowtheinstallation
instructionssuppliedbytheappropriate
manufacturer!
Ifyouhaveapropanegasdryerand
needtoconvertittonaturalgas,
(ServiceKit496297)pleaseconsult
yourcustomerserviceagentfor
assistance.
Note:
Dryermustbecheckedforproper
operationwheneverthegas
connectionshavebeenbroken.
Bottom exhaustkit
partno.WTZ1270
Note:
Themaximumpermittednumberof90°
elbows(includingthissideexhaustkit)
isfour!
Dryerrack
partno.WTZ1290
Usethedryerracktodrywashable
woolentextiles(e.g.sweaters)and
shoes.
Left hinge kit
partno.WTZ1260(WhiteDryers)
partno.WTZ126S(SilverDryers)
Thedoorcatchcanbereversedif
necessary.Thedoorishingedonthe
rightatthefactory.
PedestalMounting Kit
partno.WTZ1295(WhiteDryers)
part.no.WTZ1295S(SilverDryers)
Ifmountingthedryeronthepedestal
followtheinstructionssuppliedwiththe
pedestal.
Mobile homekit
partno.WTZ1275
Note:
PleasecheckwiththeAuthorityHaving
Jurisdictioninyourareatoverifyifagas
dryercanbeinstalledinyourmobile
home.Oncethathasbeenverified,
installationofthedryershallconformto
theManufacturedHomeConstruction
andSafetyStandard,Title24CFR,Part
3280{formerlytheFederalStandardfor
MobileHomeConstructionandSafety,
Title24,HUD(Part280)},and/or
StandardCAN/CSA-Z240MH.
Pleaseusemobilehomekitnumber
WTZ1275formeansto securethe
dryertothestructure.
Seepage9 "ExhaustAirConnection"
fortheexhaustductinstallation
instructions.
Theexhaustductmustbesecurely
fastenedto anoncombustibleportion
ofthemobilehomestructureandmust
notterminatebeneaththemobile
home.
Anopeningtotheoutsidemustbe
providedduringinstallation.Insurethat
thefreeareaoftheopeningforthe
introductionofoutsideairisnotless
thantwicetheareaofthedryerexhaust
outletoruseatleasta5inchdiameter
exhaustoratleasta 25in2square
exhaustductfortheopening.
Installation- step by step
1. Unpack the dryer.
2. Remove all objects from the drum.
3. Check the dryer for visible
damage.
4. Position the dryer near the
installation location.
5. If required, have customer service
change the door hinges to the left
(see page 6).
6. If required, have customer service
install the exhaust air outlet on the
dryer (see page 7).
7. Have the gas supply connected by
an qualified technician (see page
7).
.
Fq
,
Install exhaust duct, if necessary.
Follow the installation instructions
supplied by the appropriate
manufacturer!
If space is very restricted, it is
recommended to fit the initial parts
of the exhaust duct to the dryer
before the dryer is moved to its
final installation location.
Move the dryer to its final location
and align.
Do not slide dryer across the floor if
height-adjustable feet have been
extended. Feet and/or dryer base
may be damaged if dryer is slid
across floor with height adjustable
feet extended.
10. Position and then level the dryer.
The dryer should be level with all
four feet firmly on the ground. The
dryer must not wobble. If the dryer
is not level or if it does wobble, the
feet must be adjusted. Adjust the
height adjustable feet until the
dryer does not rock and is level,
both fronbto-back and
side-to-side.
11. Connect the exhaust duct to the
exhaust air outlet on the dryer.
12. Insert plug into the wall receptacle.
Loading ...
Loading ...
Loading ...