Loading ...
Loading ...
Loading ...
13
Installation
English
Fig. 8
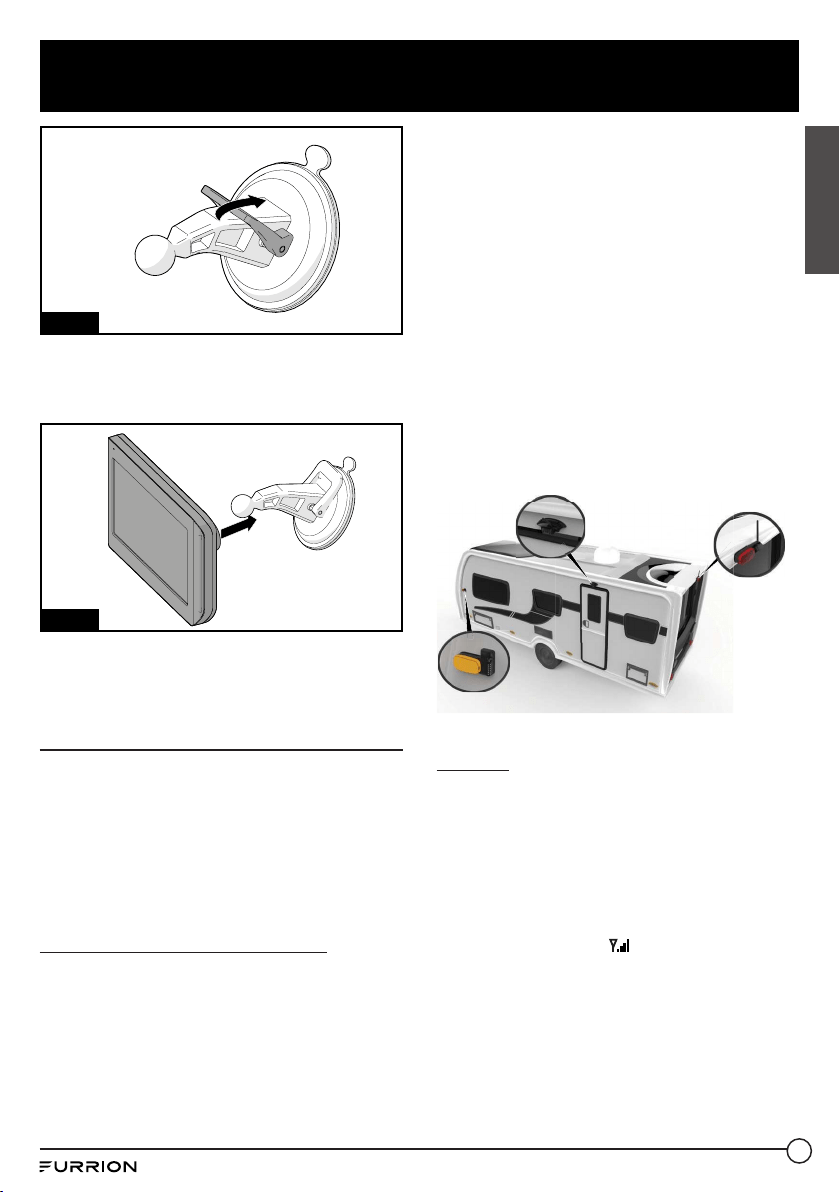
4. Align the dot bullet of the suction cup with
the opening on back of the monitor and
push firmly until locked into place. (Fig. 9)
Fig. 9
5. Rotate the monitor to adjust the visual
angle as needed.
Camera Installation
CAUTION: Ensure there are no electrical
cables, gas lines, pipes or other important
parts behind where the drill holes will be.
To prevent the risk of electric shock or fire,
during installation, remove the key from the
ignition and isolate the 12V or 24V power
source.
Suitable Installation Position
● For optimum performance, the camera
should be mounted where there is
minimal obstruction between the camera
and monitor. Dense side-wall material
and electrical appliances can reduce
signal strength.
● Where practical, as high as possible at
the rear of the vehicle.
● Horizontal-center of the vehicle or as
close as is optimal.
● Mount camera at least 2 inches above
or below running lights. Close proximity
to lights may cause image blooming,
blurring and reduced night vision
performance.
● The area should be flat with enough
surface area to accommodate the
bracket.
● The surface area should be clean and dry
for a watertight installation.
● Ensure that power can be fed to the
installation area from within the vehicle.
Front/Rear Camera
Left/Right Camera
Doorway Camera
Camera Location
Testing
Prior to permanently mounting the camera, it
is advisable to check if the intended mounting
location will achieve adequate signal.
● Pair the camera and monitor (see Pairing
the Camera and Monitor section).
● Temporarily secure the camera in the
intended location or as close as possible.
● Check signal icon
on the monitor.
Ideally there should be 3-4 bars.
● If the signal is 0-1 bars, reposition the
camera and or monitor. The signal can
also be improved by decreasing the
amount of obstructions between the
camera and monitor.
Loading ...
Loading ...
Loading ...