Loading ...
Loading ...
Loading ...
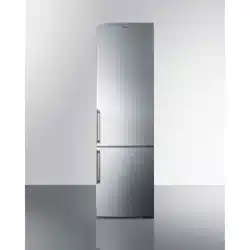
Reverse door swing
Required tools: socket wrench no. 8, screwdriver, torx 25.
Caution! After unscrewing or before fixing hinges, hold the door
to prevent it from falling and being damaged.
1. Remove upper hinge cover (save it for later use). Also remove
the cover on the opposite side of the upper hinge cover (you
will insert the attached cover on the other side during the
assembly).
2. Unscrew upper hinge screws and remove the upper door from
the middle hinge.
3. On the lower edge of the upper door unscrew the swing
stopper screws and remove the stopper (A). Keep this for
eventual use later on. Fix the attached stopper with its
bearing on the opposite side of the door.
4. Unscrew the forced door closure system (B) and fix it to the
opposite side of the door (certain models only).
5. Unscrew middle hinge screws, remove the door from bottom
hinge.
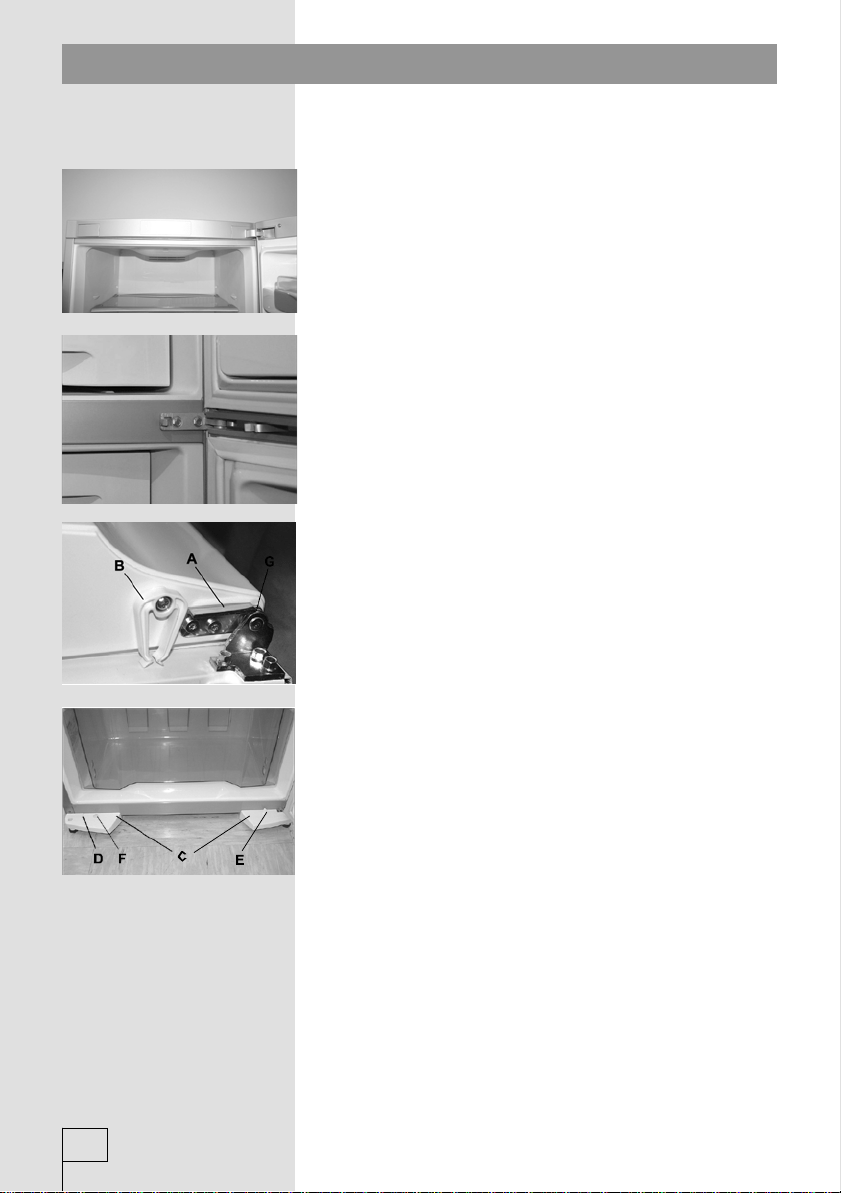
6. Loosen the screws fixing the leg supports (certain models
only), then continue with either procedure 7 or 7.1 below,
depending on the model of the appliance.
7. Tilt the appliance backward (max. 35°) and let it rest against a
firm support. Unscrew the leg support screws (C) - left and
right, and remove the leg support cover (D) and place it on the
opposite side. Unscrew and remove, then reverse the positions
of end switch (E) and decorative peg (F).
(For models with a forced door closing system, undo the three
screws attaching the lower hinge and install the hinge on the
opposite side.)
7.1.Tilt the appliance backwards (max. 35°) and let it rest
against a firm support at the back.
Undo the three screws attaching the lower hinge and install
the hinge on the opposite side. Plug the holes left after this
installation with the appropriate pegs.
8. Repeat procedures 3 and 4 on the bottom door. In case there
is no bottom door limit peg, transfer the bearing (G) and
washer to the opposite side of the door.
9. Proceed with the assembly procedure in opposite sequence.
8
Loading ...
Loading ...
Loading ...