Loading ...
Loading ...
Loading ...
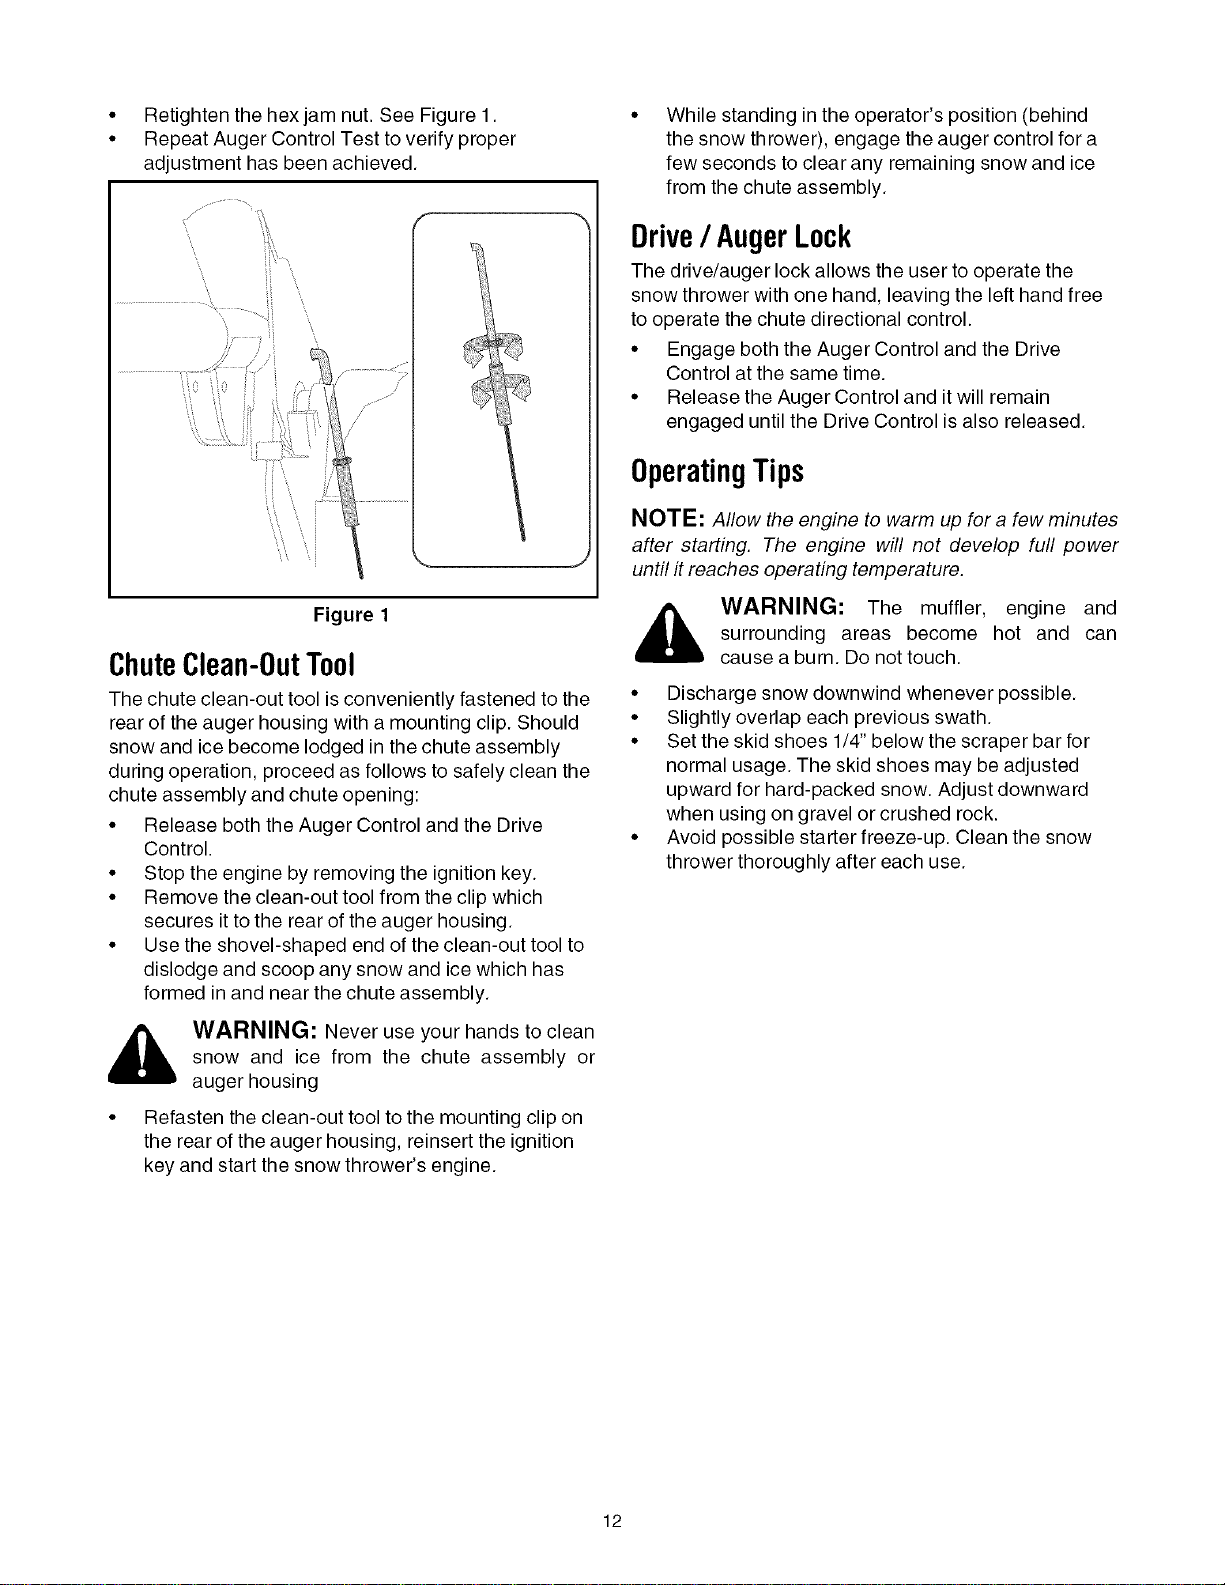
• Retighten the hex jam nut. See Figure 1.
• Repeat Auger Control Test to verify proper
adjustment has been achieved.
ii ',
\
Figure 1
ChuteClean-OutTool
The chute clean-out tool is conveniently fastened to the
rear of the auger housing with a mounting clip. Should
snow and ice become lodged in the chute assembly
during operation, proceed as follows to safely clean the
chute assembly and chute opening:
• Release both the Auger Control and the Drive
Control.
• Stop the engine by removing the ignition key.
• Remove the clean-out tool from the clip which
secures it to the rear of the auger housing.
• Use the shovel-shaped end of the clean-out tool to
dislodge and scoop any snow and ice which has
formed in and near the chute assembly.
,_ WARNING: Never use your hands to clean
snow and ice from the chute assembly or
auger housing
• Refasten the clean-out tool to the mounting clip on
the rear of the auger housing, reinsert the ignition
key and start the snow thrower's engine.
While standing in the operator's position (behind
the snow thrower), engage the auger control for a
few seconds to clear any remaining snow and ice
from the chute assembly.
Drive/ AugerLock
The drive/auger lock allows the user to operate the
snow thrower with one hand, leaving the left hand free
to operate the chute directional control.
• Engage both the Auger Control and the Drive
Control at the same time.
• Release the Auger Control and it will remain
engaged until the Drive Control is also released.
OperatingTips
NOTE: Allow the engine to warm up for a few minutes
after starting. The engine will not develop full power
until it reaches operating temperature.
WARNING: The muffler, engine and
surrounding areas become hot and can
cause a burn. Do not touch.
• Discharge snow downwind whenever possible.
• Slightly overlap each previous swath.
• Set the skid shoes 1/4" below the scraper bar for
normal usage. The skid shoes may be adjusted
upward for hard-packed snow. Adjust downward
when using on gravel or crushed rock.
• Avoid possible starter freeze-up. Clean the snow
thrower thoroughly after each use.
12
Loading ...
Loading ...
Loading ...