Loading ...
Loading ...
Loading ...
12 PowerXL Duo NutriSealer™ PowerXL Duo NutriSealer™ 13
Instructions for Use Cleaning & Storage
The vacuum-sealing process extends the life of foods
by removing most of the air from the sealed container,
thereby reducing oxidation, which affects the nutritional
value, avor, and overall quality of food. Removing air
can also inhibit the growth of microorganisms, including
mold, yeast, and bacteria.
Vacuum sealing is not a substitution for refrigerating or
freezing food. You can signicantly reduce the growth of
microorganisms at temperatures of 40°F/4°C or below.
Freezing food at 0° F/–17° C does not kill microorganisms
but does stop them from growing. For long-term storage,
always freeze perishable food that has been vacuum
sealed and keep the food refrigerated after thawing.
Vacuum sealing is also not a substitute for canning and
cannot reverse the deterioration of food. Vacuum sealing
can only slow changes food in quality. It is difcult to
predict how long foods will retain their top-quality avor,
appearance, or texture because these characteristics
depend on the age and condition of the food on the day
it was vacuum sealed.
IMPORTANT: Vacuum sealing is NOT a substitute for
refrigeration or freezing. Any perishable foods that
require refrigeration must still be refrigerated or frozen
after sealing.
Vacuum Sealing and Food Safety
Cleaning the Appliance
1. Always unplug the appliance before cleaning.
2. Wipe clean with a damp cloth.
3. Ensure that the Vacuum Port and Air Release Port are
free of debris.
4. After vacuum sealing with liquids that contain
rawsh, meat, or poultry, clean and sanitize the
entireappliance.
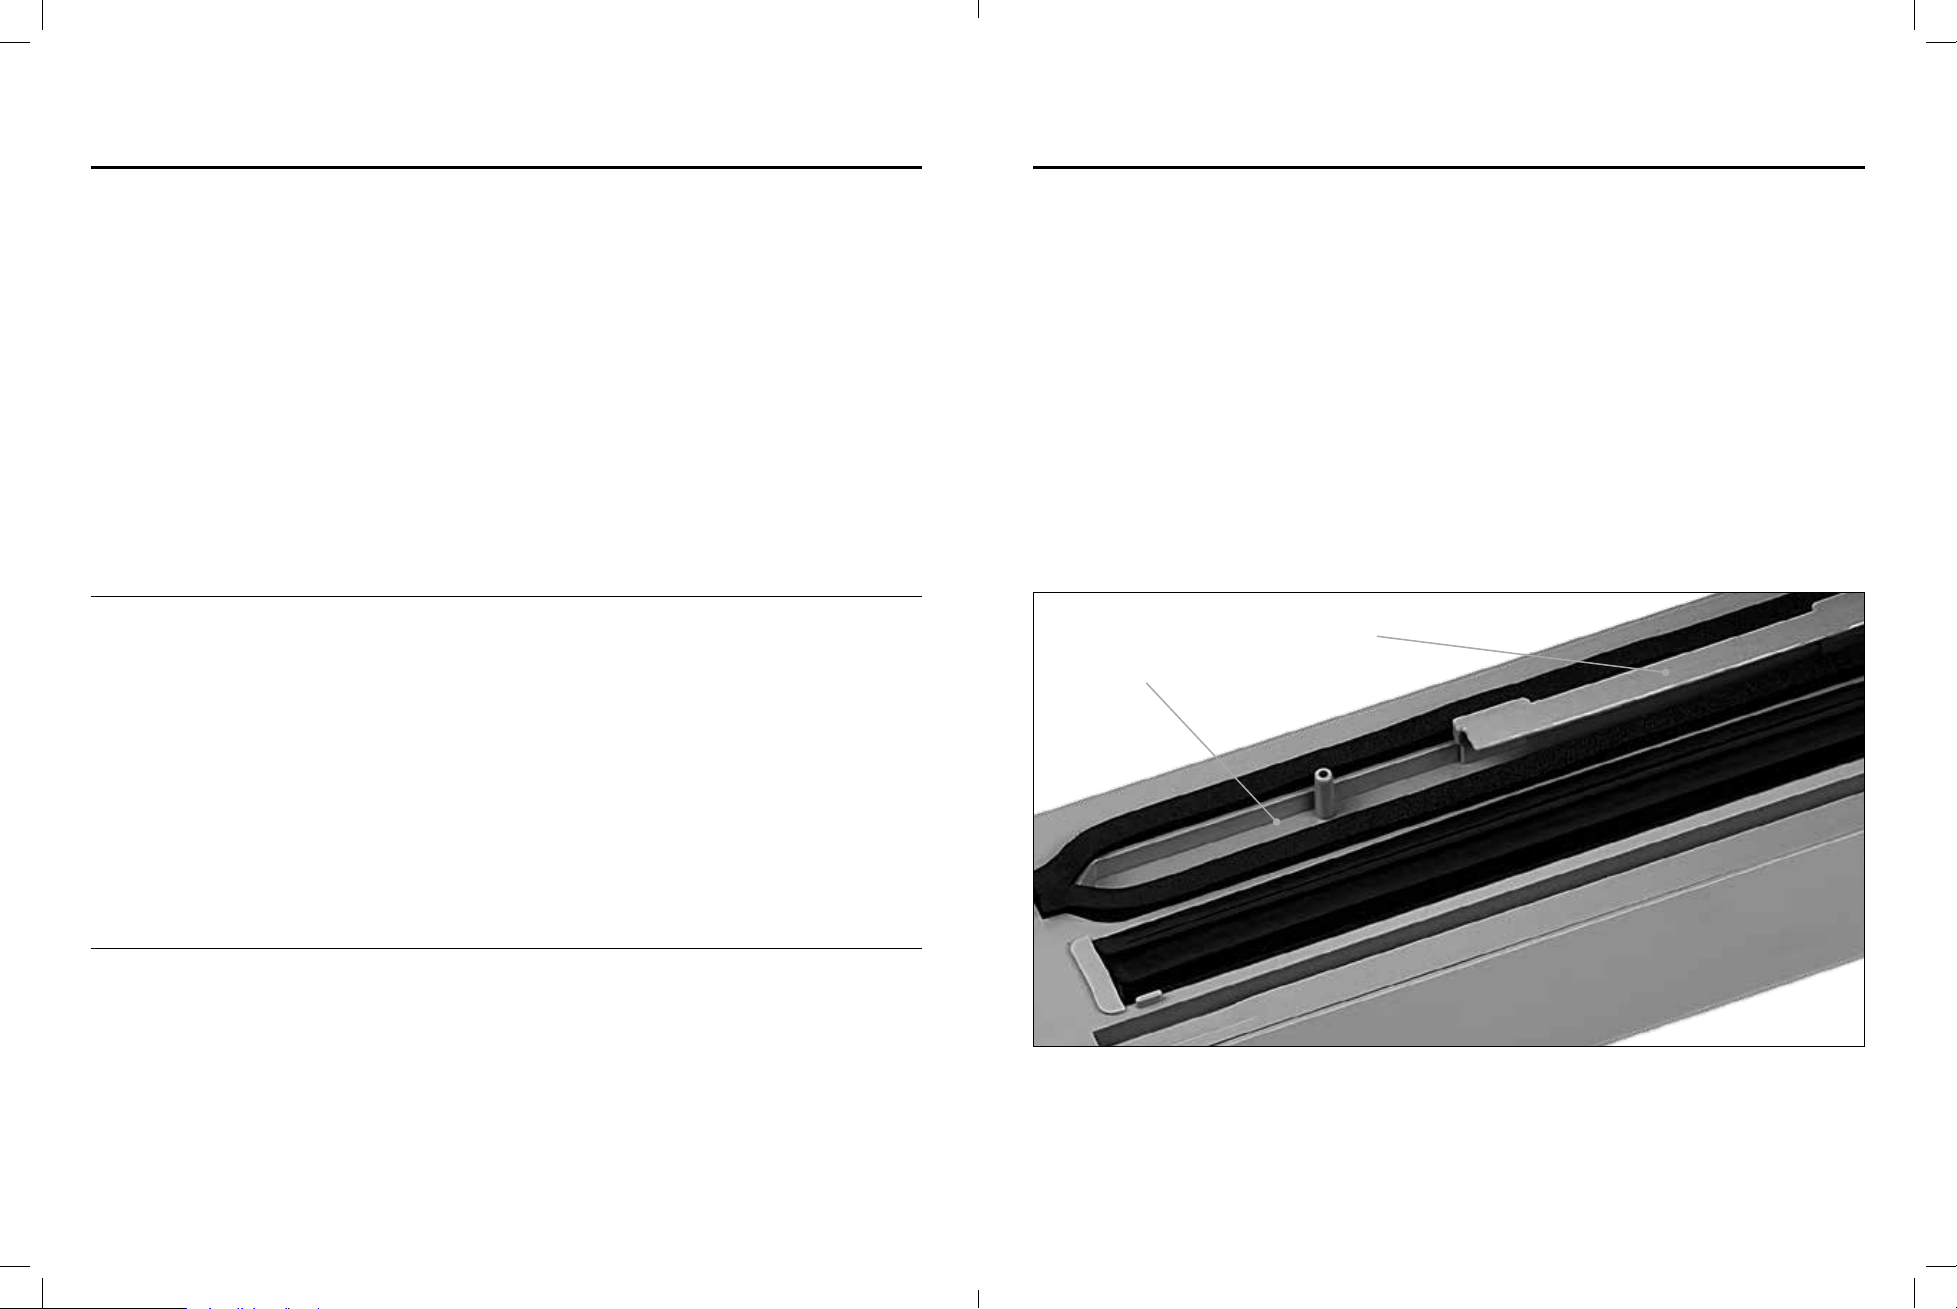
Cleaning the Vaccum Channel
1. Remove the Alignment Bar.
2. Use a damp sponge or cloth to wipe out any liquid or
debris from the Vacuum Channel.
Cleaning the Accessories
For best results, hand wash all accessories.
Storing the Appliance
Store the appliance in a clean, dry place.
Important Tips
• Vacuum sealing is NOT a substitute for the heat
process of canning. Perishables still need to be
refrigerated or frozen.
• While this appliance is compatible with other vacuum-
sealable containers, for best results, use the accessories
and containers shown in this instruction manual.
• During the vacuum-sealing process, small amounts
of liquids, crumbs, or food particles can be
inadvertently pulled into the Vacuum Channel. Clean
the Drip Tray after each use.
• For best results, seal with with the textured side of the
bag facing down.
• Thinner liquids, such as juices or chicken soup, should
use the Seal Only Button.
• Avoid overfilling bags. Always leave at least 3inches
of bag material between bag contents and top of the
bag. this allows the contents to properly vacuum seal
and prevents the bag from pulling out of the Vacuum
Channel during the sealing process. In addition, leave
at least 1 inch of bag material for each time you plan
to reuse a bag.
• You will need at least 4 inches of extra space for food
with liquids to ensure liquid does not enter the vacuum
channel and interfere with the vacuuming process.
• To prevent wrinkles in the seal when vacuum sealing
bulky items, gently stretch the bag flat while inserting
bag into the Alignment Bar. Bags placed in the Vacuum
Channel must be wrinkle-free to avoid air leakage.
Re-Sealing Bags
Follow these instructions to reseal a bag that has already
been opened.
1. Plug the Sealer into a wall outlet. The Power Indicator
on the Control Panel will illuminate.
2. Press the Latch Lock Button to open the Sealing Arm.
3. Place bag on the Sealing Platform. Center the bag
between Alignment Guide and slide the top edge of
the bag underneath the Alignment Bar Tab.
4. Close the Sealing Arm and press down on the
Sealing Arm near the Latch Lock Button until
the Sealing Arm clicks into place.
5. Press the Seal Only Button to seal bag.
6. Allow 10 seconds between vacuum sealing.
CAUTION: Continuously sealing within a short
period of time will cause the appliance to enter sleep
mode until the appliance cools (1–2 minutes).
Fig. R
Vacuum
Channel
Alignment Bar
Loading ...
Loading ...