Loading ...
Loading ...
Loading ...
9
732 South Racetrack Road, Henderson, Nevada 89015
info@vinotemp.com
1. Remove the cover cap and then remove the glass door by unscrewing the four screws (1) and
(4). Be careful to hold the glass door firmly after removing the screws and place it on a padded
surface to avoid the risk of damage.
2. Unscrew and transfer the lock catch (3) to the opposite side.
3. Rotate the glass door 180° and refit the glass door to the opposite side. Then screw and
tighten it after the door is leveled.
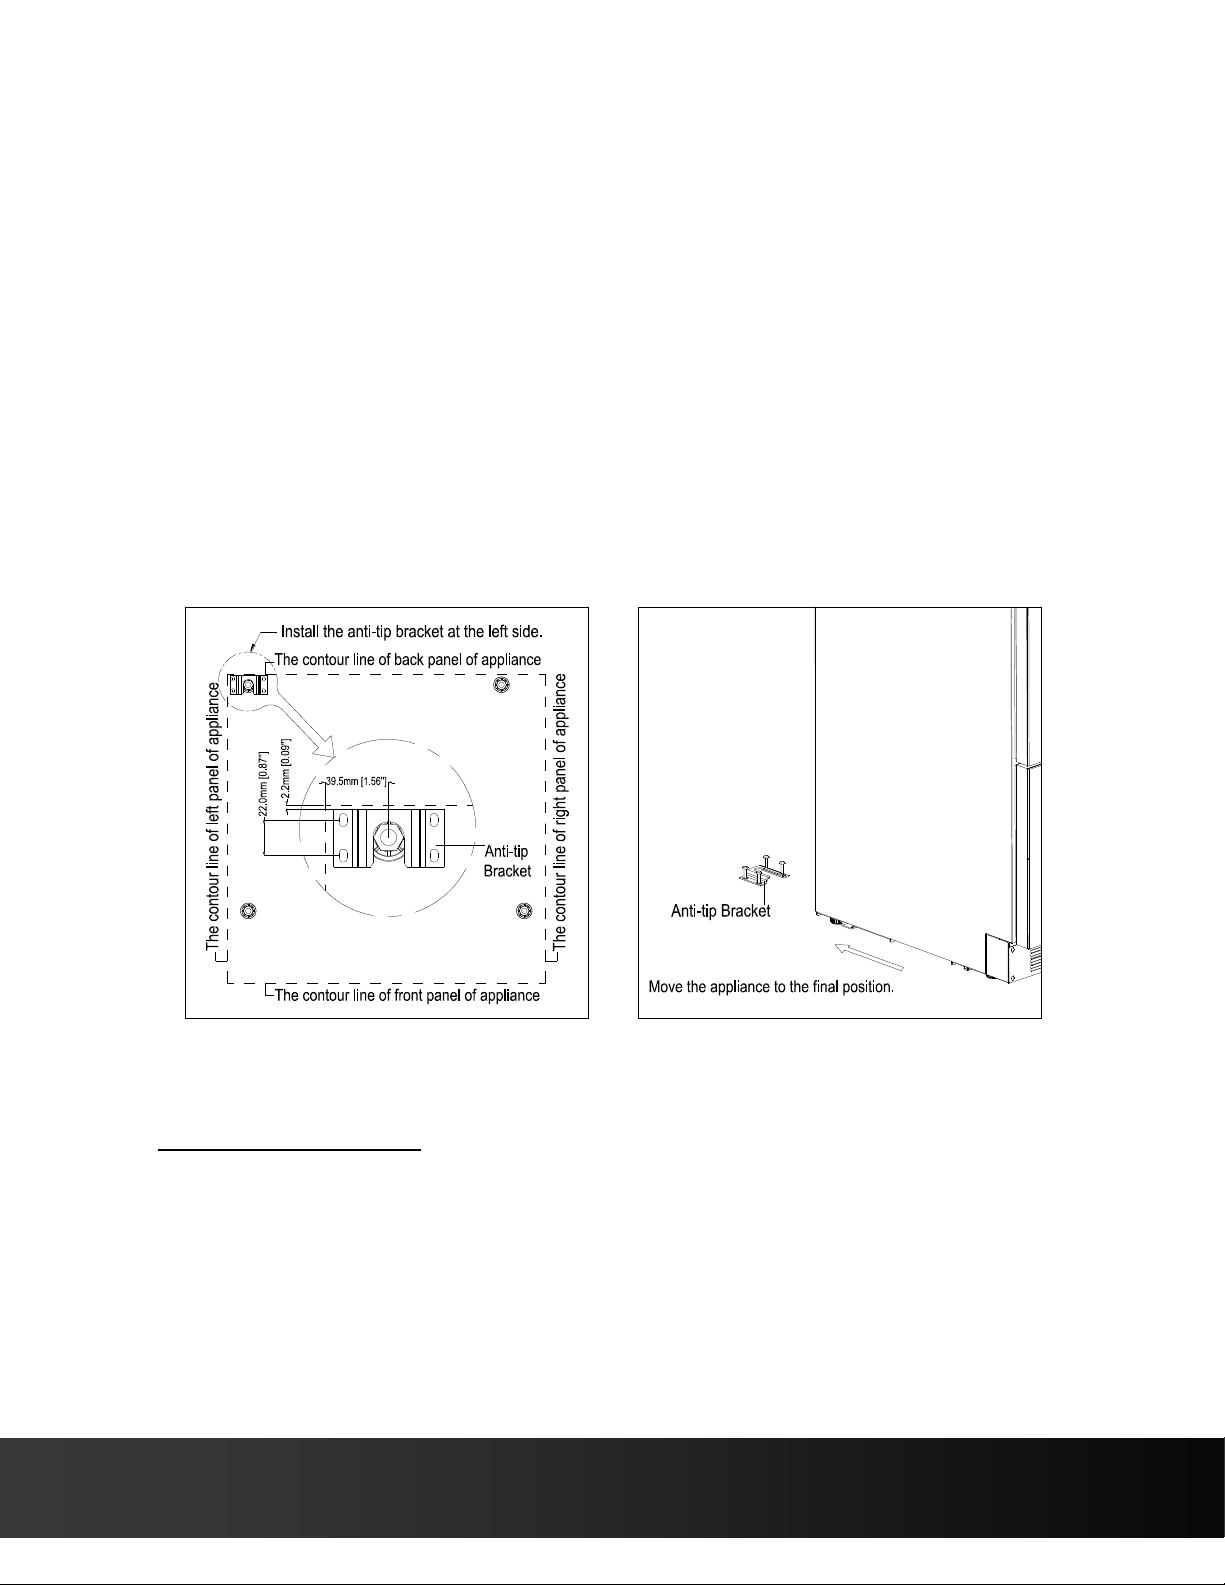
ANTI-TIP BRACKET INSTALLATION
To reduce the risk of tipping the unit by abnormal usage or improper loading, the appliance
must be secured by properly installing the anti-tip device packed with the appliance.
• Place the anti-tip bracket on the floor as shown in the figure. An anti-tip bracket must be
installed at the left side.
• Mark the locations of the 4 holes of the anti-tip bracket on the floor.
• Use a 5/16” masonry drill bit and insert plastic anchors.
• Secure bracket to floor using screws.
• Slide appliance into position and make sure the leg engages the anti-tip bracket.
NOTE: If the unit is relocated, the bracket must be removed and installed in the new location.
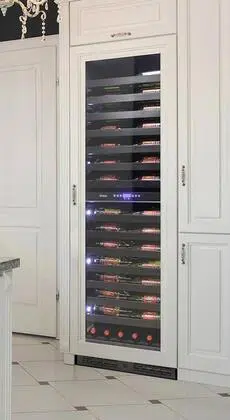
OVERLAY PANEL INSTALLATION INSTRUCTIONS
Door Panel Preparation
Prepare the overlay panel to the dimensions shown below. Then attach the handle to the
overlay panel by using the flat head screws and drive the screws flush with the panel.
Loading ...
Loading ...
Loading ...