
Loading ...
Loading ...
Loading ...
9
8
AU: foodsaver.com.au 1300 881 861
NZ: foodsaver.co.nz 0800 786 232
1. Make a Bag from a FoodSaver
®
Roll
1. Open lid and place roll into Roll Storage.
2. Lift up Roll Cutter Bar and place bag material
beneath the Cutter Bar. Pull bag material to edge until
it is on top of the sealing strip and close lid.
3. Turn Easy Lock Latch to the OPERATE position and
Press the SEAL Button. When the seal indicator light
turns off, sealing is complete.
4. Turn Easy Lock Latch to the OPEN position, open
lid and pull bag material out to desired length.
5. Slide bag cutter across cutter bar.
Now you are ready to vacuum seal with your new bag
(see next page).
Place Bag on Sealing Strip
Close and slide Lock Latch to OPERATE position
Press Seal Button
How to...
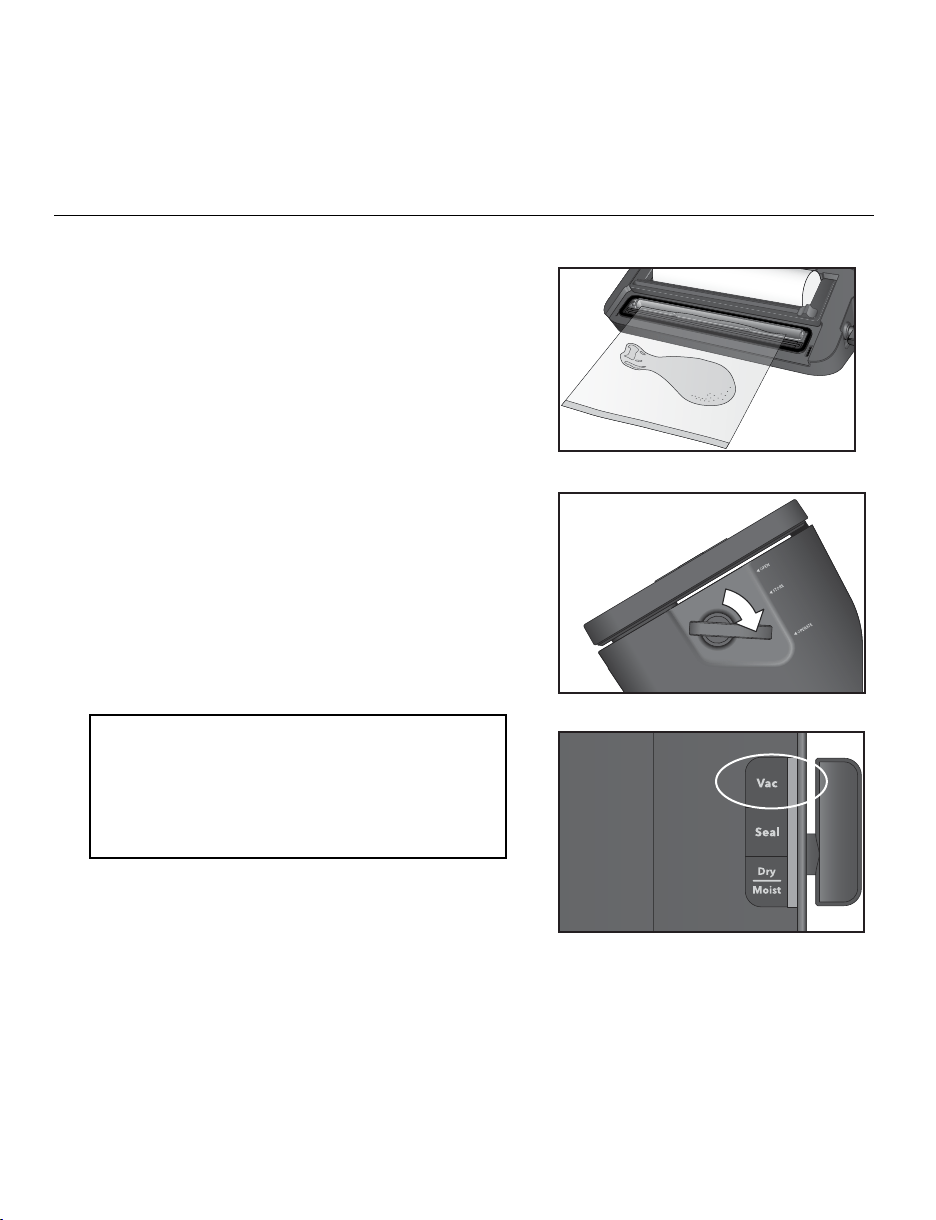
1. Place item(s) in bag, allowing at least 7.5 cm
of space between bag contents and top of bag.
2. Open appliance lid and place open end of bag into
Vacuum Channel.
3. Close lid and turn Easy Lock Latch to OPERATE
position.
4. Press Vacuum button to begin vacuum and sealing
process. Motor will continue to run until bag is fully
vacuumed, then will automatically seal.
5. When Seal Indicator Light stops flashing and
becomes constant, slide Latch to OPEN position, lift
lid and remove bag.
NOTE: Let appliance cool down for 20 seconds after
each use.
2. Vacuum Seal with FoodSaver
®
Bags
Place Bag in Vacuum Channel
Close and Latch Lid
Press Vacuum Button
Important Tips:
To minimize bag waste, do not insert bags too
far into the appliance. Only insert bag just over
the edge of the removable drip tray.
OPEN END
SEALED END
Loading ...
Loading ...
Loading ...