Loading ...
Loading ...
Loading ...
4. Insert and tighten dipstick.
IMPORTANT:
• Check oil level before each use. Add
oil if needed. Fill to full line on dipstick.
• Change the oil after every 25 hours of
operation or each season. You may
need to change the oil more often un-
der dusty, dirty conditions.
ADD GASOLINE
• Fill fuel tank to bottom of tank filler neck.
Do not overfill. Use fresh, clean, regular
unleaded gasoline with a minimum of 87
octane. Do not mix oil with gasoline. Pur-
chase fuel in quantities that can be used
within 30 days to assure fuel freshness.
CAUTION: Alcohol blended fuels (called
gasohol or using ethanol or methanol) can
attract moisture which leads to separation
and formation of acids during storage.
Acidic gas can damage the fuel system
of an engine while in storage. To avoid
engine problems, the fue! system should
be emptied before storage of 30 days
or longer. Drain the gas tank, start the
engine and let it run until the fuel lines
and carburetor are empty. Use fresh fuel
next season. See Storage Instructions for
additional information. Never use engine or
carburetor cleaner products in the fuel tank
or permanent damage may occur.
& CAUTION: Wipe off any spilled oil or
fue!. Do not store, spill or use gasoline
near an open flame.
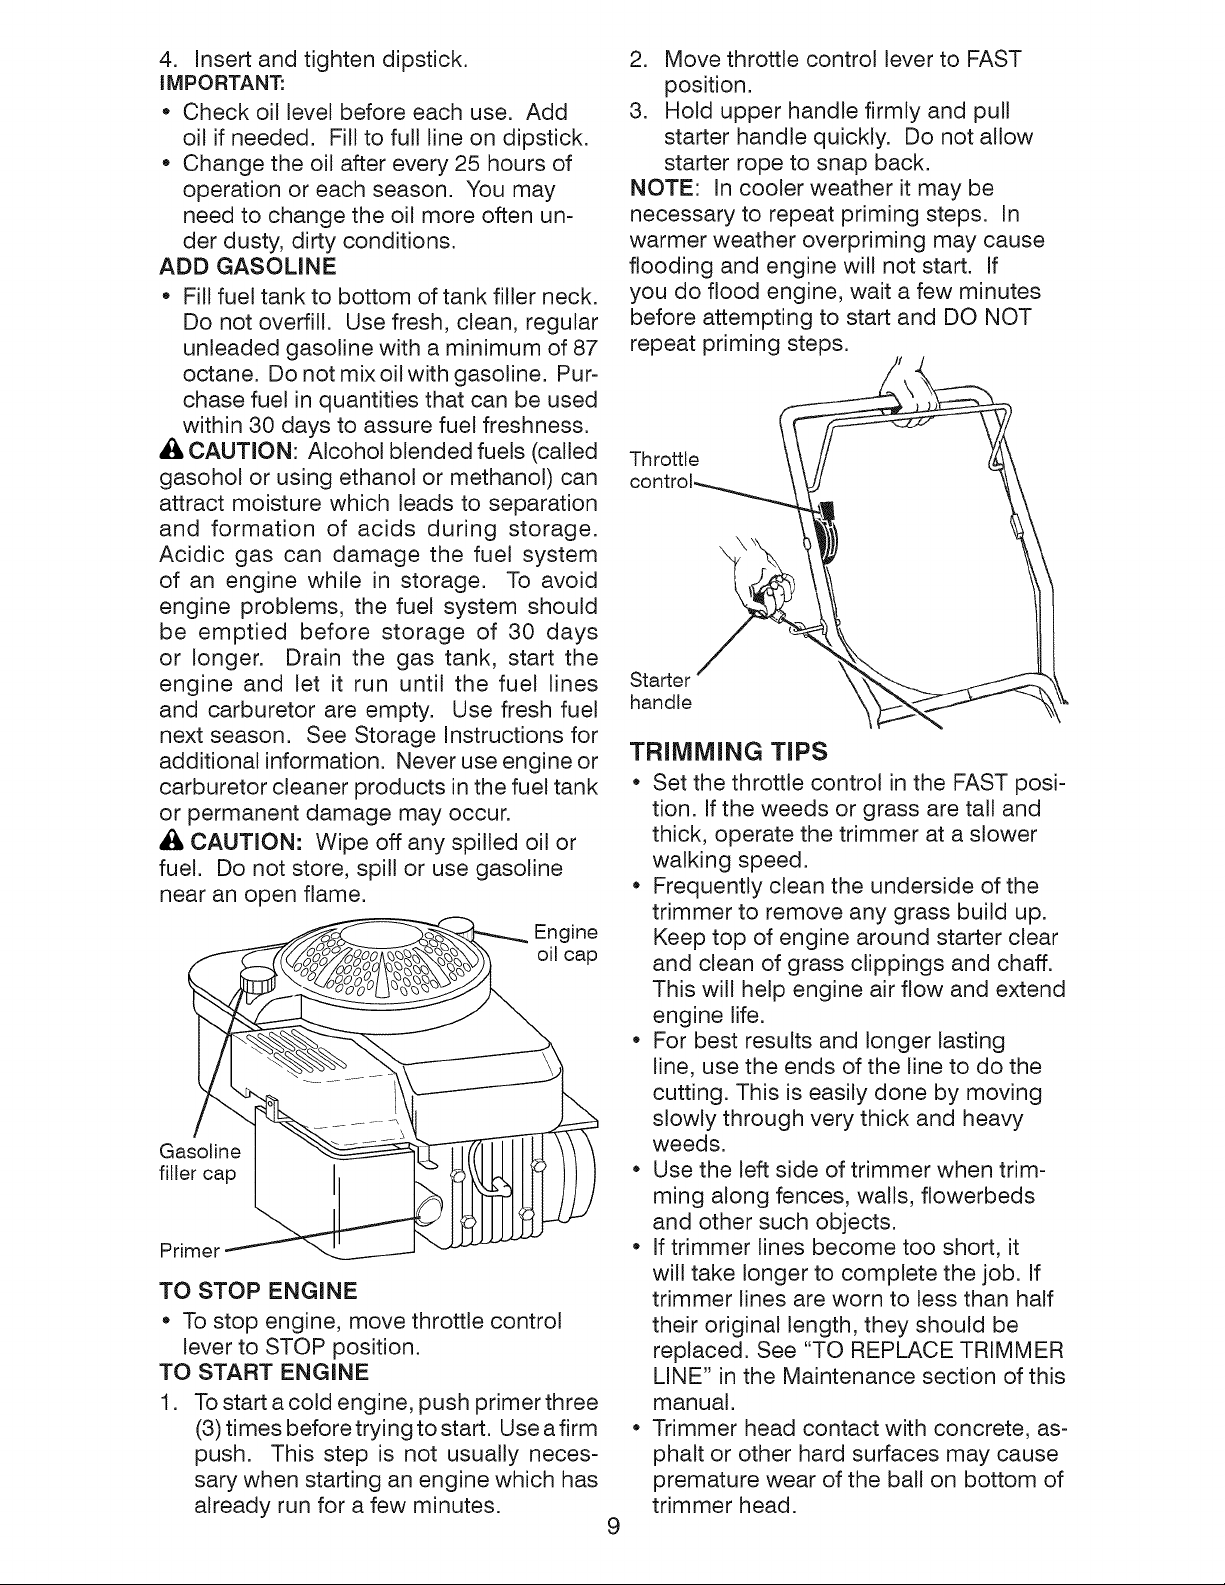
Engine
oil cap
Gasoline
filler cap
Primer
TO STOP ENGINE
• To stop engine, move throttle control
lever to STOP position.
TO START ENGINE
1. To start a cold engine, push primer three
(3) times before trying to start. Use a firm
push. This step is not usually neces-
sary when starting an engine which has
already run for a few minutes.
2. Move throttle control lever to FAST
position.
3. Hold upper handle firmly and pull
starter handle quickly. Do not allow
starter rope to snap back.
NOTE: In cooler weather it may be
necessary to repeat priming steps. In
warmer weather overpriming may cause
flooding and engine will not start. If
you do flood engine, wait a few minutes
before attempting to start and DO NOT
repeat priming steps.
Throttle I!
control-__ !
X
9
Starter
handle
TRIMMING TIPS
• Set the throttle control in the FAST posi-
tion. If the weeds or grass are tall and
thick, operate the trimmer at a slower
walking speed.
• Frequently clean the underside of the
trimmer to remove any grass build up.
Keep top of engine around starter clear
and clean of grass clippings and chaff.
This will help engine air flow and extend
engine life.
• For best results and longer lasting
line, use the ends of the line to do the
cutting. This is easily done by moving
slowly through very thick and heavy
weeds.
• Use the left side of trimmer when trim-
ming along fences, walls, flowerbeds
and other such objects.
• If trimmer lines become too short, it
will take longer to complete the job. If
trimmer lines are worn to less than half
their original length, they should be
replaced. See "TO REPLACE TRIMMER
LINE" in the Maintenance section of this
manual.
• Trimmer head contact with concrete, as-
phalt or other hard surfaces may cause
premature wear of the ball on bottom of
trimmer head.
Loading ...
Loading ...
Loading ...