Loading ...
Loading ...
Loading ...
General
Cleaning
Cleaning Various Parts of Your Range
Before cleaning any part of the range, be sure all controls are turned OFFand the range is cool.
Remove spillovers and heavy soiling assoon as possible. Regular cleanings will reduce the effort
required for major cleanings later.
Surfaces
Aluminum & Vinyl
Control Panel and Trim
Pieces
Glass, Painted and Plastic
Body Parts, Control Knobs
and Decorative Trim Pieces
How to Clean
Use hot, soapy water and a cloth. Dry with a clean cloth.
Before cleaning the control panel, turn all controls to OFFand remove the control knobs.
To remove, pull each knob straight off the shaft. Clean using hot, soapy water and a
dishcloth, Rinsewith a clean water and a dishcloth. Be sure to squeeze excesswater from
the cloth before wiping the panel; especially when wiping around the controls, Excess
water in or around the controls may cause damage to the appliance. Be sure to rinse the
cleaners as bluish stains may occur during heating and cannot de removed. To replace
knobs after cleaning, line up the flat sides of both the knob and the shaft; then push the
knob into place.
For general cleaning, use hot, soapy water and a cloth. For more difficult soils and built-up
grease, apply a liquid detergent directly onto the soil. Leaveon soil for 30 to 60 minutes.
Rinse with a damp cloth and dry. DO NOT use abrasive cleaners on any of these materials;
they can scratch. To remove control knobs, turn to the OFFposition; grasp firmly and pull
straight off the shaft. To replace knobs after cleaning, line up the flat sides of both the
knob and the shaft; then push the knob into place.
Stainless Steel (some Cleaners made especially for stainless steel asStainless Steel Magic, or other similar
models) Oven door & drawer cleaners are recommended. Always follow the manufacturer's instructions. Besure to rinse
front panel the cleaners as bluish stains may occur during heating and cannot be removed.
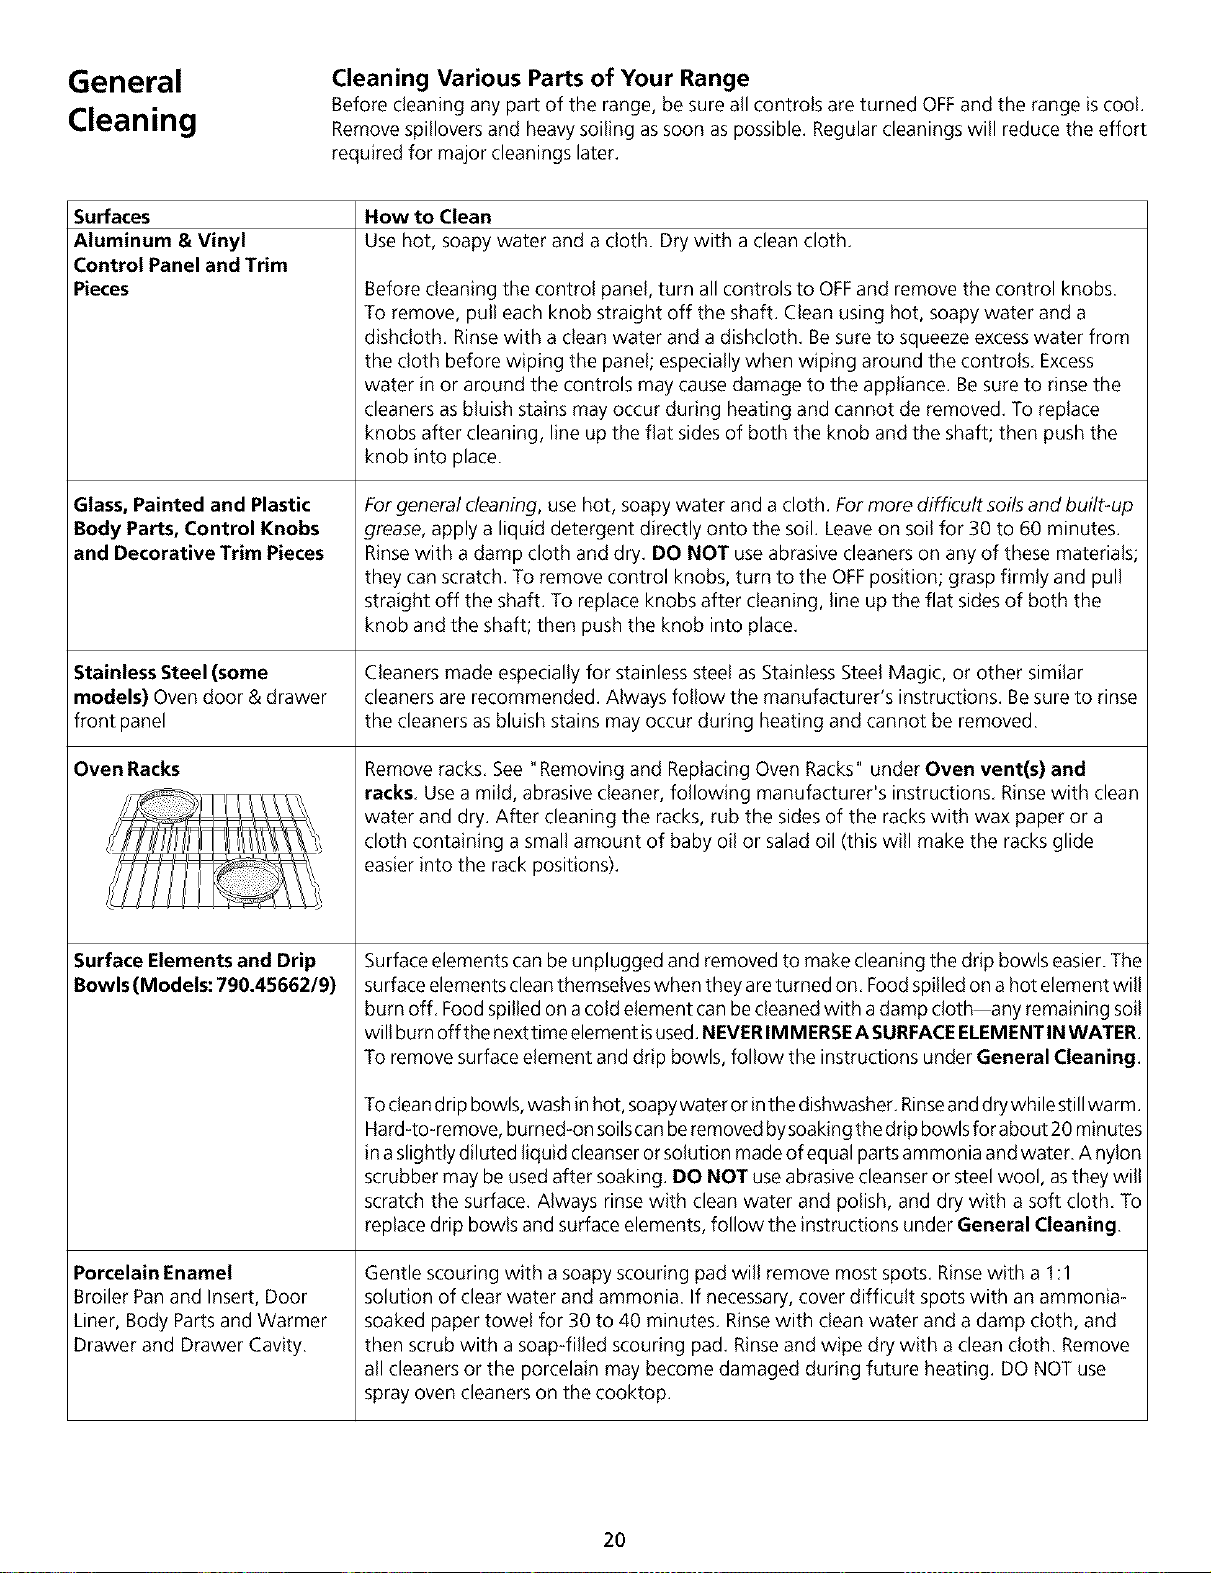
Oven Racks
J_ i"
Surface Elements and Drip
Bowls (Models: 790.45662/9)
Porcelain Enamel
Broiler Pan and Insert, Door
Liner, Body Parts and Warmer
Drawer and Drawer Cavity.
Remove racks, See "Removing and Replacing Oven Racks" under Oven vent(s) and
racks, Use a mild, abrasive cleaner, following manufacturer's instructions, Rinse with clean
water and dry. After cleaning the racks, rub the sides of the racks with wax paper or a
cloth containing a small amount of baby oil or salad oil (this will make the racks glide
easier into the rack positions).
Surface elements can be unplugged and removed to make cleaning the drip bowls easier. The
surface elements clean themselves when they are turned on, Food spilled on ahot element will
bum off, Food spilled on a cold element can be cleaned with a damp cloth any remaining soil
will bum off the next time element isused. NEVERIMMERSEASURFACE ELEMENTIN WATER
To remove surface element and drip bowls, follow the instructions under General Cleaning.
To cleandrip bowls, wash in hot, soapywater or inthe dishwasher. Rinseanddry while stillwarm.
Hard-to-remove, burned-on soilscanbe removed bysoaking the drip bowls for about 20 minutes
in a slightly diluted liquid cleanser or solution made of equal parts ammonia and water. A nylon
scrubber may be used after soaking. DO NOT useabrasive cleanser or steel wool, asthey will
scratch the surface. Always rinsewith clean water and polish, and dry with a soft cloth. To
replace drip bowls and surface elements, follow the instructions under General Cleaning.
Gentle scouring with a soapy scouring pad will remove most spots. Rinsewith a 1:1
solution of clear water and ammonia. If necessary, cover difficult spots with an ammonia-
soaked paper towel for 30 to 40 minutes. Rinsewith clean water and a damp cloth, and
then scrub with a soap-filled scouring pad. Rinseand wipe dry with a clean cloth. Remove
all cleaners or the porcelain may become damaged during future heating. DO NOT use
spray oven cleaners on the cooktop.
2O
Loading ...
Loading ...
Loading ...