Loading ...
Loading ...
Loading ...
2. Connect the 2 black wires B together using a UL listed wire connector.
3. Connect the 2 red wires C together using a UL listed wire connector.
4. Untwist white wire from green(Or bare) ground wire coming from the oven.
5. Connect the 2 neutral(White) wires H together using a UL listed wire
connector.
6. Connect the ground(Green or bare) wire FA from the oven cable to the ground
(Green or bare) wire(In the junction box) using a UL listed wire connector.
7. Install junction box cover.
Step 5 - Mount The Oven
1. Slide the oven completely into the cabinet until the back surface of the front
frame touches the front wall of the cabinet. Center the oven within the cabinet
cutout.
Note: Push against seal area of the oven front frame when pushing the oven
into the cabinet. Do not push against the outside edges.
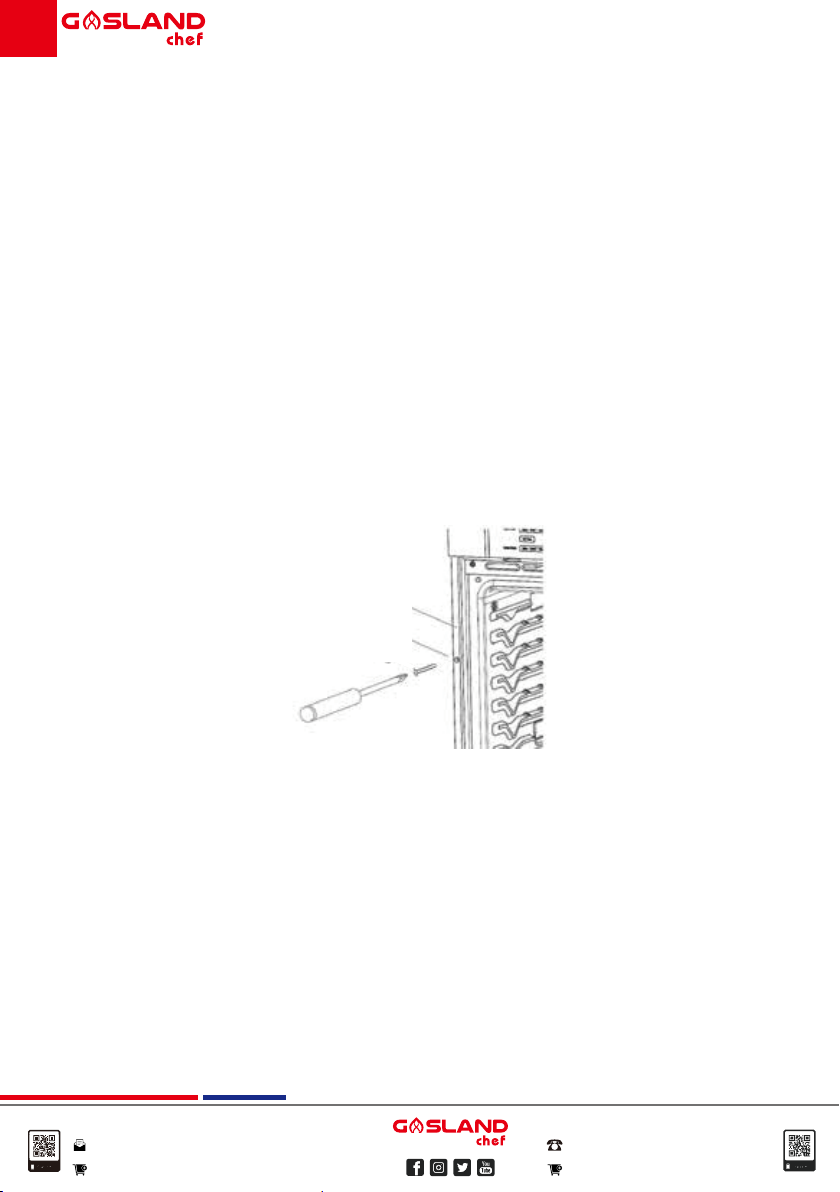
2. There are two holes, one on each side of the front frame that surrounds the
oven cavity. Drill ¹/8"(3.18 mm) pilot holes through the holes, and into the
front wall of the cabinet.
Note: The double oven has four mounting holes, two on each side.
3. Insert the # 8–14 x 1" screws(Provided) through the pilot holes to securely
fasten the oven to the cabinet. Do not overtighten screws.
4. Replace the oven racks.
Note: Ensure all plastic and foam packaging are removed from the oven racks
before reinserting them.
5. Reconnect power to the oven.
Mounting Frame
Mounting Frame Hole
1713
Australia:
1(844) 538-7890
www.gaslandchef.com
www.gaslandchef.com.au
United States:
Loading ...
Loading ...
Loading ...