Loading ...
Loading ...
Loading ...
9
ENGLISH
Basic version Advanced version InformationSimple version
Set up speakers
Remote control operation
buttons
Move the cursor
(Up/Down/Left/Right)
Confi rm the setting Return to previous menu
1
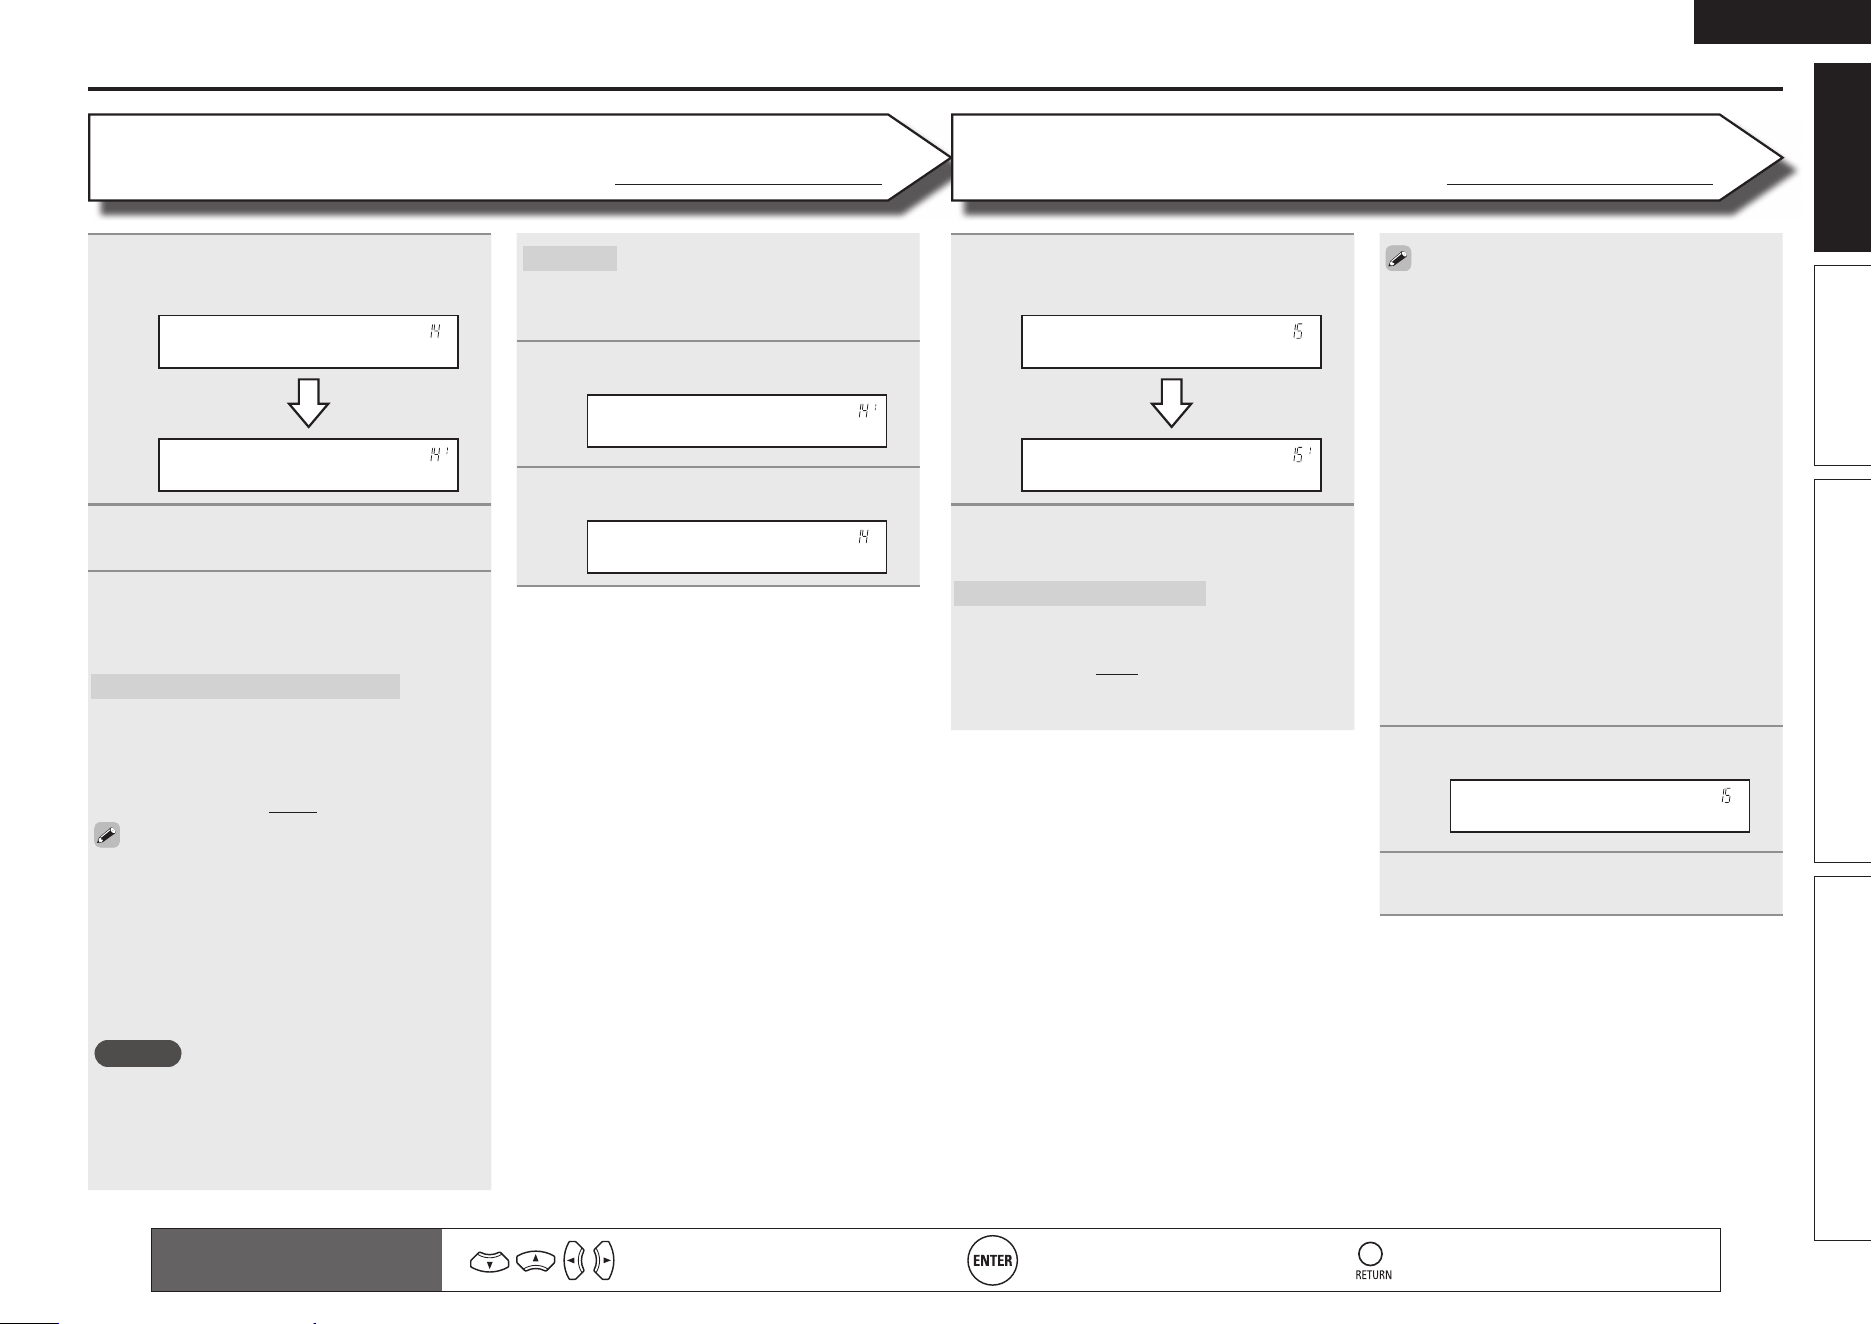
Use ui to select “Channel Level”,
and then press ENTER.
Channel Level
Test Tone Start
2
Press ENTER.
Output test tone.
3
Use ui to select a speaker, and use
o p to adjust the sound volume of
each speaker to be equal.
FL / C / FR / SR / SBRz / SBLz / SL / SW
Select the speaker.
z When the “Speaker Confi g.” – “S.B(Pre)”
(vpage 7) setting is set to “None”,
“SBL” and “SBR” is not displayed.
• –12.0dB – +12.0dB (0.0dB) : Adjust the volume.
• When o is pressed while the subwoofer volume
is set to “–12 dB”, the “SW” setting switches
to “OFF”.
• When “Channel Level” is adjusted, the adjusted
values are set for all the surround modes. To
adjust the channel level separately for the
different surround modes, use the operation
see page 27.
NOTE
• Speakers set to “None” in the “Speaker
Confi g.” (vpage7) settings are not displayed.
• When a headphones jack is inserted in the
PHONES jack of this unit, the “Channel Level”
is not displayed.
Default
The “Channel Level” settings are
returned to the default settings.
• Yes : Reset to the defaults.
• No : Do not reset to the defaults.
4
Press ENTER to enter the setting.
Test Tone Start
5
Press RETURN.
Channel Level
n Outputting a test tone directly with remote
control operation
This is operable when the surround mode is
Dolby Pro Logic g, Dolby Pro Logic gx, or DTS
NEO:6.
q Press TEST.
The test tone is output from the “L” channel
of the front speakers.
w Use o p to adjust the sound volume of each
speaker to be equal.
e Use u i to select the next speaker for
outputting the test tone.
r Once adjustment is completed, press TEST
again.
1
Use ui to select “Crossover Freq.”,
and then press ENTER.
Crossover Freq.
Front :• 80Hz–
2
Use ui to select a speaker, and use
o p to select the frequency.
Front / Center / Surround / S.Back
Specify crossover frequency for each
speaker.
• 40Hz / 60Hz / 80Hz / 90Hz / 100Hz / 110Hz
/ 120Hz / 150Hz / 200Hz / 250Hz : Set the
crossover frequency.
Channel Level
Default settings are underlined.
• “Crossover Freq.” can be set when the “Bass
Setting” – “Mode” (vpage 8) setting is
“LFE+Main”, or when you have a speaker that
is set to “Small”.
• Always set the crossover frequency to “80Hz”.
When using small speakers, however, we
recommend setting the crossover frequency to
a higher frequency.
• For speakers set to “Small”, sound below the
crossover frequency is cut from the sound
output. The cut bass sound is output from the
subwoofer or front speakers.
• The “Mode” setting (vpage 8) determines
which speakers can be set.
• When “LFE” is selected, speakers set to
“Small” at “Speaker Confi g.” can be set. If
the speakers are set to “Large”, “– Full –” is
displayed and the setting cannot be made.
• If set to “LFE+Main”, this setting can be made
regardless of the speaker size.
3
Press ENTER to enter the setting.
Crossover Freq.
4
Press MENU.
The menu returns to normal display.
Crossover Freq.
Default settings are underlined.
1.AVR391E3ENG4th100602.inddSec:91.AVR391E3ENG4th100602.inddSec:9 2010/06/0414:29:192010/06/0414:29:19
Loading ...
Loading ...
Loading ...