Loading ...
Loading ...
Loading ...
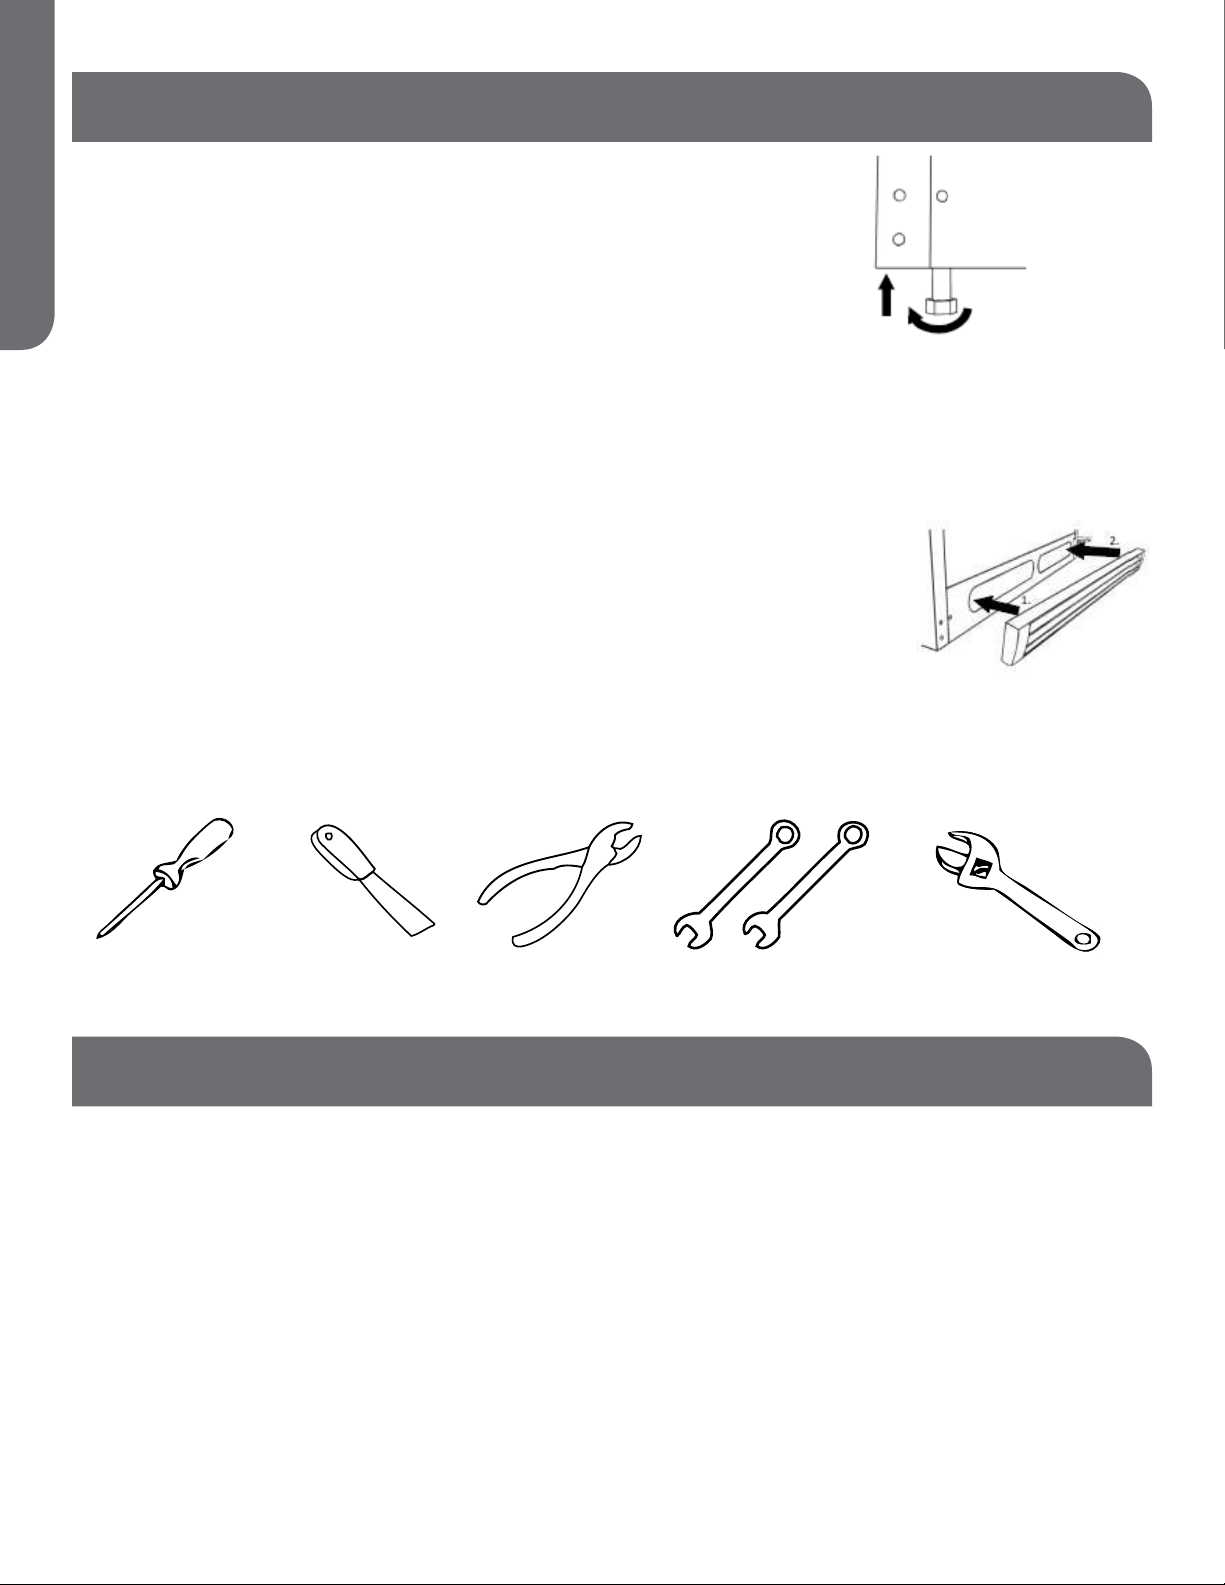
LEVELING YOUR RE FR IGE RATOR
ENGLISH
PAGE 6 • SET UP & USE
INST ALLA T ION GUIDE CON T.
FRON T GRILLE
PROPER AIR CIRCULAT ION
• To ensure your refrigerator works at the maximum efficiency it was designed
for, you should install it in a location where there is proper air circulation,
plumbing and electrical connections. Your refrigerator is not design to opera-
te in temperatures below
55˚F (12˚C ) or above 95˚F (35˚C).
•
Do not install your refrigerator in any location n ot properly insulated or
heated, e.g. g arage, etc.
Keep out of direct sunlight and away from heating sources such as radiators,
heaters, and cooking appliances.
• The following are recommended clearances around the refrigerator:
Sides and Top……………1”
(25 mm)
Back ..................2" (50mm)
• All four corners of the cabinet must rest firmly on the floor
• The cabinet must sit level from side to side
• The cabinet must tilt slightly (1/4” or 6mm) from front to back for the
doors to seal properly
• Turn leveling legs counterclockwise to raise the cabinet
TOOLS NEEDED FOR INSTALLATION
DO NOT USE POWER TOOLS TO INSTALL DOOR HANDLES!
OVERTIGHTENING THE SCREWS COULD STRIP THE THREADS!
Phillips Screwdriver
Putty Knife
Pliers
5/16 and 3/8 Wrenches or Adjustable Wrench
PARTS INCLUDED
PARTS INCLUDED MAY DIFFER BASED ON UNIT PURCHASED
For models that come with a handle mounting
screw installed on the faces of the doors, the
parts included wil l consist of:
• 2 Handles
• 1 Front grille
• 4 Handle attachment screws
• Owner’s manual
For models that don’t come with a handle
mounting screw installed on the face of
the door, the parts included will consist of:
• 2 Handles
• 1 Front grille
• 2 Door face mounting screws
• 4 Door edge mounting screw
• Owner’s manual
• 2 Handle cover/trim pieces
JANUARY 2012
HT18TS45SW
Loading ...
Loading ...
Loading ...