Loading ...
Loading ...
Loading ...
7
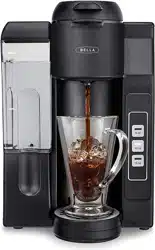
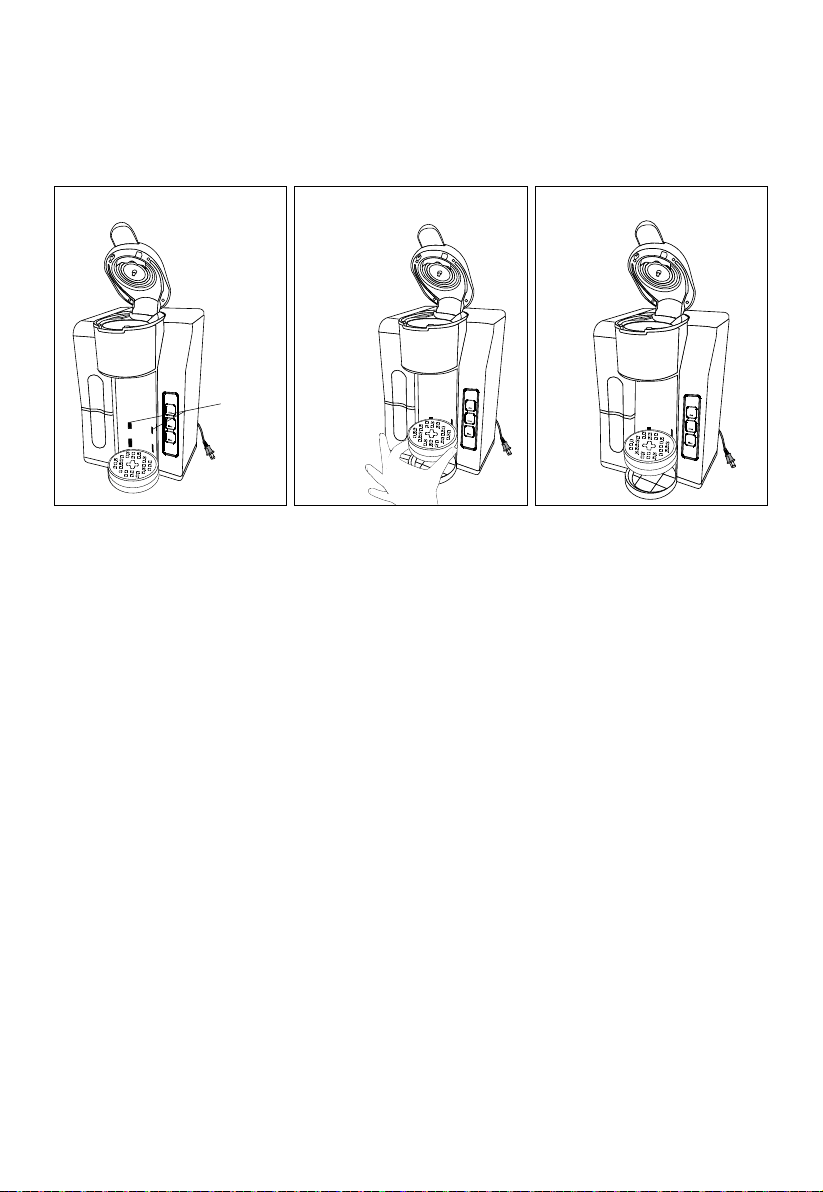
Adjusting the Drip Tray
1. Grasp the drip tray and cover from the base. (See Figure 2.)
2. Holding on to both pieces, slightly tilt upwards and slide out from the unit.
(See Figure 3.)
3. Using the tab on the back of the drip tray as your guide, again slightly tilt both pieces upwards
and glide the tabs into the upper slots on the Coffee Maker body. (See Figure 4.) Press down
on the drip tray withyour hand to make sure it is rmly andproperly attached before placing
the cup or mug on top.
Figure 4Figure 3Figure 2
Upper
Slots
Setting Up your Single Serve Coffee Maker Using the Capsule Adaptor
WARNING: Before brewing, it is recommended the water tank be lled at least to the MIN indicator line.
To avoid damage to your Coffee Maker, never operate your Single Serve Coffee Maker when the water tank is empty.
1. upandremove it from the base of the unit. (See Figure 1.)
2. Remove the lid and ll the water tank to the MAX indicator line with cold water.
NOTE: Never ll the water tank past the MAX indicator line and ensure water level isabove the MIN
indicator line.
IMPORTANT: For optimal avor, distilled or ltered water is preferred.
3. Put the lid back and put the water tank back into place. Place down rmly to make sure itis securely
in place.
4. Select the desired height for the drip tray, depending on the size of the cup, mug, ortumbler being
used
5. Place the empty cup, mug, or tumbler in position on the drip tray cover
6. Pull the adaptor compartment’s front tab up to unlock and lift the lid.
7. Choose the capsule adaptor. Add the capsule of your choice into the adaptor. Pressdown on the
capsule until it is ush with the adaptor.You will hear a pierce astheneedle penetrates the capsule.
8. With the handle facing front, place the capsule adaptor into the adaptor compartment.
Slide the adaptor handle in to the grooves at the front of the Coffee Maker.
9. Press the adaptor compartment’s lid down rmly. An audible click can be heard asthelid is locked
rmly into position, and the top of the capsule will be punctured.
10. Plug the Coffee Maker into a 120V AC electrical wall outlet
11. To select the brew size press either the 6-oz, 10-oz or 15-oz button.
12. The light on the selected button size will begin to ash as the Coffee Maker begins heating the
water.
13. When the water has reached the optimum temperature, the light on the button will illuminate solid.
14. The pump will then activate and coffee will begin to stream through the nozzle.
15. To interrupt the brewing cycle at any time, press the same size button you had originally selected.
Then remove the plug from the wall outlet.
16. At the end of the cycle, the Coffee Maker and all indicator light will automatically turnOFF.
17. Allow unit to cool before removing the used capsule to discard.
18. Unplug the Coffee Maker when not in use.
Loading ...
Loading ...
Loading ...