Loading ...
Loading ...
Loading ...
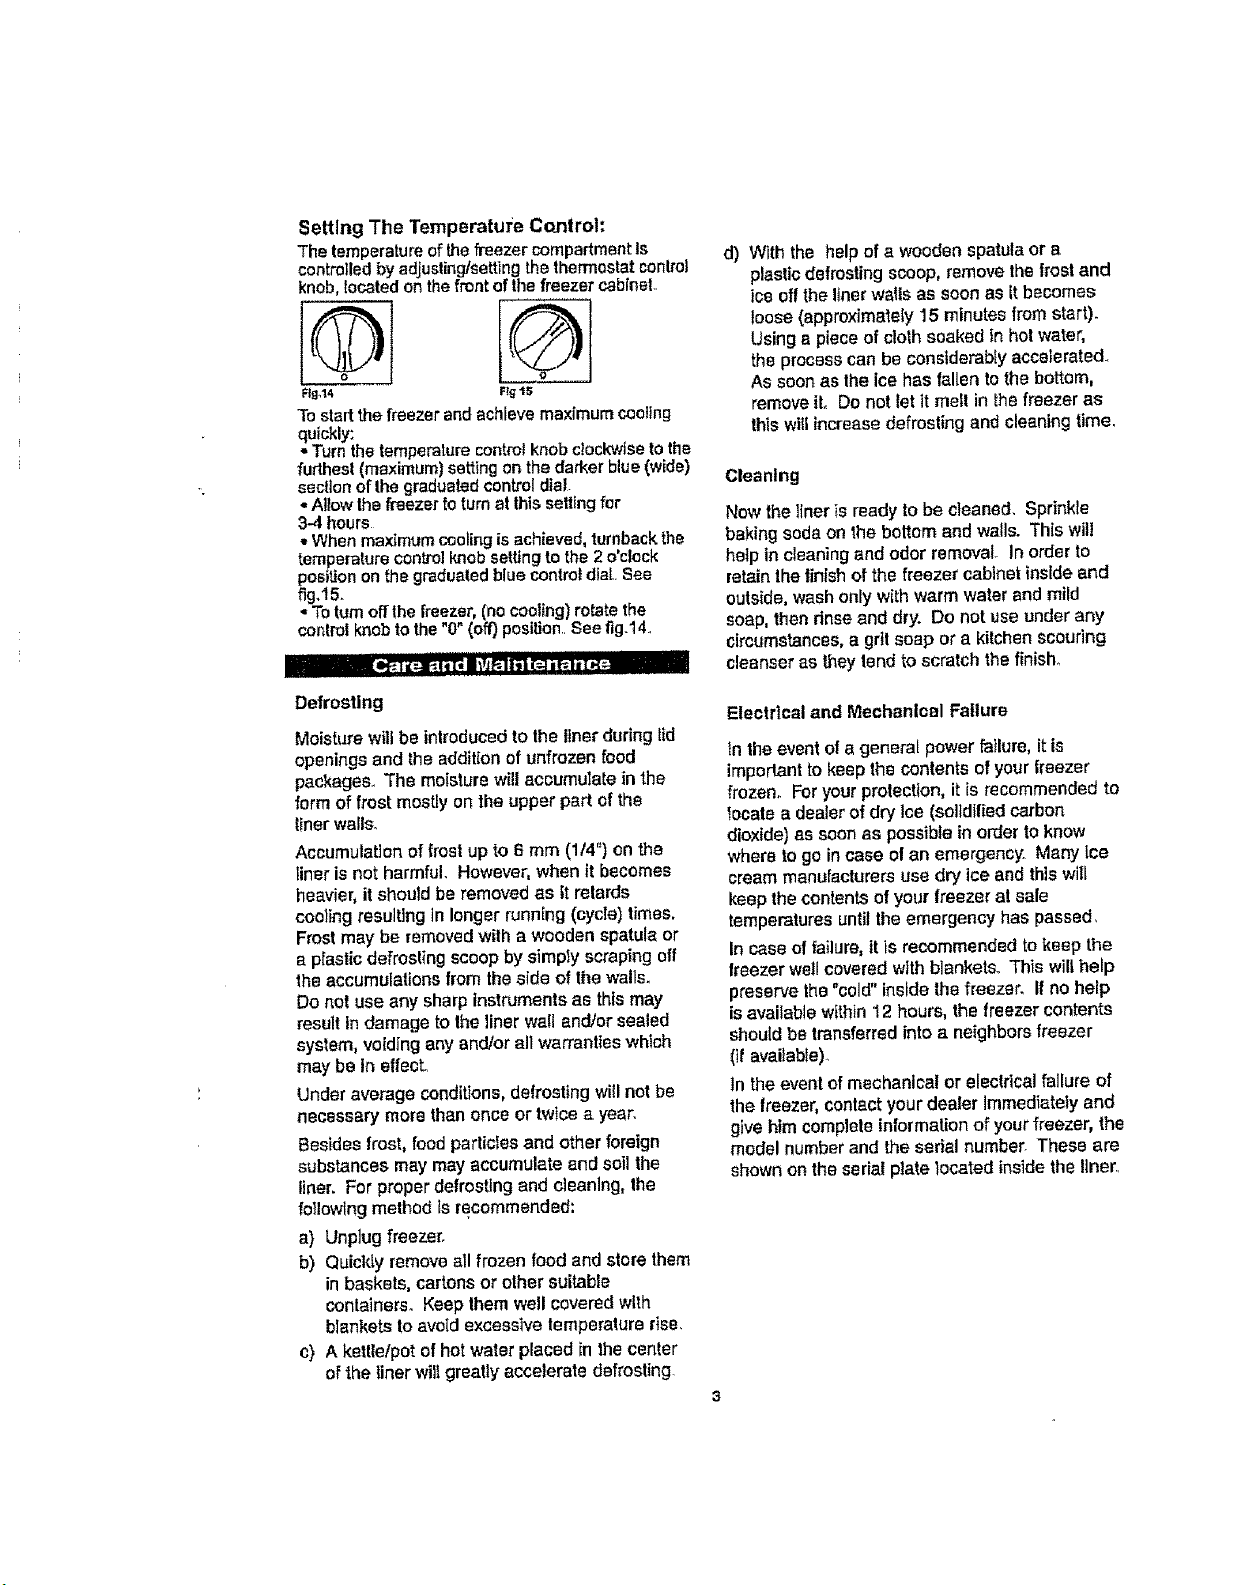
Setting The Temperature Co.ntrol:
The temperature of thefreezer compartmentIs
controlled by adjusting/settingthe thermostatcontrol
knob, located on the front ofthe freezer cabinet.
ol ®1
Ftgo14 _gt3
Tostart the freezer and achieve maxfmumcooling
quickly:
• Turnthe temperature controlknob clockwiseto trio
furthest (maximum) setting on the darker blue(wide)
section of the graduatedcontroldial
• Allow the freezer to turn at this setting for
3-4 hours
• When maximum cooling is achieved, turnbackthe
temperature control knobsetting to the 2 o'clock
positionon the graduated bluecontrol dial See
_g,t5.
- Toturnoff the freezer, (no cooling)re,ate the
controlknob to the "0" (off)position.See fig.14..
Defrosting
Moisture Will be introduced to the liner during lid
openings and the addition of unfrozen food
packages_ The moisture will accumulate in the
form of frost mostly on the upper part of the
i_nerwails.
Accumulation of frost up to 6 mm (1t4") on the
liner is not harmful. However, when it becomes
heavier, it should be removed as it retards
cooling resulting in longer runn[ng (cycle) times.
Frost may be removed with a wooden spatula or
a piastic defrosting scoop by simply scraping off
the accumulations from the side of the walls.
Do t_ot use any sharp inst_uments as this may
result In damage to the liner waft and/or sealed
system, voiding any and/or all warranties which
may be In effecL
Under average conditions, defrosting will not be
necessary more than once or twice a year.
Besides frost, food particles and other foreign
substances may may accumulate end soil the
liner. For proper defrosting and cleaning, the
following method is recommended:
a) Unp/ug freezer.
b) Quickly remove all frozen food and store them
in baskets, cartons or other suitable
containers. Keep them well covered with
blankets to avoid excessive temperature rise.
c) A kettle/pot of hot water placed in the confer
of the liner wilt greatly accelerate defrosting
d) With the help of a wooden spatula or a
plastic defrosting scoop, remove the frost and
ice off the liner wafts as soon as [t becomes
loose (approxlmatefy 15 minutes from start).
Using a piece of cloth soaked In hot water,
the process can be constderabfy accelerated.
As soon as the ice has fallen to the bottom,
remove il. Do not let it melt in the freezer as
this will increase defrosting and cleaning time.
Cleaning
New the ]tneris ready to be cleaned. Sprinkle
baking soda on the boltom and walls. This will
help in cleaning and odor removal° In order to
retain the finish of the freezer cabinet inside and
outside, wash only with warm water and mild
soap, then rinse and dry. Do not use under any
circumstances, a grit soap or a kitchen scouring
cleanser as they lend to scratch the finish.
Electrlcal and Mechanical Failure
in the event of a general power to)lure, itis
important to keep the contents of your freezer
frozen. For your protection, it is recommended to
1ocate a dealer of dry Ice (eol]dtlied carbon
dioxide) as soon as possible in order to know
where to go in ease el an emergency Many ice
cream manufacturers use dry ice and this will
keep the contents o! your freezer at sale
temperatures until the emergency has passed.
in case of failure, it is recommended to keep the
freezer well covered with blankets. This wilt help
preserve Ihe "cold" inside the freezer. If no help
is available within 12 hours, the freezer contents
should be transferred into a neighbors freezer
(it available).
In the event of mechanical or electrical failure of
the freezer, contact your dearer Immediately and
give him complete information of your freezer, the
model number and the serial number These are
shown on the serial plate located inside the liner.
Loading ...
Loading ...
Loading ...