
Loading ...
Loading ...
Loading ...
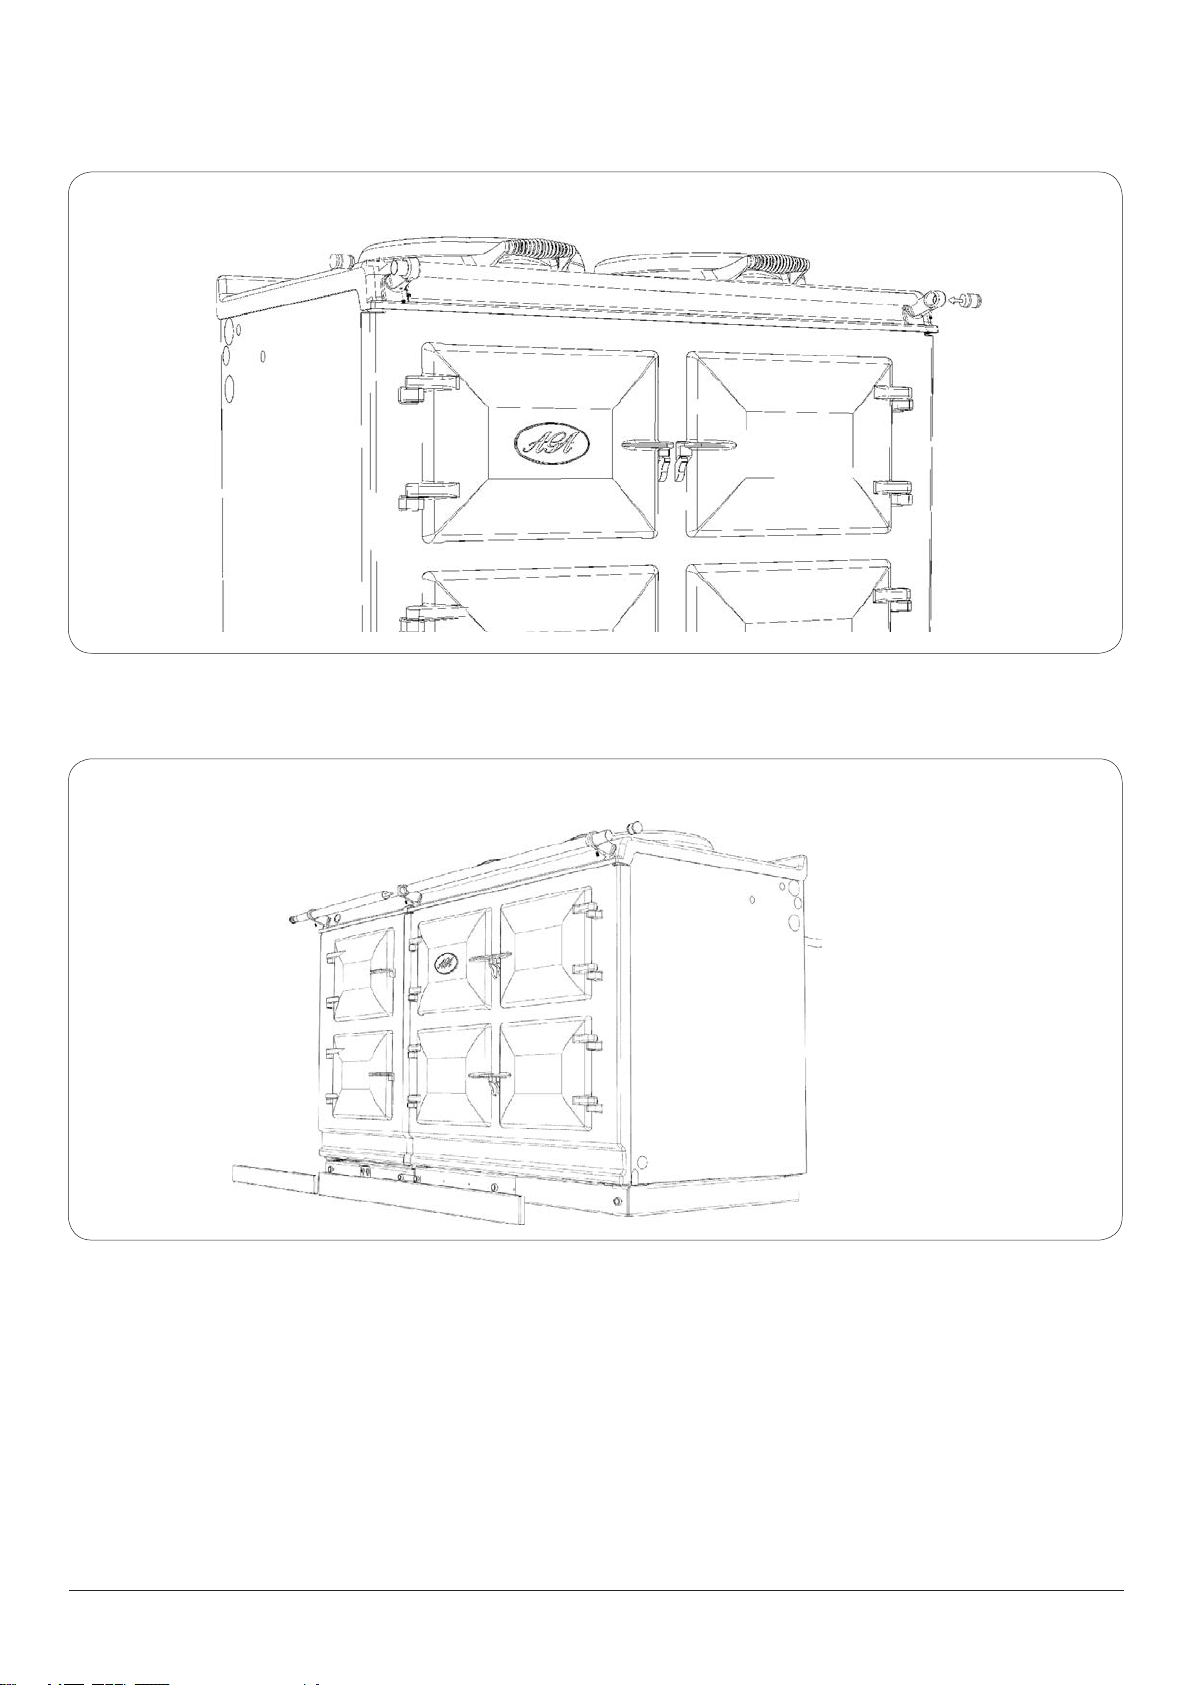
Fig. 6.15
Fig. 6.16
19
DESN 516880
DESN 516879
10. Next the handrail, endcaps and handrail require
assembly (see Fig. 6.15).
Slide the handrail through the handrail brackets.
11. On 5 oven appliances, fit allthread stud into the insert
located in the one end of the handrail, then feed
the handrail through the bracket (ensuring that the
Aga Total Control / Dual Control Handrail Connection
Aga Total Control / Dual Control (5 Oven) Handrail Connection
12. Once the handrail assembly is located squarely, lock the
handrail in position by winding in the grub screws on
the underside of each handrail bracket.
13. Once the handrails are locked in position, fit the
handrail endcaps. The endcaps should be carefully
pushed into place until they sit flush with the outside
face of each bracket (a light smear of lubricant such as,
hand or dish soap on the end cap ‘O’ rings may ease
fitment.
14. Finally, fit the plinth facia to the magnets on the front of
the plinth, making sure that on 5 oven appliances the
right hand side of the module plinth facia sits against
the left hand side of the AGA Total Control / Dual Control
plinth facia leaving no gap between. Make sure that the
plinth facias are centrally located and do not overhang
either appliance (see Fig. 6.16).
15. Commission the AGA Total Control / Dual Control, as
stated in the relevant Installation Instructions and carry
out functional test on each of the features of the AGA
Total Control / Dual Control.
allthread stud is protruding from the right hand side
of the hotcupboard handrail) and screw the handrails
together (see Fig. 6.16).
Loading ...
Loading ...
Loading ...