Loading ...
Loading ...
Loading ...

Crisper Drawers Calibrate Measured Fill
To remove and replace the drawers:
1. Grasp the handle at the bottom of the drawer and slide the
drawer straight out to the stop. Lift the drawer off the
bottom guide.
2. Replace the drawer by placing it on the bottom drawer
guide and pushing it past the drawer stop into position.
To remove the crisper(s) cover:
1. Remove crisper drawers.
2. Holding the glass insert firmly with one hand, press up in
center of glass insert until it rises above the plastic frame.
Gently slide the glass insert forward to remove.
3. Lift the cover frame up and remove it.
Household water pressure may affect the accuracy of the
Measured Fill feature. So, for optimum performance of your
water dispenser, you must first calibrate Measured Fill.
IMPORTANT:
• Flush the water system before calibrating Measured Fill.
• For best results, calibration should be performed when water
is not being used in the house.
Place a sturdy measuring cup (1 cup [237 mL] size) on the
dispenser tray centered in front of the ice/water dispenser
paddle.
NOTE: Depending on your model, a measuring cup may be
provided.
To replace crisper(s) cover:
1. Fit back of cover frame into supports on side walls of the
refrigerator and lower the front of the cover frame into
place.
2. Slide rear of glass insert into cover frame and lower front
into place.
3. Replace crisper drawers.
_ _@_C@ _C_
IMPORTANT:
• Allow 3 hours for the refrigerator to cool down and chill
water.
• Allow 24 hours to produce the first batch of ice. Discard the
first three batches of ice produced.
• The dispensing system will not operate when either the
refrigerator door or freezer drawer is open.
Flush the Water System
Air in the water dispensing system can cause the water
dispenser to drip. After connecting the refrigerator to a water
source or replacing the water filter, flush the water system.
Flushing the water dispensing system forces air from the water
line and filter and prepares the water filter for use. Additional
flushing may be required in some households.
NOTE: As air is cleared from the system, water may spurt out of
the dispenser.
1. Using a sturdy container, depress and hold the water
dispenser paddle for 5 seconds.
2. Release the dispenser paddle for 5 seconds. Repeat steps 1
and 2 until water begins to flow.
3. Once water begins to flow, continue depressing and
releasing the dispenser pad (5 seconds on, 5 seconds off)
until a total of 3 gal. (12 L) has been dispensed.
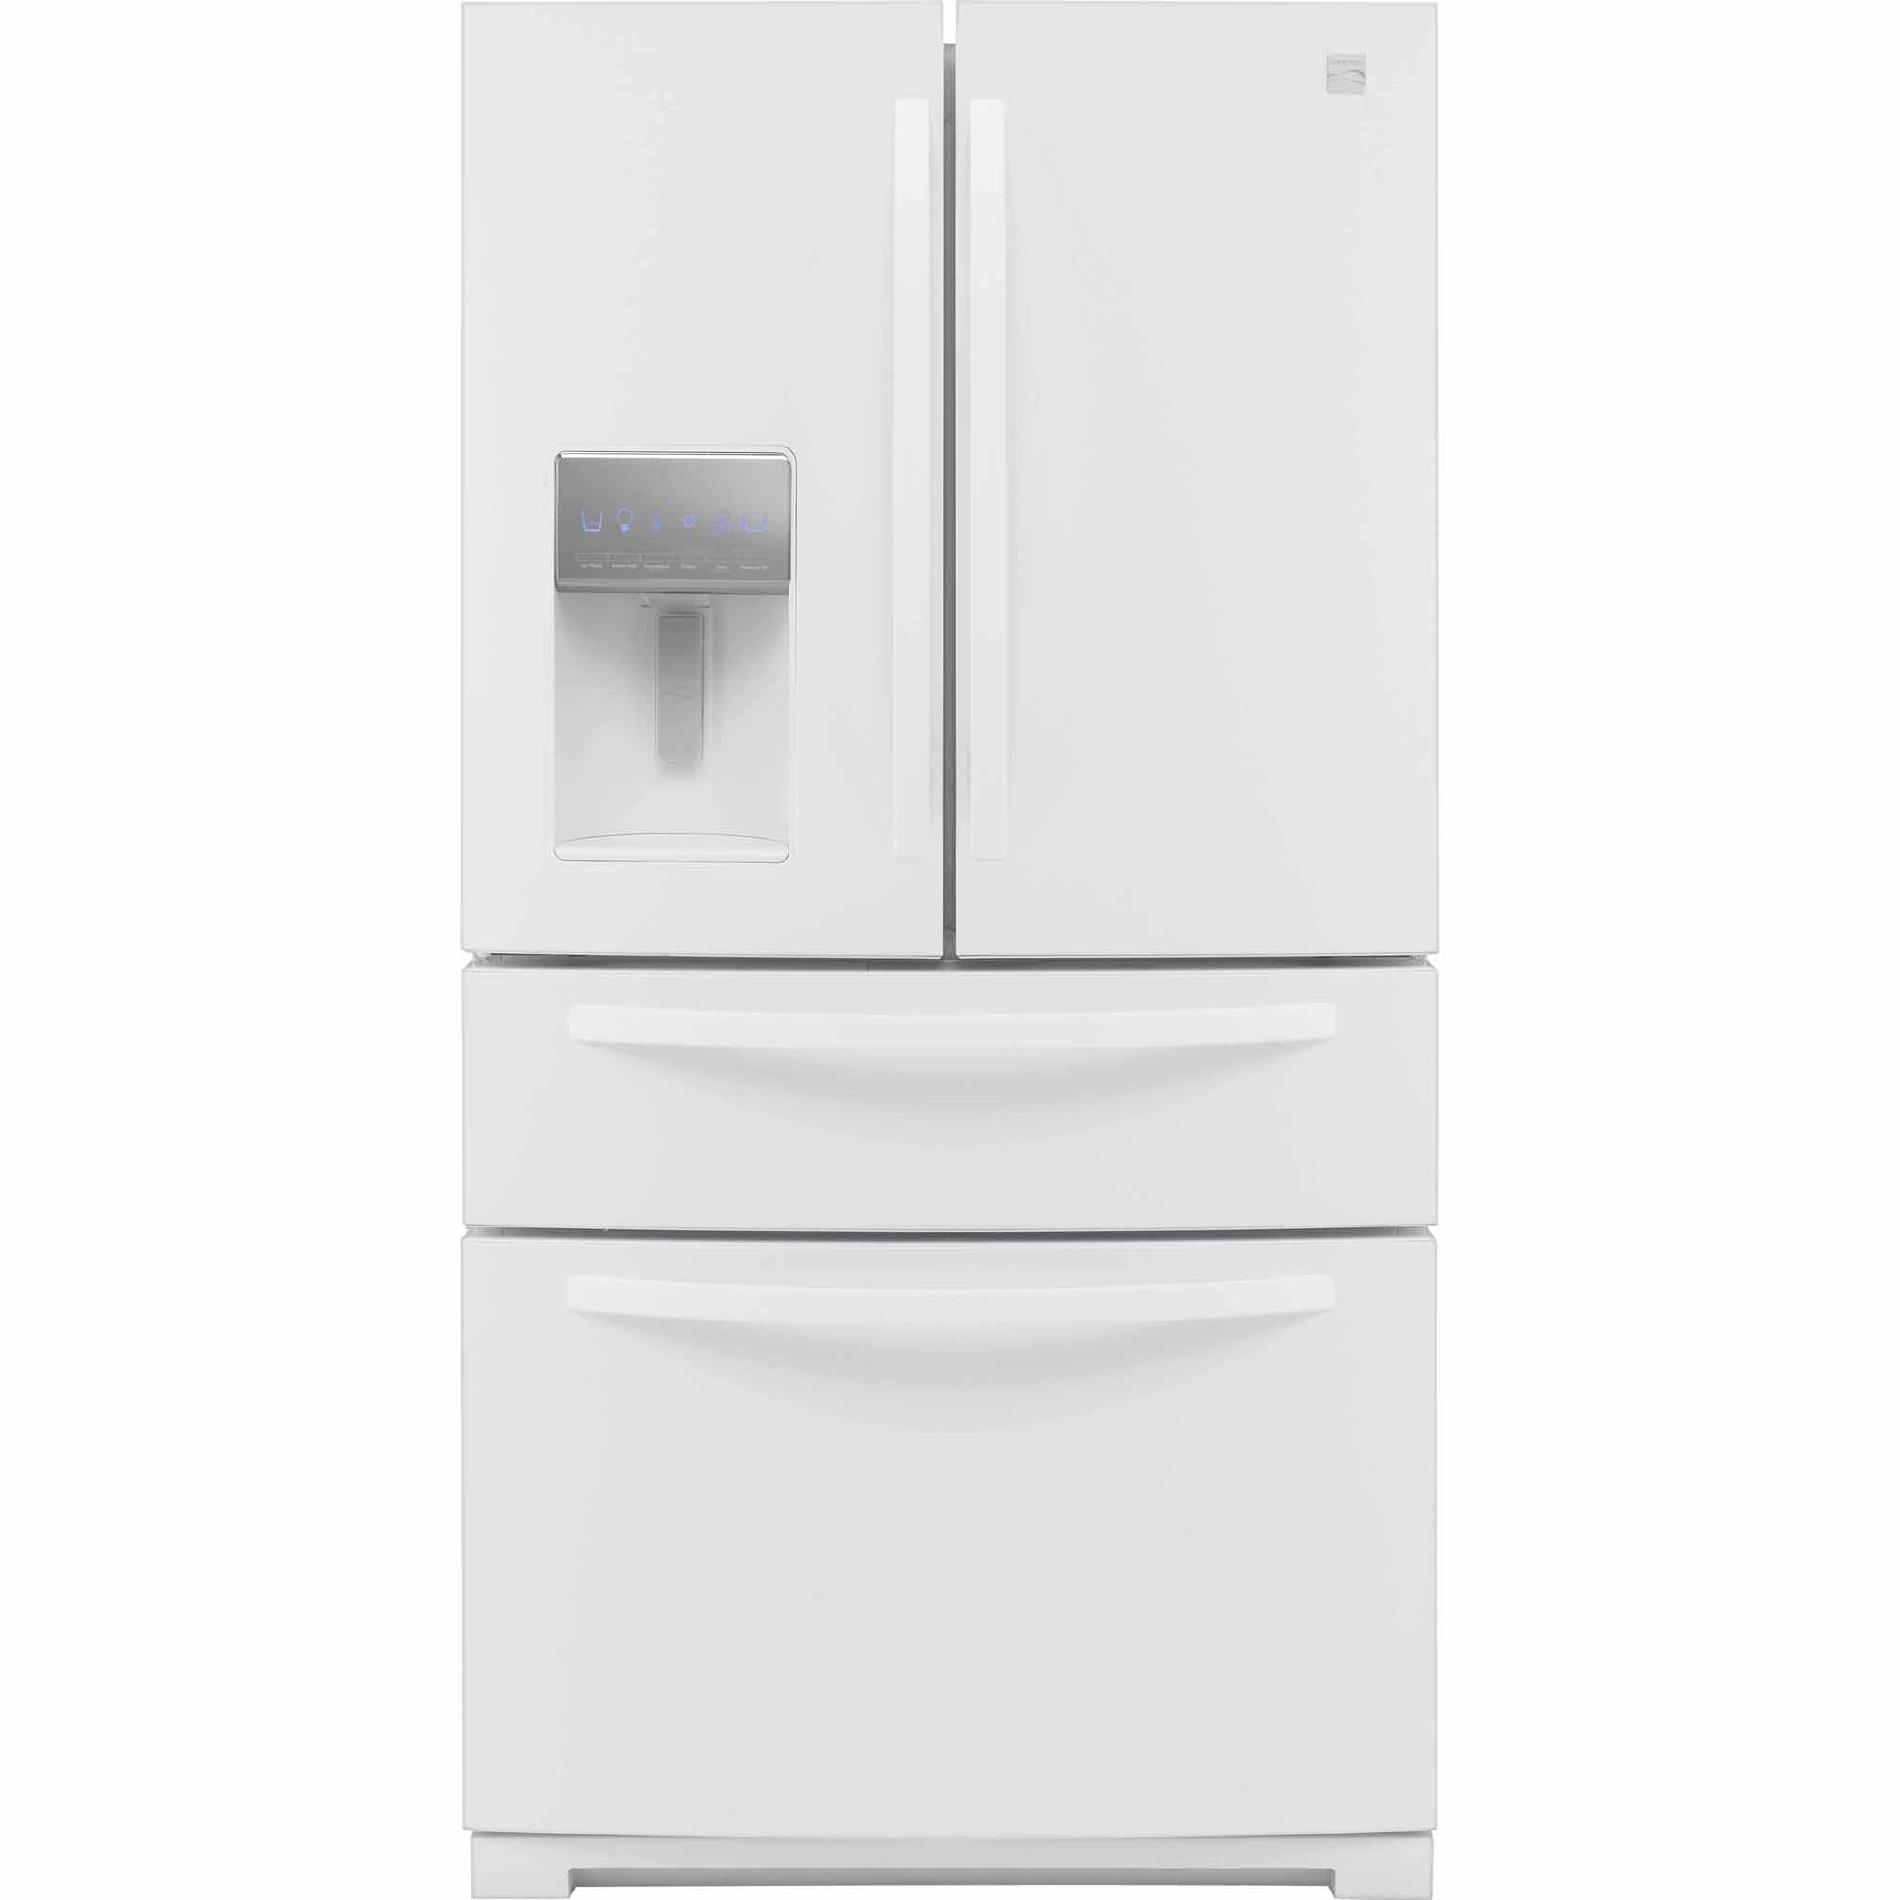
2.
A. ice/Water dispenser paddle
B. Measuring cup (1 cup)
Press and hold the SETTINGS and LOCI( buttons at the
same time for 3 seconds. The words "Back" and "1 Cup" will
appear on the display screen. Also, the Calibrate Measured
Fill icon will illuminate and remain lit while the Measured Fill
feature is being calibrated.
0
NOTE" You may press ICE/WATER "Back" at any time to
exit calibration mode. The Calibrate Measured Fill icon will
disappear.
22
Loading ...
Loading ...
Loading ...