
Loading ...
Loading ...
Loading ...
Installation
Before You Start
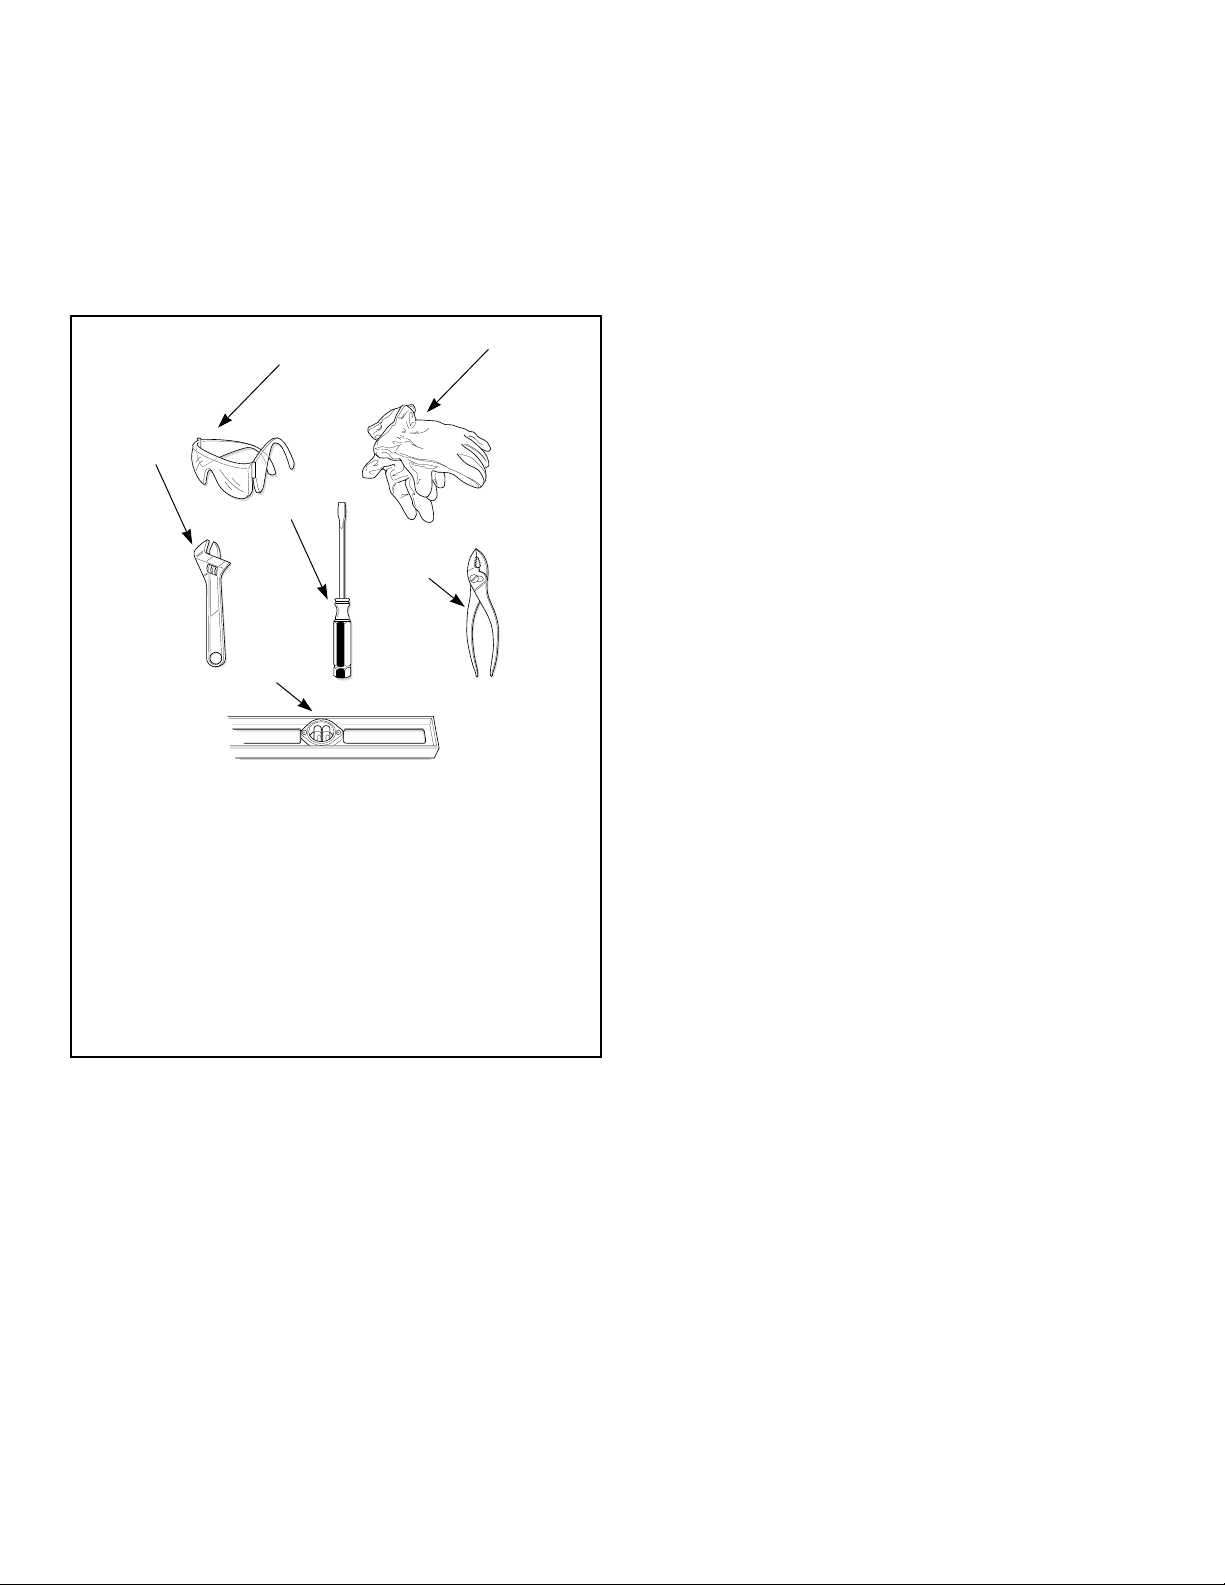
Tools
For most installations, the basic tools you will need are:
TLW2215N_SVG
1
2
3
4
5
6
NOTE: A cloth rag and all-purpose cleaner are also
needed.
1. Safety Glasses
2. Gloves
3. Wrench
4. Screwdriver
5. Pliers
6. Level
Figure 1
NOTE: If the washer is delivered on a cold day (below
freezing), or is stored in an unheated room or area dur-
ing the cold months, do not attempt to operate it until
the washer has had a chance to warm up.
NOTE: Install dryer before washer. This allows room for
attaching exhaust duct.
NOTE: This appliance is suitable for use in countries
having a warm, damp climate.
Order of Installation Steps
The proper order of steps must be followed to ensure correct in-
stallation. Refer to the list below when installing your unit.
1. Remove the shipping brace and shipping plug.
2. Wipe out inside of the washer.
3. Connect the fill hoses.
4. Connect the drain hose to the drain receptacle.
5. Position and level the washer.
6. Plug in the washer.
7. Add water to the washer.
8. Check the lid switch.
9. Check installation.
Remove the Shipping Brace and
Shipping Plug
1. Remove the shipping brace from under the lid.
2. The shipping plug will be released from the base of the wash-
er when removing the cardboard base from the washer. Refer
to Figure 2 .
The shipping brace and plug should be saved and must be rein-
stalled whenever washer is moved or transported to a new loca-
tion. This will prevent damage to washer components.
Do not tilt washer to front or sides when moving.
Refer to User-Maintenance section for instructions on reinstalling
shipping brace and shipping plug.
Installation
©
Copyright, Alliance Laundry Systems LLC -
DO NOT COPY or TRANSMIT
9 Part No. 204371EN
Loading ...
Loading ...
Loading ...