Loading ...
Loading ...
Loading ...
• 8 •
RATE SELECTION BUTTON
Use this button to select one of the following:
6<>2A CHARGE/MAINTAIN – For
charging small and large batteries. Not
recommended for industrial applications.
30A BOOST – For quickly adding
energy to a severely discharged or large
capacity battery prior to Engine Start.
85A ENGINE START – Provides
additional amps for cranking an engine
with a weak or run-down battery. Always
use in combination with a battery.
NOTE: Once the charger has started
charging the battery; if you press the Rate
Selection button once, the output
current is shut off and the display will show
OFF and then the battery voltage. If you
press the Rate Selection button again, the
current will go back on at the same setting
it was when it was turned off.
LED INDICATORS
CLAMPS REVERSED (red) LED
ashing: The connections are reversed.
(yellow/orange) LED lit:
The charger is charging/boosting
the battery.
CHARGED/MAINTAINING (green)
LED lit: The battery is fully charged and
the charger is in maintain mode.
NOTE: See Operating Instructions for a
complete description of the charger modes.
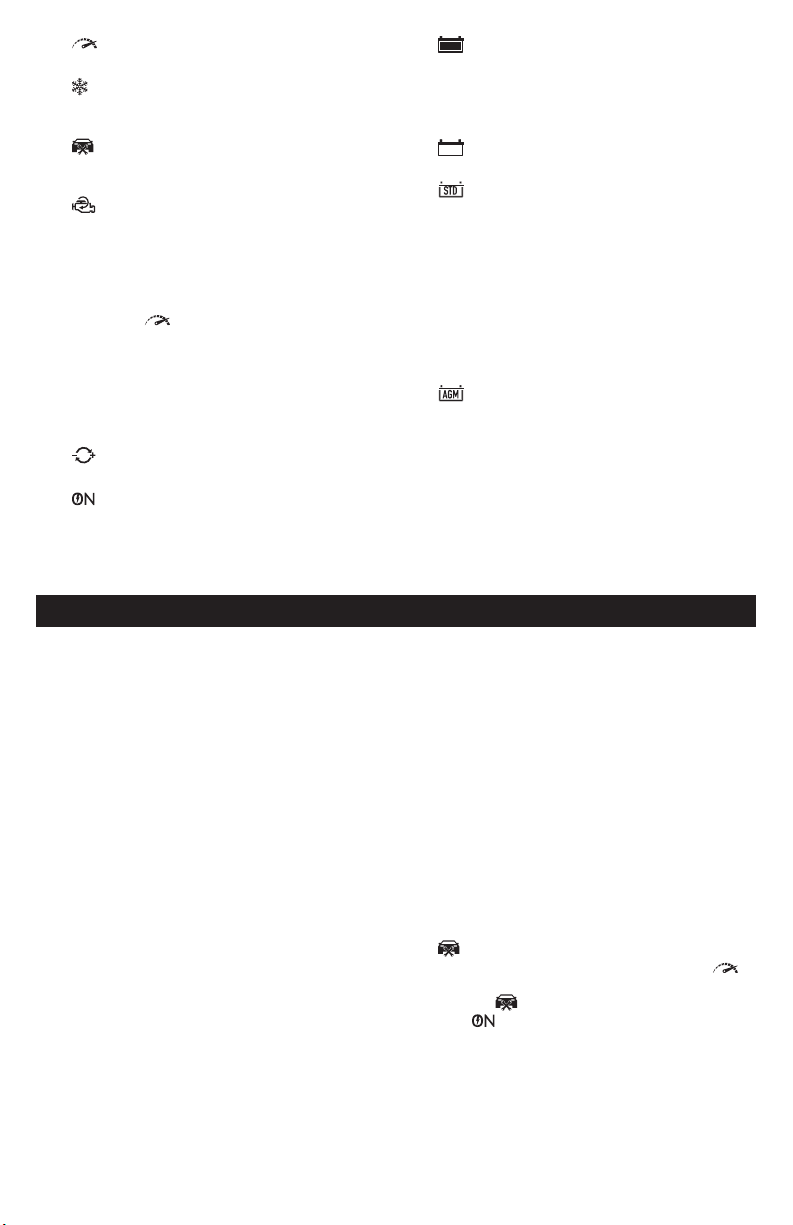
BATTERY TYPE BUTTON
Use this button to select the type of battery.
– Used in cars, trucks and
motorcycles, these batteries have
vent caps and are often marked “low
maintenance” or “maintenance-free”.
This type of battery is designed to
deliver quick bursts of energy (such as
starting engines) and has a greater plate
count. The plates are thinner and have
somewhat different material composition.
Standard batteries should not be used for
deep-cycle applications.
– The Absorbed Glass Mat
construction allows the electrolyte to
be suspended in close proximity with
the plate’s active material. In theory,
this enhances both the discharge and
recharge efciency. The AGM batteries
are a variant of Sealed VRLA (valve
regulated lead-acid) batteries. Popular
uses include high-performance engine
starting, power sports, deep-cycle, solar
and storage batteries.
11. OPERATING INSTRUCTIONS
WARNING: A spark near the battery may
cause an explosion.
NOTE: This charger is equipped with
an auto-start feature. Current will not be
supplied to the battery clamps until a
battery is properly connected. The clamps
will not spark if touched together (except
in Engine Start mode).
CHARGING A BATTERY
IN THE VEHICLE
1. Turn off all the vehicle’s accessories.
2. Keep the hood open.
3. Clean the battery terminals.
4. Place the charger on a dry, non-
ammable surface.
5. Lay the AC/DC cables away from any
fan blades, belts, pulleys and other
moving parts.
6. Connect the battery, following the
precautions listed in sections 6 and 7.
7. Connect the charger to an electrical
outlet.
8. Select the battery type and desired rate.
9. When charging is complete,
disconnect the charger from the AC
power, remove the clamps from the
vehicle’s chassis, and then remove
the clamp from the battery terminal.
CHARGING A BATTERY
OUTSIDE OF THE VEHICLE
1. Place battery in a well-ventilated area.
2. Clean the battery terminals.
3. Connect the battery, following the
precautions listed in sections 6 and 7.
4. Connect the charger to the electrical
outlet.
5. Select the battery type and desired rate.
6. When charging is complete,
disconnect the charger from the AC
power, disconnect the negative clamp,
and nally the positive clamp.
7. A marine (boat) battery must be
removed and charged on shore.
BOOST MODE
To select the Boost mode, press the
Rate Selection button until the yellow/
orange
30A Boost LED lights solid.
The LED will light solid if battery is
properly connected and the boosting
process will start. While in Boost mode,
the display will show the voltage. If a bad
battery is detected, the display will show
“bad / bat” and an error code.
NOTE: Boost mode will remain energized
until the Rate Selection button is pressed.
Loading ...
Loading ...
Loading ...