Loading ...
Loading ...
Loading ...
23
AUTOMATIC ICE & WATER DISPENSER
Cleaning the storage bin
Clean the ice
maker and ice
bin at regular
intervals,
especially prior
to vacation or
moving.
1 Turn off
the ice
maker.
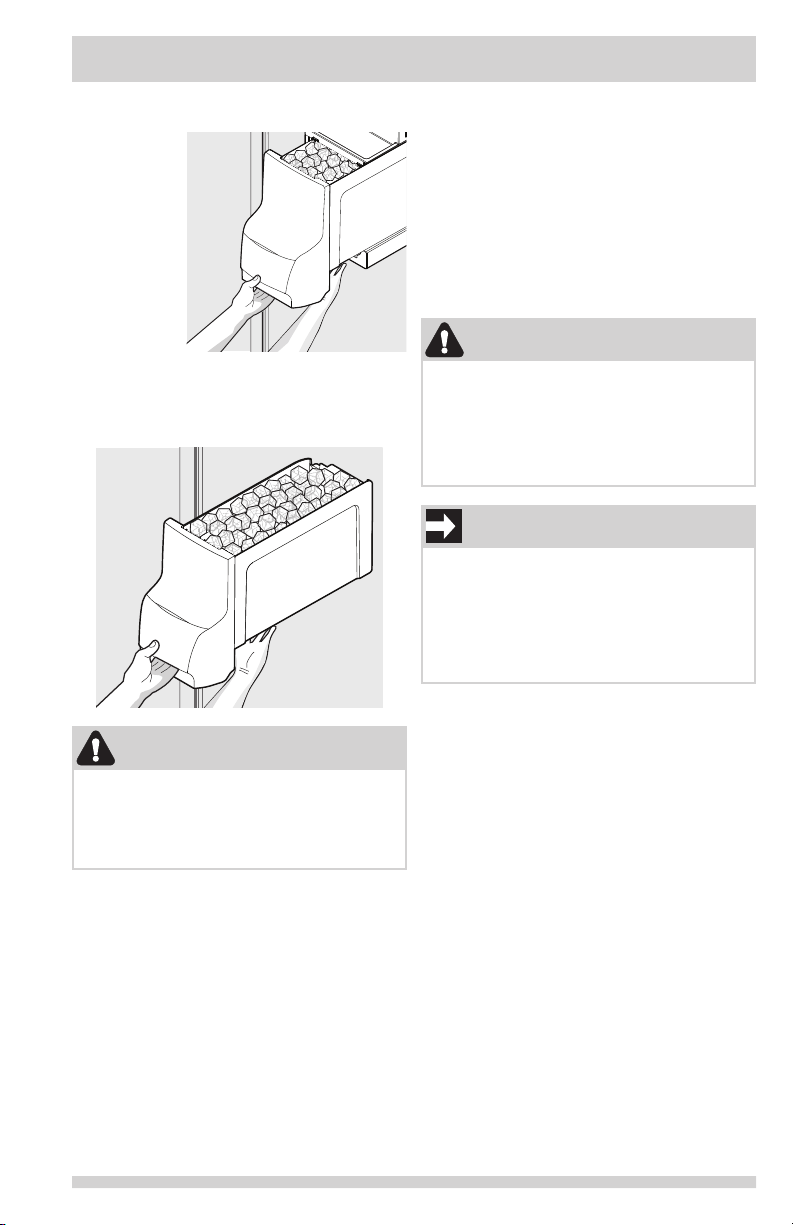
2 Remove
the ice
bin by
lifting up slightly on the front of the bin
and pulling it straight out of the ice maker
housing.
Removing Ice Bin
3 Empty and carefully clean the ice bin
with mild detergent. Do not use harsh or
abrasive cleaners. Rinse with clear water.
4 Allow the ice bin to dry completely before
replacing in the freezer.
5 Remove ice chips and clean the ice bin
shelf and the freezer door chute.
6 Replace the ice bin. Turn the ice maker on
to resume ice production.
Remove and empty the ice bin if:
• An extended power failure (one hour or
longer) causes ice cubes in the ice bin to
melt and refreeze together after power is
restored, jamming the dispenser mechanism.
• Youdonotusetheicedispenserfrequently.
Ice cubes will freeze together in the bin,
jamming the dispenser mechanism.
Remove the ice bin and shake to loosen the
cubes or clean as explained above.
CAUTION
Besuretormlysupporttheundersideoftheice
bin when removing it from the refrigerator. A stan-
dard depth bin that is full of ice will weigh about
15 pounds total, and a counter depth bin that is
full of ice will weigh about 12 pounds total.
CAUTION
NEVER use an ice pick or similar sharp
instrument to break up the ice. This could
damage the ice bin and dispenser mechanism.
To loosen stuck ice, use warm water.
Before replacing the ice bin, make sure it is
completely dry.
IMPORTANT
When removing or replacing the ice bin,
ensure that the ice bin is fully seated before
closing the freezer door. If the ice bin is not
positioned correctly the refrigerator will not
dispense ice. The freezer door also may not
close properly causing warm air to leak into
the freezer compartment.
Loading ...
Loading ...
Loading ...