Loading ...
Loading ...
Loading ...
69 70
ninjakitchen.eu
ninjakitchen.eu
USING THE
PRESSURE COOKING FUNCTIONS - CONT
NOTE: For larger food loads that require
more depressurisation, you can release
pressure by moving the valve to the
VENT position.
PRESSURISING
As pressure builds in the unit, the control
panel display will show "PrE" and progress
bars. Time to pressure varies based on the
amount and temperature of ingredients as
well as liquid in the pot. For safety, the lid
will lock as the unit pressurises and it will not
unlock until pressure is released. Once the
unit has reached full pressure, cooking will
begin and the timer will start counting down.
NATURAL PRESSURE RELEASE VS.
QUICK PRESSURE RELEASE
NATURAL: When pressure cooking is
complete, steam will naturally release from
the unit as it cools down. This can take up
to 20 minutes or more, depending on the
amount of liquid and food in the pot. During
this time, the unit will switch to Keep Warm
mode. Press the KEEP WARM button if you
would like to turn Keep Warm mode off.
When natural pressure release is complete,
the unit will display "OPN Lid".
DELAYED: Use ONLY if your recipe calls
for it. When pressure cooking is complete
and the KEEP WARM light is on, turn the
pressure release valve to the VENT position
to instantly release pressure through the
valve.
Even after releasing pressure naturally or
using the pressure release valve, some steam
will remain in the unit and will escape when
the lid is opened.
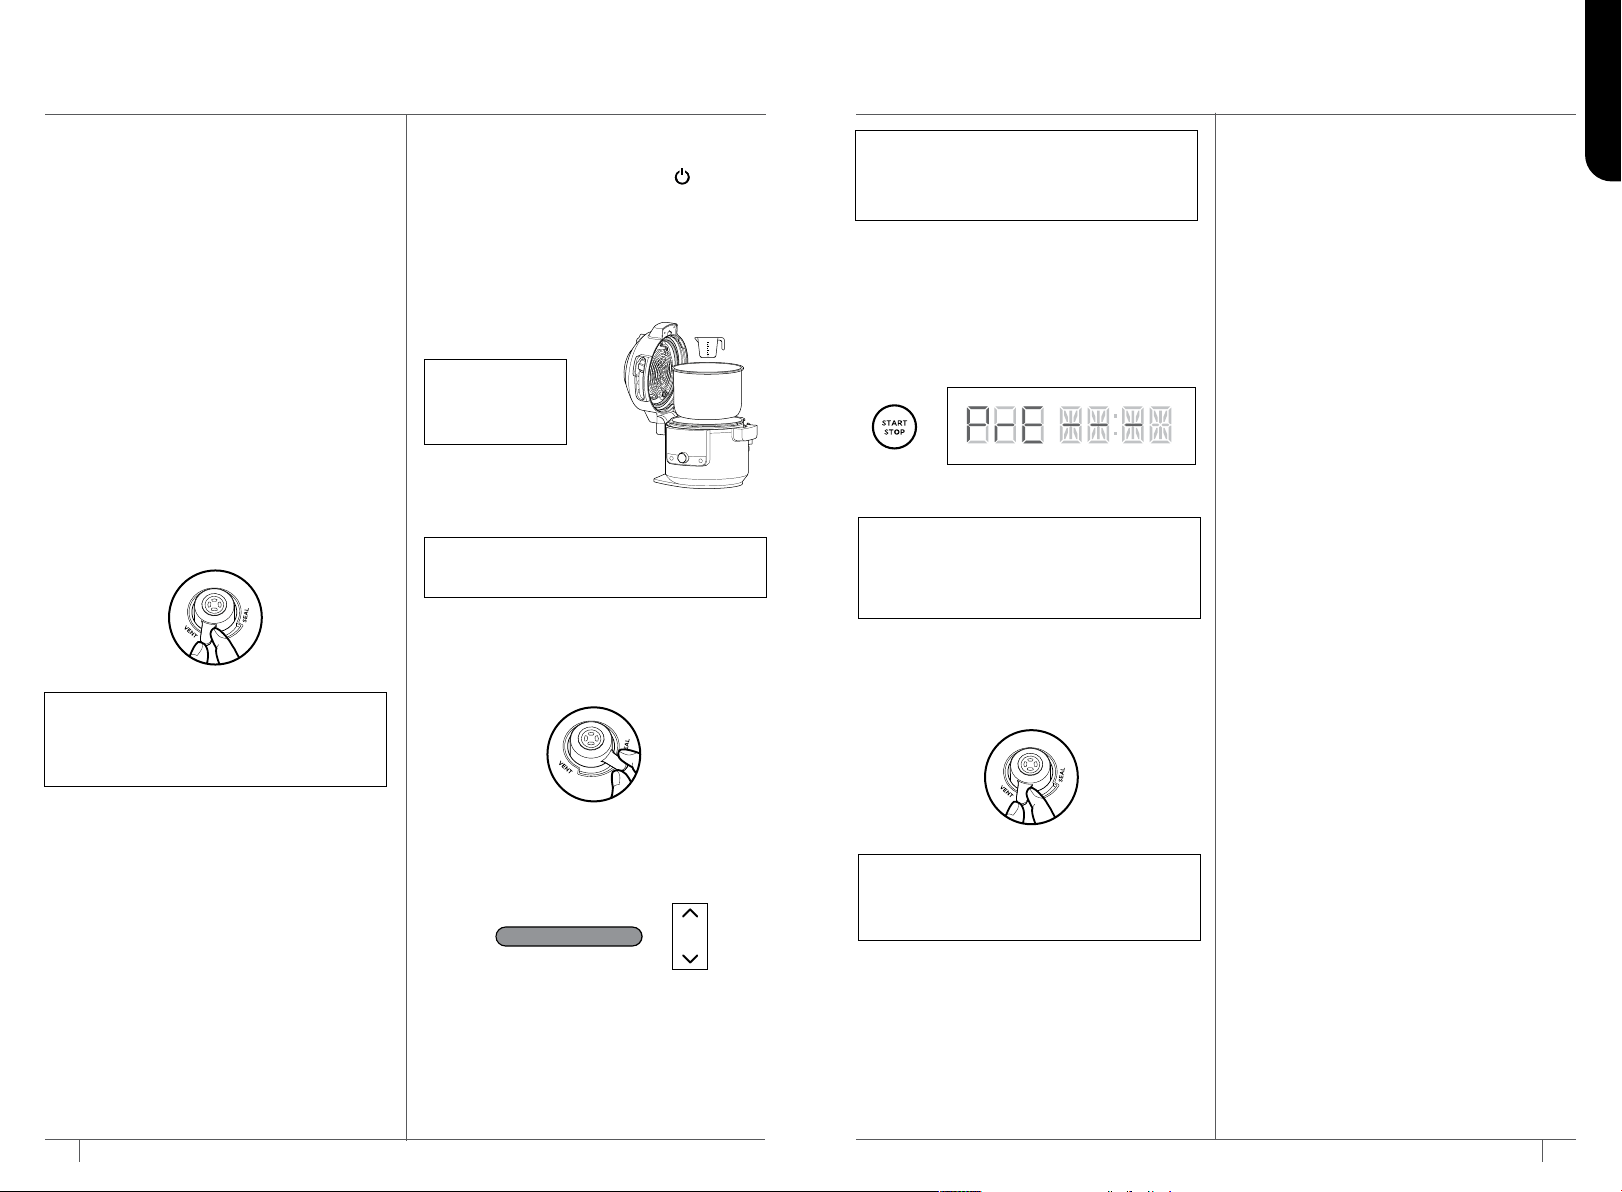
USING THE PRESSURE FUNCTION
To turn on the unit, plug the power cord
into a wall socket, then press the
button
.
Pressure
1 Place ingredients and at least 250ml
of liquid in the pot, as well as any
necessary accessory. DO NOT fill
the pot past the PRESSURE MAX line.
2 Close the lid, then turn the pressure
release valve to the SEAL position.
3 Move the slider to PRESSURE. Use the
up and down arrows to the left of the
display to select Hi or LO.
4 Use the up and down arrows to the
right of the display to adjust the cook
time in minute increments up to 1 hour
and then 5-minute increments from
1 hour to 4 hours.
NOTE: When cooking rice, beans or
other ingredients that expand, DO NOT
fill the pot more than halfway.
NOTE: Unit will
not pressurise
if there is not
enough liquid.
+
PRESSURE
5 Press START/STOP to begin cooking.
The unit will begin building pressure.
The display will show "PrE" and a
progress bar. The timer will begin
counting down when the unit is fully
pressurised.
6 When cook time reaches zero, turn the
pressure release valve to VENT position.
7 When the unit displays "OPN Lid," it has
depressurised and you can move the slider
to the right to open the lid.
NOTE: After cooking is complete, you
may press KEEP WARM to turn the
KEEP WARM mode off. Or press the
START/STOP button.
NOTE: If running for 1 hour or less, the
clock will count down by minutes and
seconds. If running for more than 1 hour,
the clock will count down by minutes only.
NOTE: Time to pressure varies
depending on the selected pressure.
current temperatures of the cooking
pot and temperature/quantity of the
ingredients.
+
ENGLISH
Loading ...
Loading ...
Loading ...