Loading ...
Loading ...
Loading ...
7
2. HEAT THE OVEN
DAILY USE
1. SELECT A FUNCTION
2. ACTIVATE A FUNCTION
3. USING THE ELECTRONIC PROGRAMMER
SETTING THE MINUTE MINDER
1 2
SETTING THE DURATION
3 4 5
6
FULLY AUTOMATIC PROGRAM / DELAYED START
7 8 9
A new oven may release odours that have been left
behind during manufacturing: this is completely
normal.
Before starting to cook food, we therefore recommend
heating the oven with it empty in order to remove any
possible odours.
Remove any protective cardboard or transparent film
from the oven and remove any accessories from inside
it. Heat the oven to 240 °C for about one hour. The
oven must be empty during this time. Follow the
instructions for setting the function correctly.
Please note: It is advisable to air the room after using the
appliance for the first time.
To select a function, turn the selection knob to the
symbol for the function you require.
To start the function you have selected, turn the
thermostat knob to set the temperature you require.
To interrupt the function at any time, switch off the
oven, turn the selection knob and the thermostat knob
to and .
By pressing the time button it is possible to select
various mode to keep or program the cooking time.
Please note: After few seconds without any interaction,
a buzzer sounds and all settings will be confirmed.
This option does not interrupt or activate cooking but
allows you to use the display as a timer, both while a
function is active and when the oven is off.
To activate the timer, long press the time button: the
symbol flashes on the display (1).
Use the and buttons to set the desired duration:
the countdown begins after a few seconds. The display
shows the time of the day and the remains lit,
confirmating the timer has been set (2).
At the end, long press the time button to deactivate the
alarm.
Please note: To view the countdown and change it if
necessary, press the time button 2 seconds again.
After selecting and activating the function, in order to
stop it automatically, you can set a cooking time.
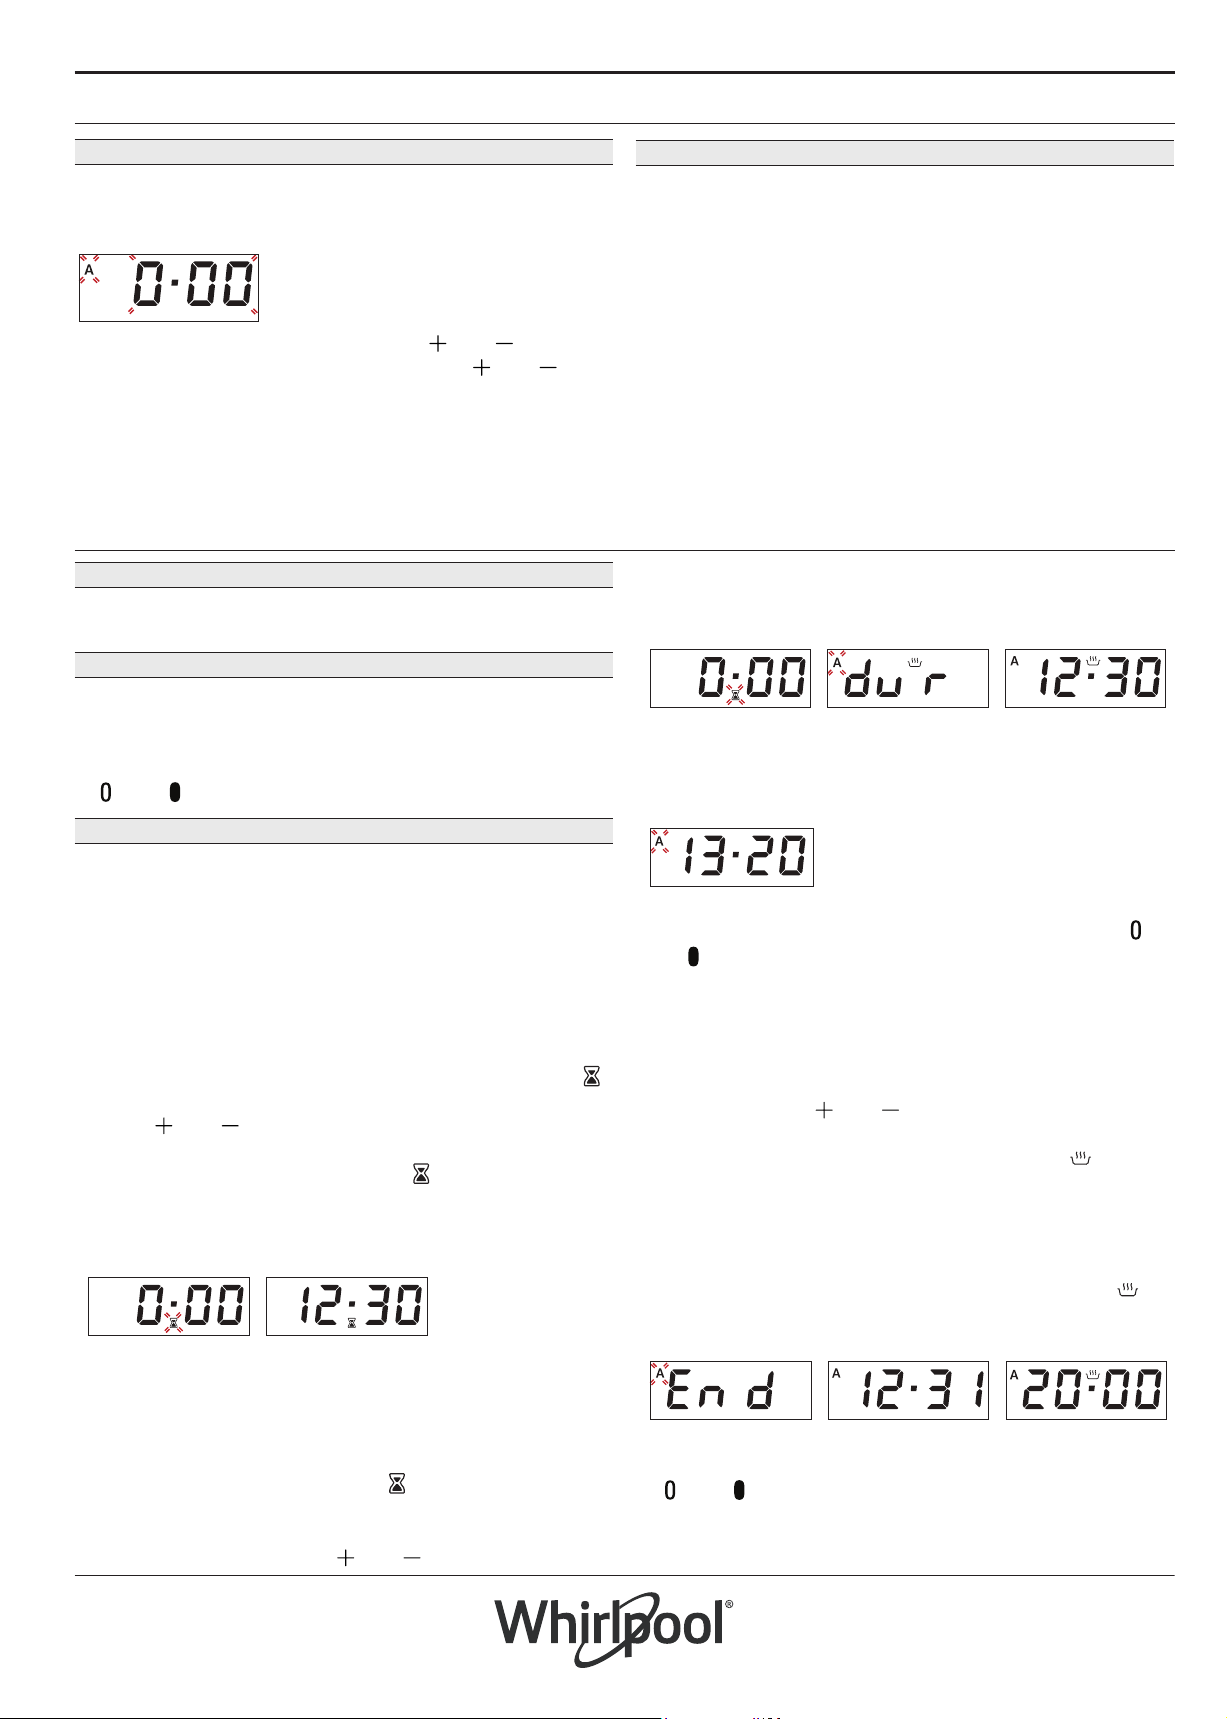
Long press the time button: the symbol flashes (3).
Press the time button again: DUR and A will flash on
the display (4).
Set the duration using the and buttons.
Please note: To see how much time is left and change the
remaining cooking time repeat the steps above.
When the set cooking time is over, an alarm will sound
and the cooking will be stopped (6).
Long press the time button to deactivate the alarm.
Return the selection knob and thermostat knob to
and to switch off the oven.
You can delay the start of the function by programming
its end time.
After setting the duration, press the time button until
the display shows END (7).
Press the buttons and to select the desired
cooking end time. After a few seconds the display
shows the time of the day, while the symbol
switches off and A remains lit, confirming the setting
(8).
Please note: To see and change the settings set repeat the
steps above.
The function will remain paused until the symbol
lights up: at that point the oven proceeds automatically
with the selected cooking mode (9).
At the end, long press the time button to deactivate the
alarm. Return the selection knob and thermostat knob
to and to switch off the oven.
Please note: By only selecting the end time (with no duration
setting), the function will immediately start. The cooking will
continue up to the required end time.
After a few seconds, the display will show the time of
the day while AUTO remains lit, confirming the setting
(5).
FIRST TIME USE
1. SETTING THE TIME AND THE TONE
You will need to set the time of the day when you
switch on the appliance for the first time: “A” and “0.00”
flash on the display.
To set the time of day, press buttons and at the
same time: Set the time of day using the and
buttons.
Press the time button to confirm.
Please note: To change the time of the day afterwards for
example following lengthy power outages, proceed as
described above.
Loading ...
Loading ...
Loading ...