
This manual contains important information regarding your unit. Please read this manual
thoroughly prior to equipment set-up, operation and maintenance. Failure to comply with regular
maintenance guidelines outlined in this manual may void the warranty.
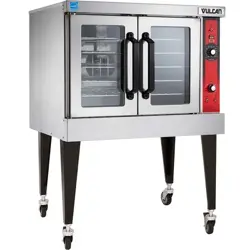
INSTRUCTION MANUAL
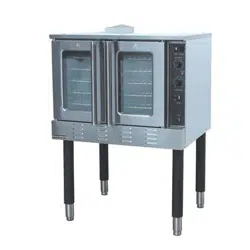
Full Size Gas Convection Oven

October 2015
WARNINGS
• Do not store or use gasoline or other fl ammable vapors or liquids in the vicinity of this or any other equipment
• Improper installation, adjustment, alteration, service or maintenance can cause property damage, injury or death
• Read the installation and maintenance instructions thoroughly before installing or servicing this equipment
• Have the equipment installed by a qualifi ed installer in accordance with all federal, state and local codes
• Do not install or use without all 4 legs
• This equipment is for use in non-combustible locations only
• Do not obstruct the fl ow of combustion and ventilation air
• Do not spray controls or the outside of the equipment with liquids or cleaning agents
• Allow for hot parts to cool before cleaning or moving
• This equipment should only be used in a fl at, level position
• Do not operate unattended
• Any loose dirt or metal particles that are allowed to enter the gas lines on this equipment will damage the valve and
affect its operation
• If you smell gas, follow the instructions provided by the gas supplier. Do not touch any electrical switch; do not try to
light the burner; do not use a telephone within close proximity.
TO INSTALL:
1. Remove unit from box and make sure all plastic, tape and packing materials are removed.
2. Place the unit on a fl at, secure surface with at least 12” of open space around all sides.
3. Install the feet onto the unit and make sure the unit is level
4. Check to make sure the outlet of the correct voltage for this item (120V) and gas connection is near. Do not use an
extension cord, this item must be plugged directly into an outlet.
5. Unit should be placed under a ventilation hood and their should be at least 2” of space between the back of the
oven and the wall. This will ensure proper airfl ow
The installation of this equipment must conform with local codes, or with the National Gas Code, ANSIZ223.1/NFPA 54,
or the Natural Gas and Propane Installation Code, CSA B149.1, as applicable.
The equipment and its individual shutoff valve must be disconnected from the gas supply piping system during any pres-
sure testing of that system at test pressures in excess of ½ psi (3.5 kPa).
The equipment must be isolated from the gas supply piping system by closing its individual manual shutoff valve during
any pressure testing of the gas supply piping system at test pressures equal to or less then ½ psi (3.5 kPa).
Clearance and positioning around the equipment:
This equipment must be installed adjacent to non-combustible surfaces only with a minimum spacing of 6” from all
sides. This equipment must be a distance of 6” from other equipment. The equipment must have the legs installed and
be placed on a non-combustible surface.
Air Supply and ventilation:
The area in front and around the equipment must be kept clear to avoid any obstruction of the fl ow of combustion and
ventilation air.
Adequate clearance must be maintained at all times in front of and at the sides of the equipment for servicing and
proper ventilation.
Pressure Regulator:
All commercial cooking equipment must have a pressure regulator on the incoming service line for safe and effi cient
operation. The regulator provided for this equipment is adaptable for both Natural gas and LP gas.
Regulator specifi cations: ¾” NPT inlet and outlet, factory adjusted for 4” WC Natural Gas standard and may be
converted by qualifi ed personnel to be used for Propane at 10” WC.
October 2015
Gas Conversion:
Conversion from Natural Gas to Liquid Propane (LP) or vice versa may only be performed by the factory or its authorized
service agent. In case of troubleshooting, ensure the correct orifi ce sizes of the tips have been provided.
Natural Gas Orifi ce is # 39
Liquid Propane Gas Orifi ce is #52
Orifi ce size is marked on the tip
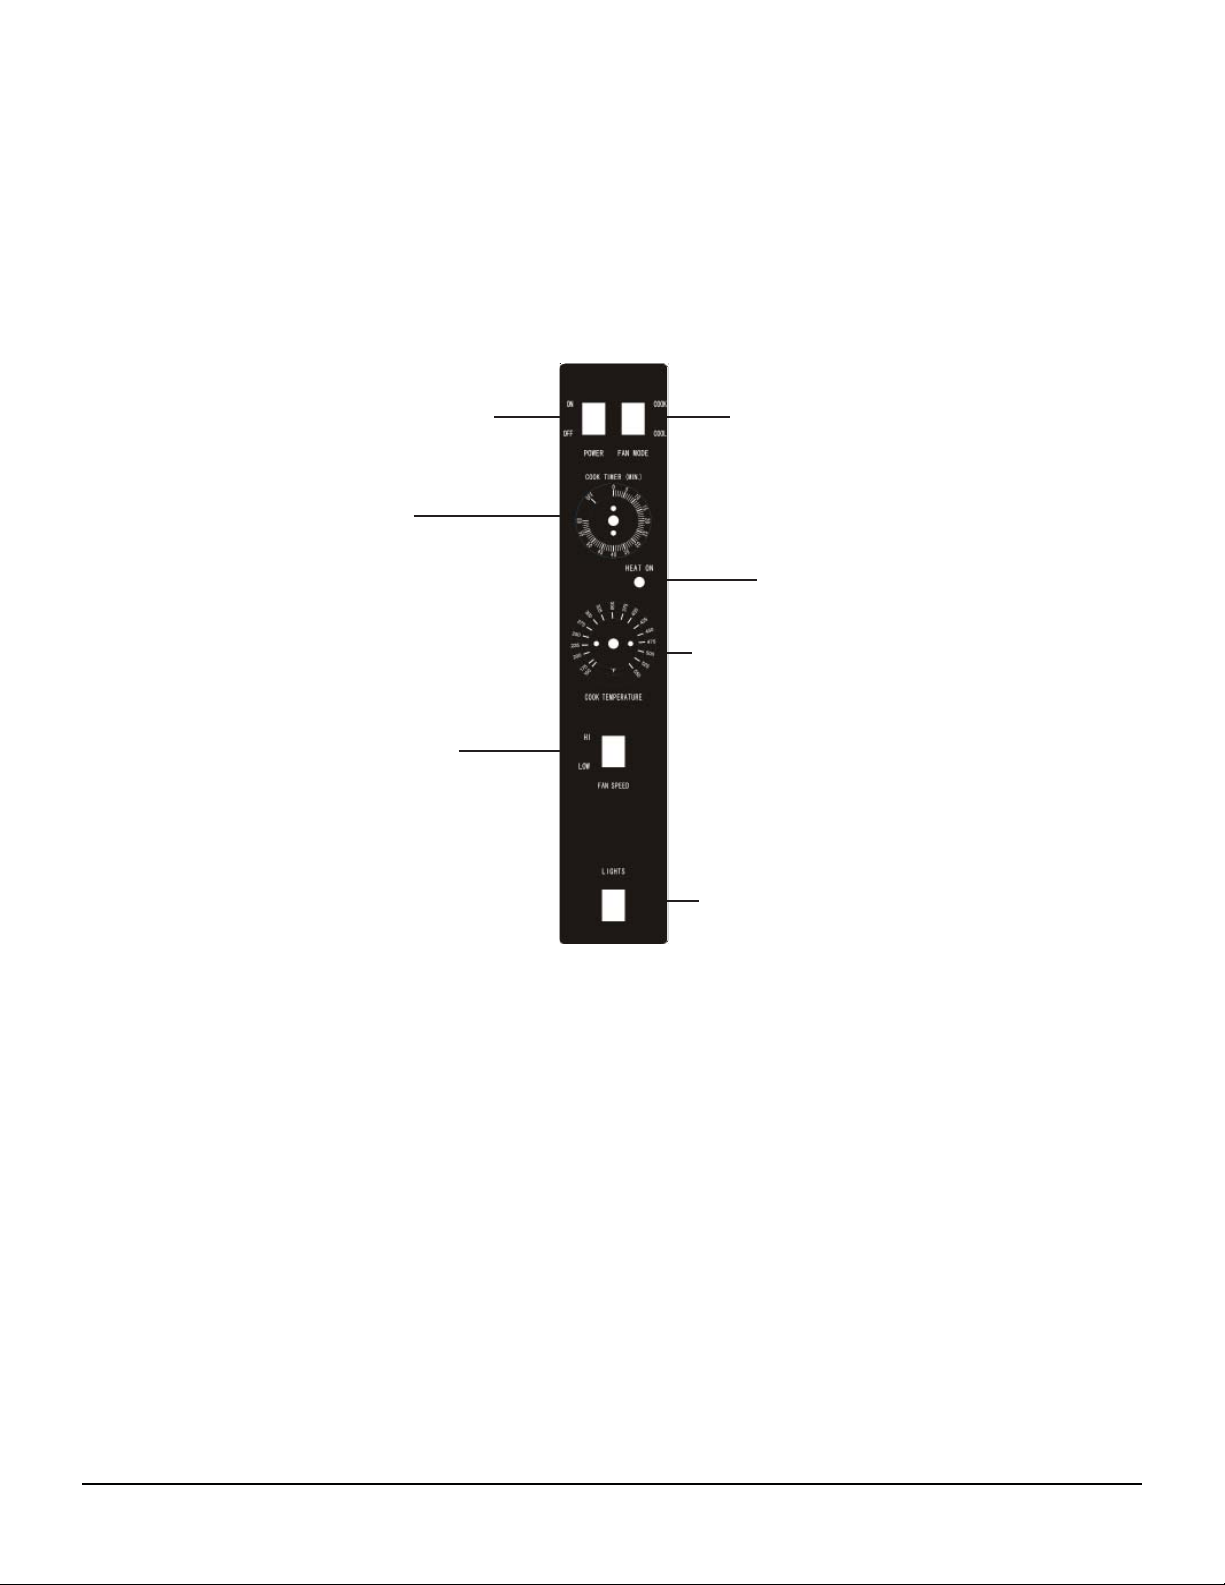
TO USE:
1. Turn the oven ON by using the power switch at the top of the control panel.
2. Select the desired fan speed using the fan speed switch
3. Switch the Fan Mode to Cook. In cook mode, the fan will run continuously when the oven doors are closed (The fan
does not cycle on and off with the burners). If the switch is set to COOL, the fan will continue to run even with the
doors open.
4. Set the cooking temperature by turning the Cook Temperature Control until the indicator mark on the knob is point-
ed to the desired cooking temperature. The HEAT ON indicator will light when the burners are on and will remain on
while the oven pre-heats.
5. Wait until the HEAT ON indicator has turned on and off three times. After the third time, the oven will have reached
the set cooking temperature.
6. Open the oven doors and load the product into the oven. Once product is set, close oven doors to start cooking
7. To set the Timer turn the Cook Timer until the indicator mark points to the desired cooking time. The timer goes
from 0-55 minutes. A buzzer will go off once the timer hits 0. The buzzer will shut off after a little while. The timer
does not control the oven. The timer will continue to run when the oven doors are open.
8. When the food is done cooking, you can quickly cool it down by opening the oven doors and switching the fan mode
to either COOL or HI.
9. When you are done cooking, turn the oven off by turning the temperature to the lowest setting and switching the
Power Switch to OFF.
Power Switch
Timer
Heat Indicator
Cooking Temperature
Fan Switch
Oven Interior Light Switch
Fan Mode
Control Panel Features
October 2015
CLEANING - NOTE: To maintain cleanliness and increase service life, this item should be cleaned daily. Do not immerse the
unit in water or any other liquid, if liquid enters the electrical compartment it may cause a short circuit or electrical shock.
1. Before cleaning or attempting to move this item always turn off, unplug and let cool.
2. Wipe the entire unit with a clean soft cloth until it is completely dry.
3. To avoid damage to the unit, do not use abrasive cleaners or scouring pads.
4. If soap or chemical cleaners are used, be sure they are completely rinsed away with clean water immediately after
cleaning. Chemical residue could damage or corrode the surfaces of the unit.
To avoid serious injury or damage, never attempt to repair or replace a damaged power cord yourself. Contact a professional repair
service.
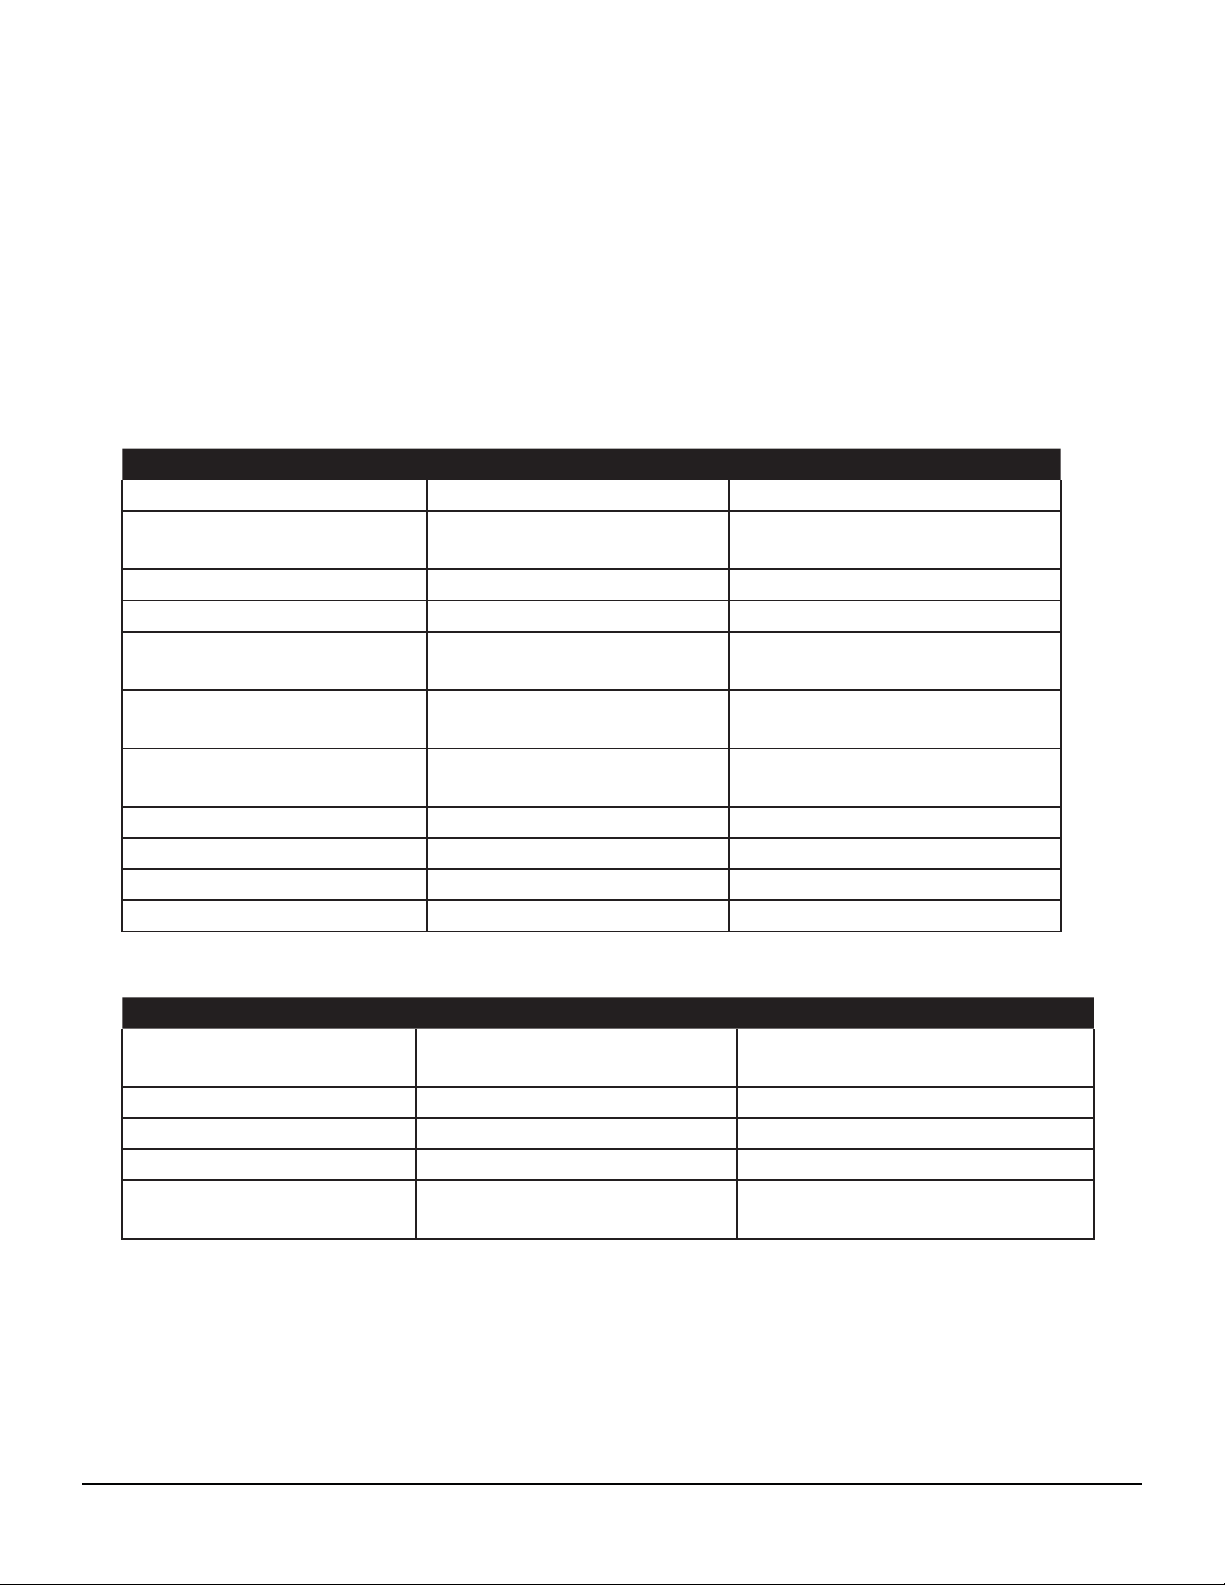
Problem Possible Causes Solution
No Heat Ignitor defective Call authorized Service center
No Heat
Power switch on control
panel is off
Set the control panel to COOK
No Heat Doors are open Close doors
No Heat Door micro switch defective Call authorized service center
No Heat
Gas valve to oven may be in
the cleared position
Turn gas valve on
Oven has not reached proper
temperature
The oven has not reached
pre-heat temperature
Wait for oven to reach pre-heat
temperature
Oven has not reached proper
temperature
Internal problem with main
temperature control
Call authorized service center
Convection fan does not run Oven has no electrical power Check electrical supply
Convection fan does not run Circuit breaker tripped Reset the breaker
Convection fan does not run Doors are open Close doors
Convection fan does not run Door Micro-switch defective Call authorized service center
Problem Possible Causes Solution
Food Browns unevenly Improper heating temperature
Pre-heat until desired temperature
is reached
Food Browns unevenly Baking pan dark or glass Lower oven temp by 25°F
Food dries before browning Oven temp too high Lower oven temp
Food dries before browning Oven door opened too much Stop opening oven door so much
Oven cycles 3 times and
locks itself out
Flame sensor defective Call authorized service center
TROUBLESHOOTING
HELPFUL HINTS

October 2015
Wiring Diagram for the Gas Convection Oven
October 2015
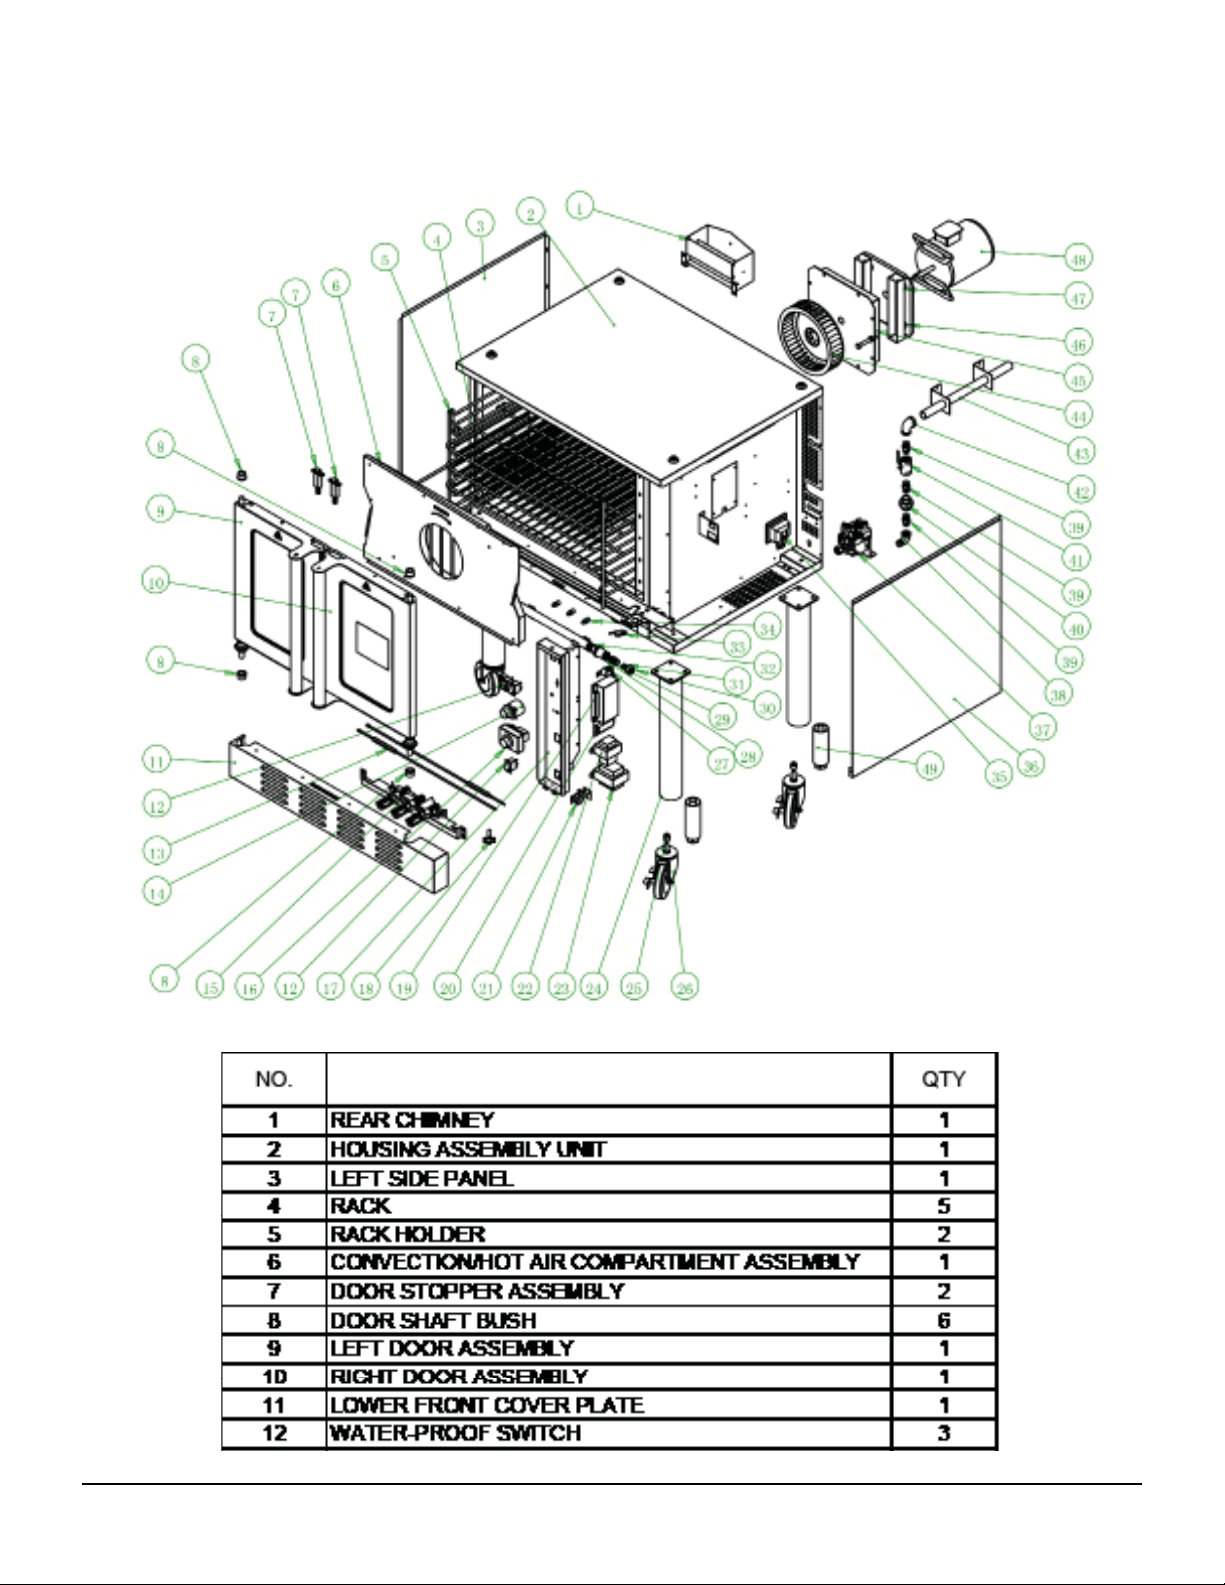
Parts Diagram for the Gas Convection Oven
Description
October 2015
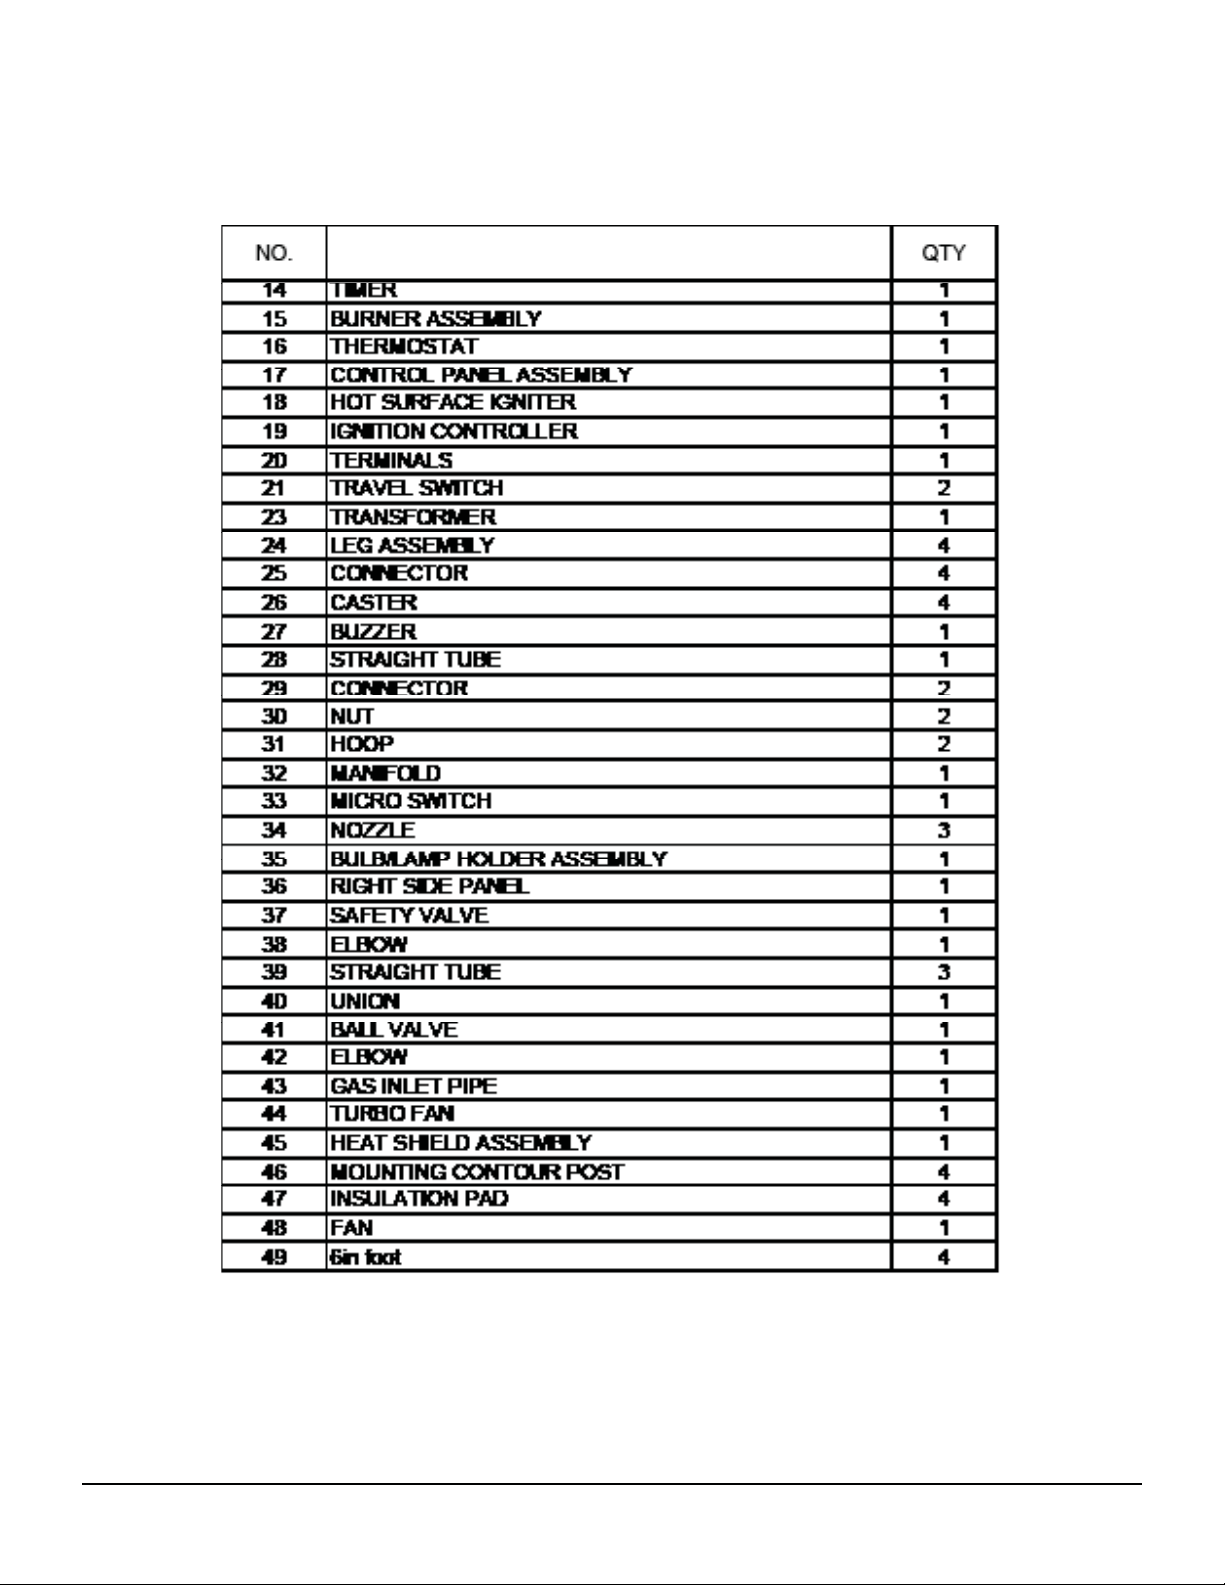
Parts List for the Gas Convection Oven
Description

1DWLRQDO6HUYLFH$PHULFD3DUN$YH6XLWH1HZ<RUN1<
1DPHRI%XVLQHVV
0RGHO1XPEHU 6HULDO1XPEHU
$GGUHVV &LW\ 6WDWH =LS&RGH
'HDOHU3XUFKDVHG)URP
7KLVLVWRLQIRUPWKDW,BBBBBBBBBBBBBBBBBBBBBBBBBBBBBBBBBBBBBBBBBBBBBBBBBBBBBBBBBB
KDYHKDGWKHDERYHLQVWDOOHGLQP\SODFHRIEXVLQHVVBBBBBBBBBBBBBBBBBBBBB
&RQWDFW3KRQH1XPEHU &RQWDFW(PDLO 6LJQDWXUHRILQGLYLGXDOZKRRZQV%XVLQHVV
7KHDERYHZDUUDQWLHVDUHLQHIIHFWIURPWKLVLQVWDOODWLRQGDWHRUGD\VZKLFKHYHUFRPHV¿UVW
:$55$17<
5(*,675$7,21
&$5'
0$,/&$5'
,00(',$7(/<
7KLVFDUGPXVWEH
PDLOHGLPPHGLDWHO\
DIWHULQVWDOODWLRQGDWH
IRUZDUUDQW\WREHLQ
HIIHFW
3OHDVHSULQWQDPHRILQGLYLGXDOZKRRZQVEXVLQHVV
'DWHRI3XUFKDVH
:$55$17<
$&(ZDUUDQWVLWVHTXLSPHQWDJDLQVWGHIHFWVLQPDWHULDOVDQGZRUNPDQVKLSVXEMHFWWRWKHIROORZLQJFRQGLWLRQV
$&((TXLSPHQWLVZDUUDQWHGIRURQH\HDUHIIHFWLYHIURPWKHGDWHRISXUFKDVHE\WKHRULJLQDORZQHU$FRS\RIWKHRULJLQDOUHFHLSWRURWKHUSURRI
RISXUFKDVHLVUHTXLUHGWRREWDLQZDUUDQW\FRYHUDJH7KLVZDUUDQW\DSSOLHVWRWKHRULJLQDORZQHURQO\DQGLVQRWDVVLJQDEOH
7KHVWDLQOHVVVWHHOIU\WDQNKDVD¿YH\HDUOLPLWHGWDQNZDUUDQW\,IGXULQJWKH¿UVW\HDUWKHWDQNLVIRXQGWRKDYHDOHDNDQGLVYHUL¿HGE\DQ
DXWKRUL]HGVHUYLFHFRPSDQ\WKHHQWLUHIU\HUZLOOEHUHSODFHG'XULQJ\HDUVWZRWKURXJK¿YHDQHZWDQNZLOOEHJLYHQ
6KRXOGDQ\SURGXFWIDLOWRIXQFWLRQLQLWVLQWHQGHGPDQQHUXQGHUQRUPDOXVHZLWKLQWKHOLPLWVGH¿QHGLQWKLVZDUUDQW\DW$&(¶VGLVFUHWLRQVXFK
SURGXFWZLOOEHUHSDLUHGUHSODFHGZLWKDUHIXUELVKHGXQLWRUUHSODFHGZLWKDQHZXQLWE\$&(DIWHUGHIHFWLYHXQLWKDVEHHQLQVSHFWHGDQGGHIHFW
KDVEHHQFRQ¿UPHG$&(GRHVQRWDVVXPHDQ\OLDELOLW\IRUH[WHQGHGGHOD\VLQUHSODFLQJDQ\LWHPEH\RQGLWVFRQWURO7KLVZDUUDQW\GRHVQRW
DSSO\WRUXEEHUDQGQRQPHWDOOLFV\QWKHWLFSDUWVWKDWPD\QHHGWREHUHSODFHGGXHWRQRUPDOXVDJHZHDURUODFNRISUHYHQWDWLYHPDLQWHQDQFH
7KLVZDUUDQW\FRYHUVSURGXFWVVKLSSHGLQWRWKHFRQWLJXRXV8QLWHG6WDWHV+DZDLLDQGPHWURSROLWDQDUHDVRI$ODVNDDQG&DQDGD:DUUDQW\
FRYHUDJHRQSURGXFWVXVHGRXWVLGHWKHFRQWLJXRXV8QLWHG6WDWHV+DZDLLDQGPHWURSROLWDQDUHDVRI$ODVNDDQG&DQDGDPD\YDU\
7KHIROORZLQJFRQGLWLRQVDUHQRWFRYHUHGE\ZDUUDQW\
(TXLSPHQWIDLOXUHUHODWLQJWRLPSURSHULQVWDOODWLRQLPSURSHUXWLOLW\FRQQHFWLRQRUVXSSO\DQGSUREOHPVGXHWRLPSURSHUYHQWLODWLRQ
(TXLSPHQWWKDWKDVQRWSURSHUO\EHHQPDLQWDLQHGGDPDJHIURPLPSURSHUFOHDQLQJDQGZDWHUGDPDJHWRFRQWUROV
(TXLSPHQWWKDWKDVQRWEHHQXVHGLQDQDSSURSULDWHPDQQHURUKDVEHHQVXEMHFWWRPLVXVHQHJOHFWDEXVHDFFLGHQWDOWHUDWLRQ
QHJOLJHQFHGDPDJHGXULQJWUDQVLWGHOLYHU\RULQVWDOODWLRQ¿UHÀRRGULRWRUDFWRI*RG
(TXLSPHQWWKDWKDVWKHPRGHOQXPEHURUVHULDOQXPEHUUHPRYHGRUDOWHUHG
(TXLSPHQWRQZKLFKWKHVHFXULW\VHDOKDVEHHQEURNHQ
,IWKHHTXLSPHQWKDVEHHQFKDQJHGDOWHUHGPRGL¿HGRUUHSDLUHGZLWKRXWH[SUHVVZULWWHQSHUPLVVLRQIURP$&(WKHQWKHPDQXIDFWXUHUVKDOOQRW
EHOLDEOHIRUDQ\GDPDJHVWRDQ\SHUVRQRUWRDQ\SURSHUW\ZKLFKPD\UHVXOWIURPWKHXVHRIWKLVHTXLSPHQWWKHUHDIWHU
7KLVHTXLSPHQWLVLQWHQGHGIRUFRPPHUFLDOXVHRQO\DQGWKLVZDUUDQW\LVYRLGLIHTXLSPHQWLVXVHGLQRWKHUWKDQDFRPPHUFLDODSSOLFDWLRQ
)RUZDUUDQW\DQGQRQZDUUDQW\UHODWHGLVVXHVDQGWHFKQLFDOVXSSRUWFDOO16$DW3OHDVHKDYH\RXUPRGHOQXPEHUVHULDOQXPEHU
DQGSURRIRISXUFKDVHUHDG\,WLVQRWQHFHVVDU\WRFRQWDFWWKHSODFHZKHUH\RXRULJLQDOO\SXUFKDVHG\RXUSURGXFWIURP
³7+()25(*2,1*:$55$17<,6,1/,(82)$1<$1'$//:$55$17,(6(;35(66('25,03/,(',1&/8',1*$1<,03/,('
:$55$17<2)0(5&+$17$%,/,7<25),71(66)253$57,&8/$5385326(6$1'&2167,787(67+((17,5(/,$%,/,7<2)$&(
,112(9(17'2(67+(/,0,7(':$55$17<(;7(1'%(<21'7+(7(50667$7('+(5(,1´
Please fi ll out and return the warranty registration card below to the address provided