Loading ...
Loading ...
Loading ...
19
Setting the cooking end time
1. Check the clock displays the correct time of day.
2. Select the desired oven function temperature. The oven
indicator light will glow and the heating source will
come on.
3. Press the “mode“ button until the “end time” indicator
begins flashing.
4. Enter the time of day you want to finish cooking by
change, the “end time” indicator
will stop flashing
and the current time of day will be displayed.
Setting the delayed start cooking time
1. Program the “cook time” and “end time” as described
“end time” have been set, the “cook time” and “end
time” indicators will stop flashing and the current time
of day will be displayed.
To check or cancel settings
1. To check your settings, press the mode button until
the setting you want is displayed. A red light will
flash next to the mode (cook time, end time etc)
that is currently on display.
2. To cancel “delayed start” press the mode button until
button until the clock no longer reverses (you will hear
a beep). If you have left the temperature knob at a
setting the oven will start once the “end time” light
stops flashing.
3. To cancel “auto shut off” press the mode button until
a light flashes next to “cook time”. Press and hold the
and you will hear a beep). This automatically cancels
“delayed start”. If you have left the temperature knob at
a setting, the oven will start once the “cook time” light
stops flashing. Because you have cancelled “auto off” the
oven will continue to heat until you manually turn it off.
On completion of cooking
The heat source will turn off, the timer will beep and
the “end time” and/or “cook time” indicators will flash.
1. Turn the temperature control to the off position.
2. Press any button to stop the timer from beeping.
WARNING
Safety Warnings about cleaning
before cleaning.
damage aluminium parts.
Cleaning the enamel
dipped in warm soapy water.
creamed cleanser.
steel wool or wax polishes.
on the product carefully.
Cleaning the control panel
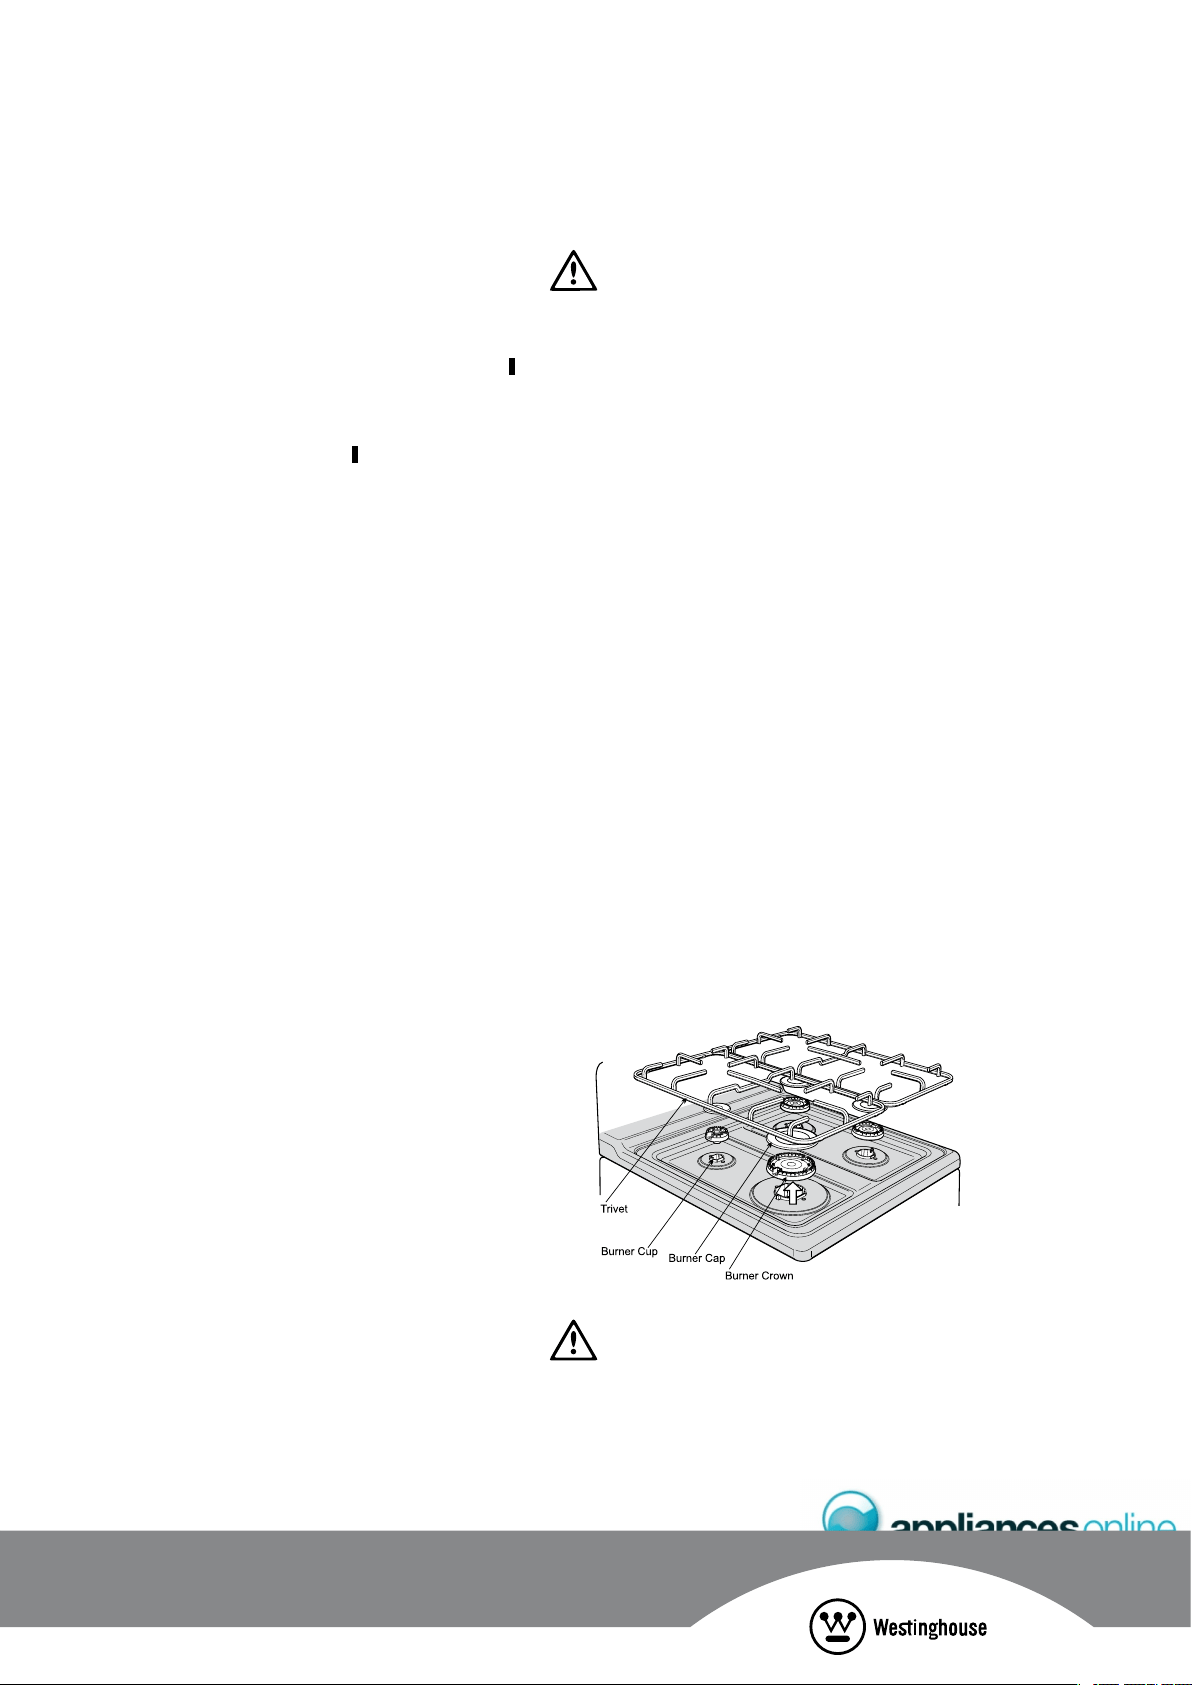
CLEANING THE GAS COOKTOP
1. Remove the trivets (see diagram below) by lifting
them from hob.
2. Remove the burner caps and crowns (see diagram below).
3. Wash hob with warm soapy water.
abrasive cleaning compound.
WARNING
the enamel surface.
OPERATING THE PROGRAMMABLE CLOCK
(continued)
CLEANING THE COOKER
OPERATION
Loading ...
Loading ...
Loading ...