Loading ...
Loading ...
Loading ...
5
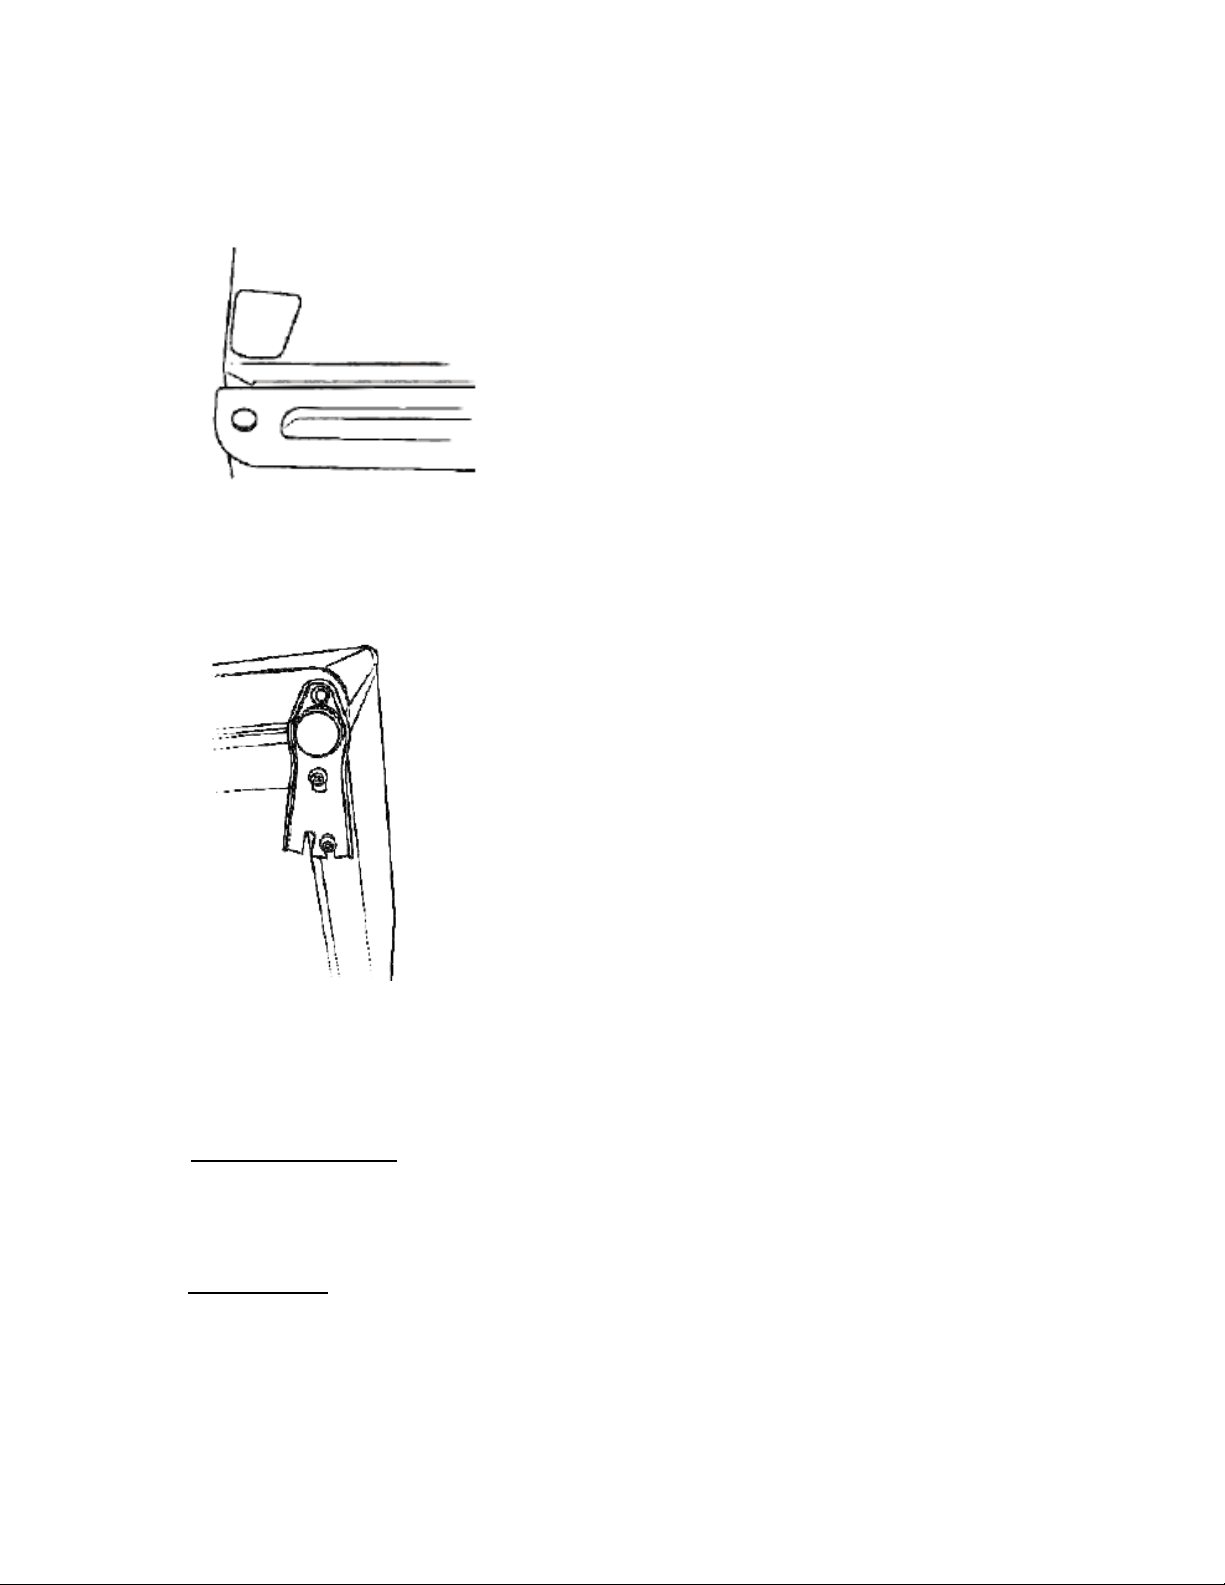
3. Remove the plastic insert on the opposite side of the fridge and door. Now fix the top door
bracket to this side using the screws that were previously removed. Replace the plastic
hinge cover.
4. Remove the adjustable foot at the bottom of the fridge and set aside.
5. Unscrew the two screws holding the bottom door hinge and carefully move it across to the
opposite side. Before fixing it into position, fit the door to the top and bottom hinge (care
must be taken as the door will be loose). Once this has been completed, screw in the
adjustable foot to the opposite side of the fridge.
Check that the door opens and shuts correctly after you have completed the door reversal
process.
The appliance must now be upright for a minimum of 3 hours before turning it on
Preparation
a. Electrical connection: The cooler requires a three-hole, well-grounded socket with fuse.
Never ground the cooler through a gas pipe, tap water pipe or the grounded wire of single-
phase power supply. The power supply should be 110 to120 VAC / 60Hz. It requires a
voltage stabilizer of over 500VA if the power supply is out of this range. Never share the
same circuit with other appliances.
b. Operation test: Connect the cooler to power supply. The fan and compressor will run. The
LED will light by turning on the switch fixed on the panel inside cabinet. In 30 minutes, the
temperature inside the cabinet should have cooled down, indicating normal operation.
Loading ...
Loading ...
Loading ...