Loading ...
Loading ...
Loading ...
. Open the blade guard all the way until it stops, and
release it several times. It should always return to its
original position by spring action.
CAUTION: If the blade guard fails to operate properly,
the spring must be replaced or adjusted.
. To replace spring, contact your nearest Sears store
or service center.
° To adjust or to assemble spring see "Adjusting Blade
Guard", page 9.
AVOID DAMAGE TO BLADES
Jointer/planer is a precision woodworking machine and
should only be used on quality lumber. Using bad lumber
could result in a poor quality cut on subsequent pieces.
For proper operation, it is preferable to use the jointer with
a dust collecting system (see "Using a Vacuum Hose",
page 8) attached to the exhaust port in the rear of the
jointer. Attaching a dust collecting system is especially
required when taking deeper cuts to prevent clogging of
wood chips.
. Do not use dirty boards. Dirt and stones are abrasive
and will wear blade.
. Remove nails and staples. Jointer should only cut wood.
. Avoid knots. Heavy cross-grain makes knots hard
and they can come loose and jam the jointer.
. Assess value of badly warped boards. Operator can
be tempted to use too deep of cut to square boards
quickly. Use several passes to maintain a level surface.
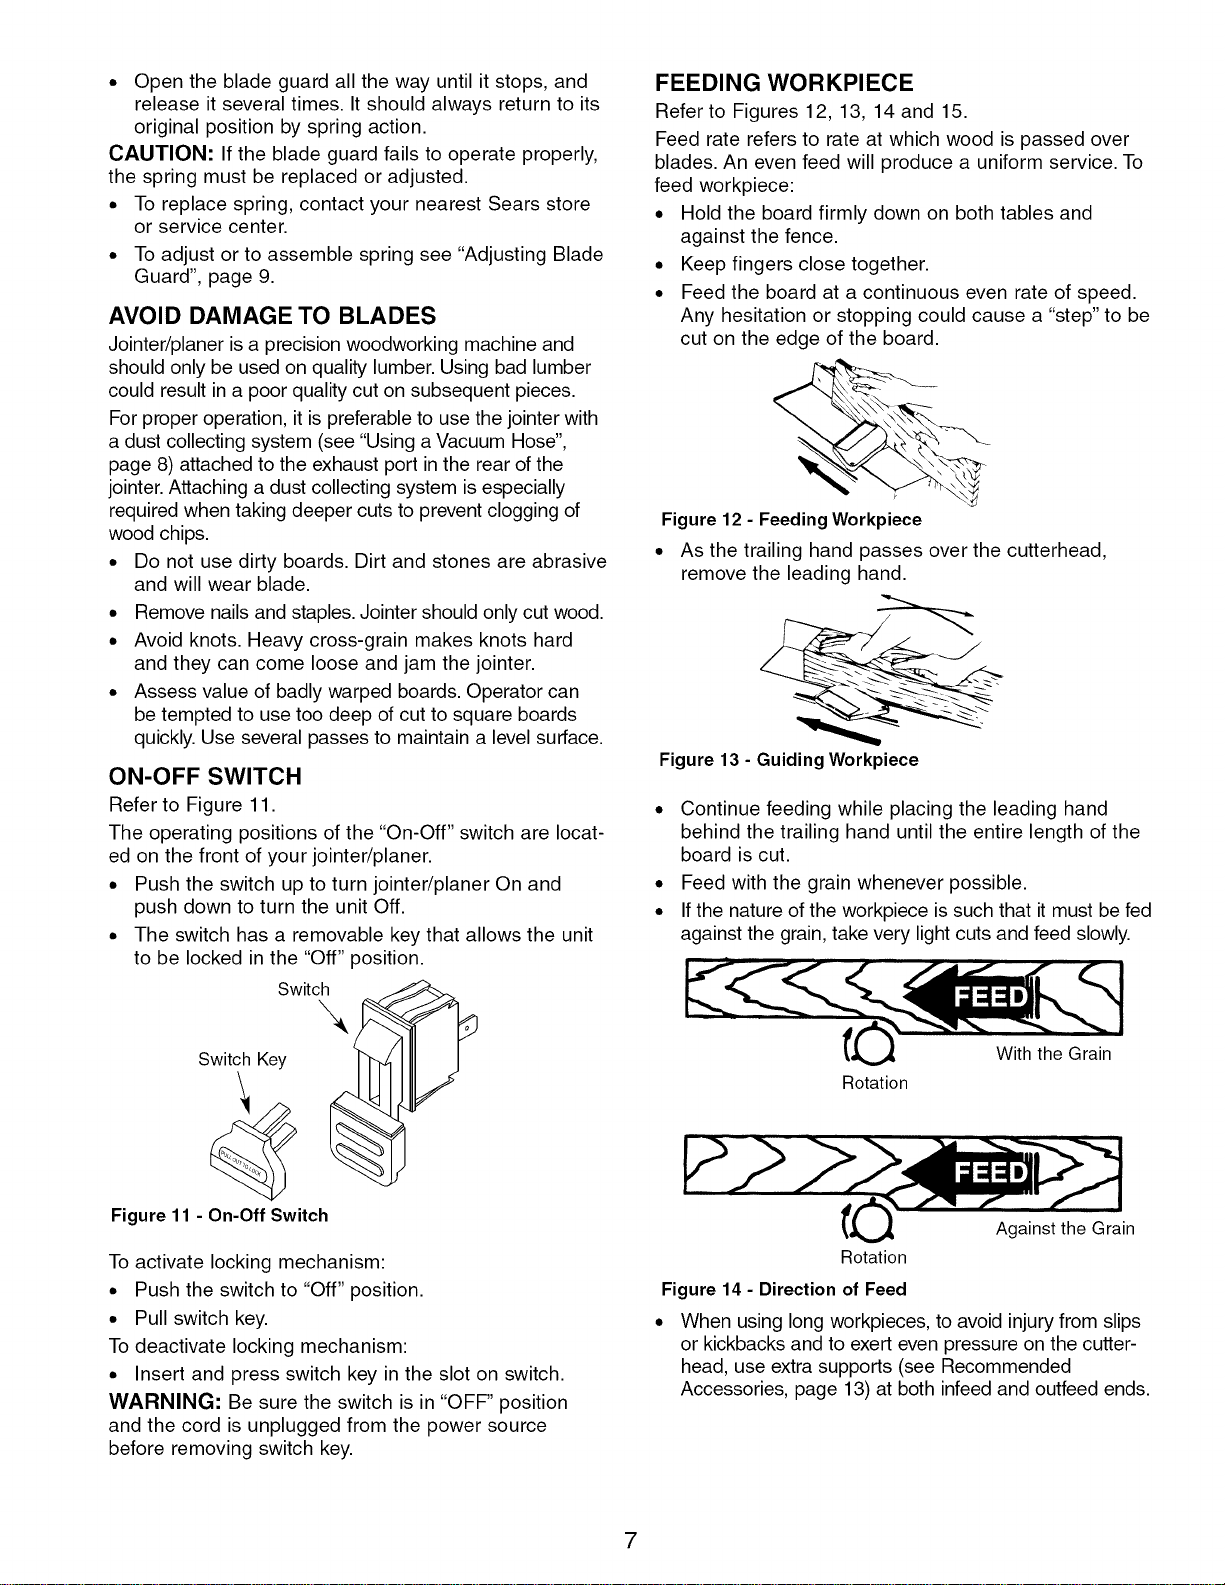
ON-OFF SWITCH
Refer to Figure 11.
The operating positions of the "On-Off" switch are locat-
ed on the front of your jointer/planer.
° Push the switch up to turn jointer/planer On and
push down to turn the unit Off.
. The switch has a removable key that allows the unit
to be locked in the "Off" position.
Switch
\
Switch Key
Figure 11 - On-Off Switch
To activate locking mechanism:
. Push the switch to "Off" position.
° Pull switch key.
To deactivate locking mechanism:
. Insert and press switch key in the slot on switch.
WARNING: Be sure the switch is in "OFF" position
and the cord is unplugged from the power source
before removing switch key.
FEEDING WORKPIECE
Refer to Figures 12, 13, 14 and 15.
Feed rate refers to rate at which wood is passed over
blades. An even feed will produce a uniform service. To
feed workpiece:
° Hold the board firmly down on both tables and
against the fence.
. Keep fingers close together.
o Feed the board at a continuous even rate of speed.
Any hesitation or stopping could cause a "step" to be
cut on the edge of the board.
Figure 12 - FeedingWorkpiece
• As the trailing hand passes over the cutterhead,
remove the leading hand.
Figure 13 - Guiding Workpiece
. Continue feeding while placing the leading hand
behind the trailing hand until the entire length of the
board is cut.
. Feed with the grain whenever possible.
. If the nature of the workpiece is such that it must be fed
against the grain, take very light cuts and feed slowly.
Rotation
[fj_ Against the Grain
Rotation
Figure 14 - Direction of Feed
° When using long workpieces, to avoid injury from slips
or kickbacks and to exert even pressure on the cutter-
head, use extra supports (see Recommended
Accessories, page 13) at both infeed and outfeed ends.
7
Loading ...
Loading ...
Loading ...