Loading ...
Loading ...
Loading ...
Page 8
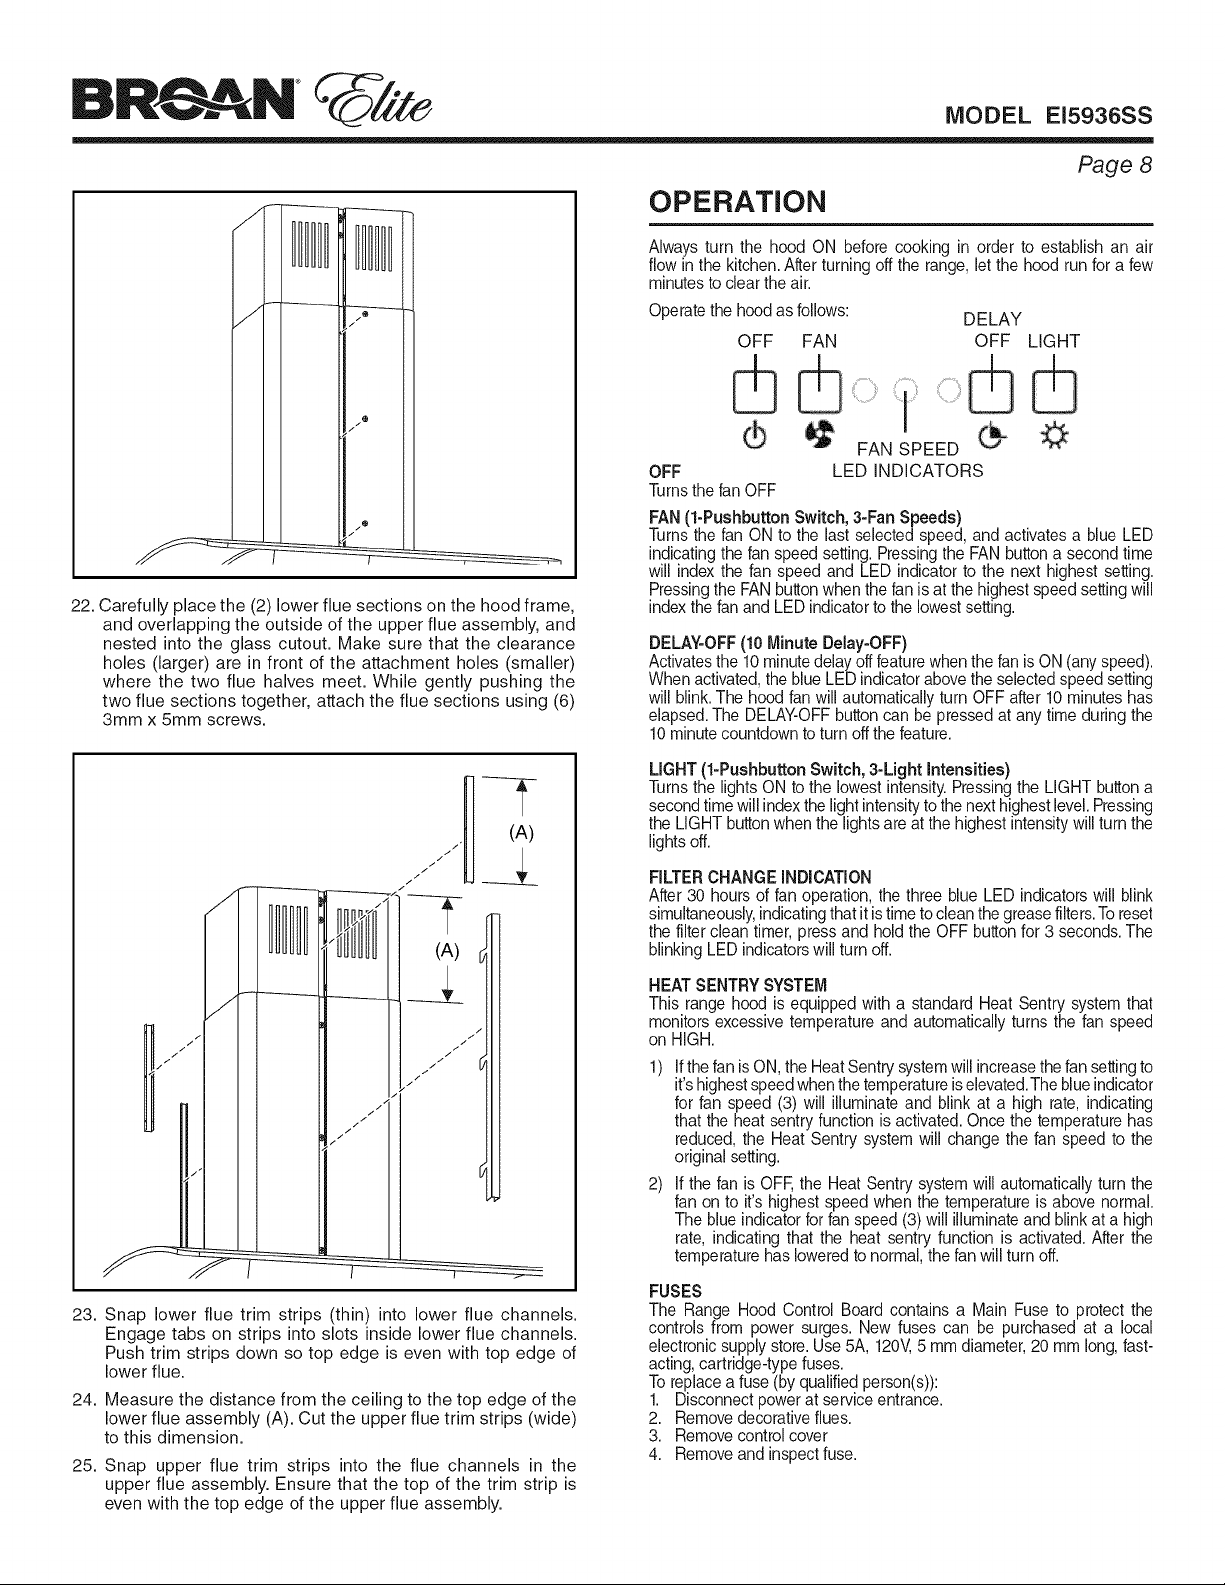
22. Carefully place the (2) lower flue sections on the hood frame,
and overlapping the outside of the upper flue assembly, and
nested into the glass cutout. Make sure that the clearance
holes (larger) are in front of the attachment holes (smaller)
where the two flue halves meet. While gently pushing the
two flue sections together, attach the flue sections using (6)
3mm x 5mm screws.
OPERATION
Always turn the hood ON before cooking in order to establish an air
flow in the kitchen.After turning off the range, let the hood run for a few
minutes to clear the air.
Operate the hood as follows: DELAY
OFF FAN OFF LIGHT
®
OFF LED INDICATORS
Turnsthe fan OFF
FAN (1-Pushbutton Switch, 3-Fan Speeds)
Turns the fan ON to the last selected speed, and activates a blue LED
indicating the fan speed setting. Pressingthe FAN button a second time
will index the fan speed and LED indicator to the next highest setting.
Pressingthe FAN button when the fan is at the highest speed setting will
index the fan and LED indicator to the lowest setting.
DELAY-OFF (10 Minute Delay-OFF)
Activatesthe 10 minute delay off feature when the fan is ON (any speed).
When activated,the blue LED indicatorabove the selected speed setting
will blink. The hood fan will automatically turn OFF after 10 minutes has
elapsed.The DELAY-OFFbutton can be pressed at any time during the
10 minutecountdown to turn off the feature.
(A)
////////
(A)
//
//
//
/
/
,//
23. Snap lower flue trim strips (thin) into lower flue channels.
Engage tabs on strips into slots inside lower flue channels.
Push trim strips down so top edge is even with top edge of
lower flue.
24. Measure the distance from the ceiling to the top edge of the
lower flue assembly (A). Cut the upper flue trim strips (wide)
to this dimension.
25. Snap upper flue trim strips into the flue channels in the
upper flue assembly. Ensure that the top of the trim strip is
even with the top edge of the upper flue assembly.
LIGHT (1-Pushbutton Switch, 3-Light Intensities)
Turns the lights ON to the lowest intensity.Pressing the LIGHT buttona
second time will indexthe light intensityto the next highest level. Pressing
the LIGHT button when the lights are at the highest intensity will turn the
lights off.
FILTER CHANGE INDICATION
After 30 hours of fan operation, the three blue LED indicators will blink
simultaneously,indicating that it is time to clean the grease filters.To reset
the filter clean timer, press and hold the OFF button for 3 seconds. The
blinking LED indicators will turn off.
HEAT SENTRY SYSTEM
This range hood is equipped with a standard Heat Sentry system that
monitors excessive temperature and automatically turns the fan speed
on HIGH.
1) If the fan is ON, the Heat Sentry systemwill increasethe fan settingto
it's highest speed whenthe temperatureis elevated.The blue indicator
for fan speed (3) will illuminate and blink at a high rate, indicating
that the heat sentry function is activated. Once the temperature has
reduced, the Heat Sentry system will change the fan speed to the
original setting.
2) If the fan is OFF,the Heat Sentry system will automatically turn the
fan on to it's highest speed when the temperature is above normal.
The blue indicator for fan speed (3) will illuminate and blink at a high
rate, indicating that the heat sentry function is activated. After the
temperature has lowered to normal, the fan will turn off.
FUSES
The Range Hood Control Board contains a Main Fuse to protect the
controls from power surges. New fuses can be purchased at a local
electronic supply store.Use 5A, 120V,5 mm diameter, 20 mm long, fast-
acting, cartridge-type fuses.
To replacea fuse (by qualified person(s)):
1. Disconnect power at service entrance.
2. Remove decorative flues.
3. Remove control cover
4. Remove and inspect fuse.
Loading ...
Loading ...
Loading ...