Loading ...
Loading ...
Loading ...
23
9
Topstitch around the zipper�
a
b
c
d
1 Stitching
2 Right side of fabric
3 Basting stitching
4 End of zipper
opening
CAUTION
• When sewing, be sure that the needle does
not touch the zipper, otherwise the needle
may bend or break�
Memo
• If the presser foot contacts the zipper slider,
leave the needle lowered (in the fabric) and
raise the presser foot� After moving the slider
so it will not contact the presser foot, lower
the presser foot and continue sewing�
10
Remove the basting stitching�
Bar tack stitching
(Available on models with 20 or more stitches�)
Bar tacks are used to reinforce
points subject to strain, such as
pocket corners and openings�
As an example, the procedure for
sewing bar tacks at pocket corners
is described below�
1
Determine the length of the bar tack�
Set the button guide plate on buttonhole foot “A”
to the length of the bar tack� (The distance between
the markings on the presser foot scale is 5 mm (3/16
inch)�)
1 Presser foot scale
2 Length of bar tack
3 5 mm (3/16 inch)
c
a
b
• A bar tack with a maximum length of about 28
mm (1-1/8 inches) can be sewn�
2
Attach buttonhole foot “A”�
Before attaching the buttonhole foot “A”, pass the
upper thread underneath the presser foot through
the hole�
3
Select a stitch�
*
Check the stitch number on the machine’s body, and
set the machine for that stitch�
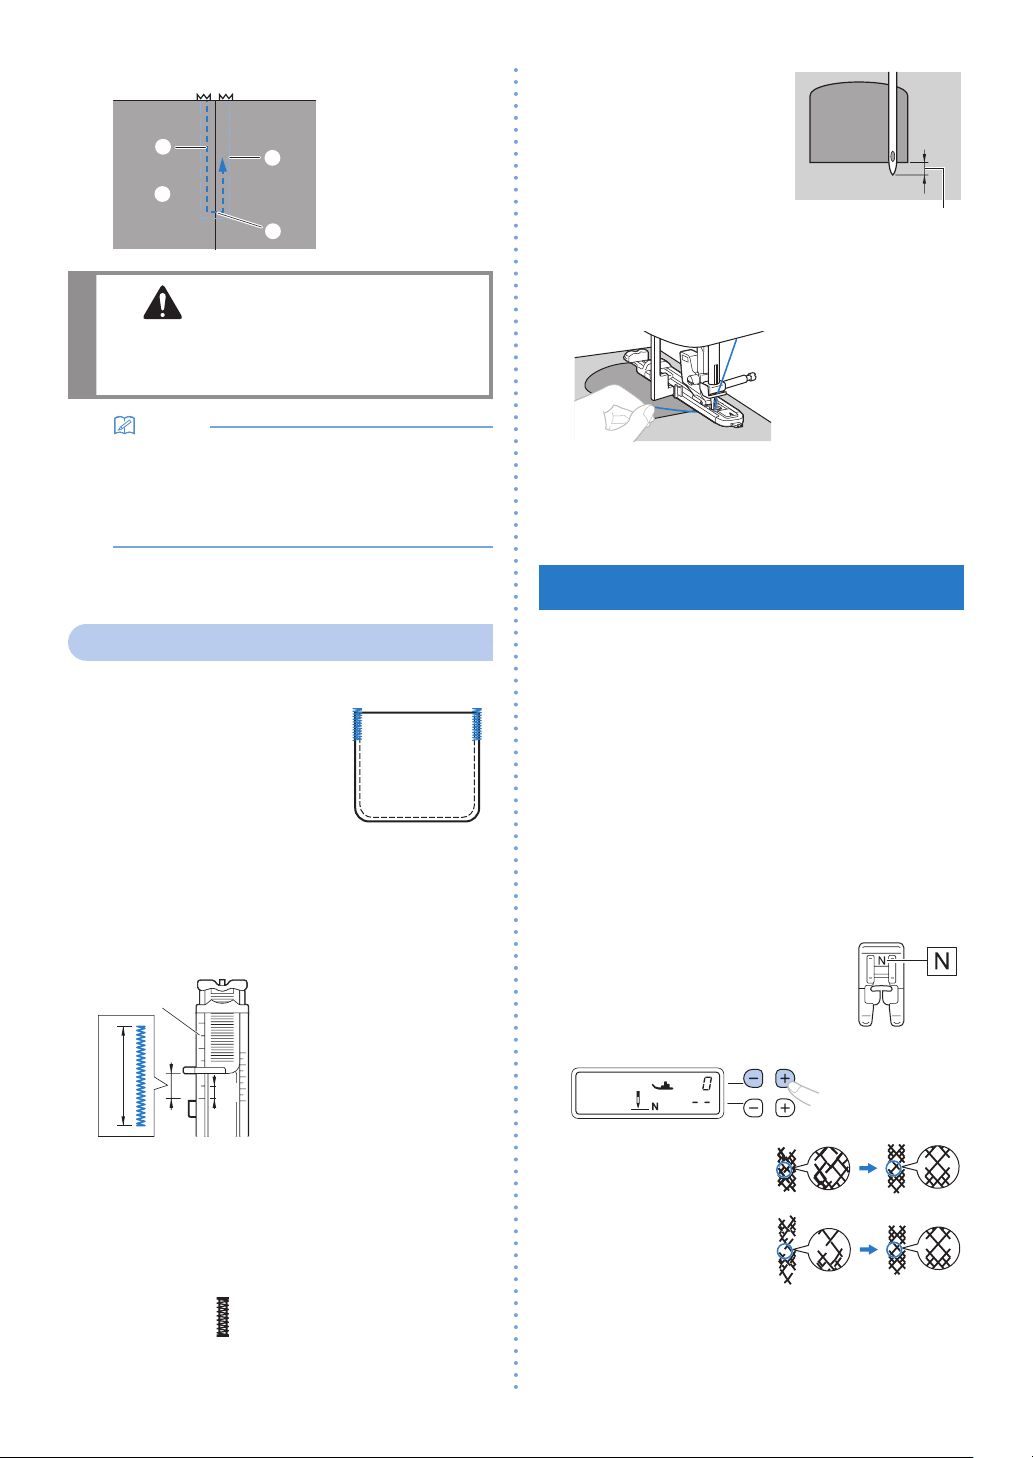
4
Position the fabric so that
the opening of the pocket
faces toward you, and then
lower the presser foot lever
so that the needle drops 2
mm (1/16 inch) in front of
the pocket opening�
5
Pull down the buttonhole lever as far as possible�
6
Gently hold the end of the upper thread in your
left hand, and then start sewing�
7
After sewing is finished, raise the presser foot
lever, remove the fabric, and then cut the threads�
8
Raise the buttonhole lever to its original position�
Making Adjustment
(Available on models with 25 or more stitches�)
Your stitch pattern may sometimes turn out poorly,
depending on the type or thickness of fabric, the
stabilizer material used, sewing speed, etc� If your
sewing does not turn out well, sew trial stitches using
the same conditions as the real sewing, and adjust the
stitch pattern as explained below�
If the stitch pattern does not turn out well even after
making adjustments based on the stitch pattern
described below, make adjustments for each stitch
pattern individually�
1
Change the display to the stitch adjustment
display� (page 7)
2
Attach monogramming foot “N”�
3
Adjust stitches with the stitch length keys�
• If the stitch pattern is
bunched:
Press “+” several times�
• If the stitch pattern has
gaps:
Press “–” several times�
4
Sew the stitch pattern again�
*
If the stitch pattern still comes out poorly, make
adjustments again until the stitch pattern comes out
correctly�
2 mm (1/16 inch)
★: Only for some models�
Loading ...
Loading ...
Loading ...