Loading ...
Loading ...
Loading ...
In-wall Recessed
Installation - 100mm Deep
CAUTION: Two people may
be required for various steps
of this procedure.
1. Prepare a wall with a framed
opening of 185.7cm wide x 47
cm high (Figure 4).
!
NOTE: The sizing has allowed
for 6.4mm around the replace
insert for ease of installation. This
replace does not require any
additional venting.
2. Choose your method of
supplying power to the unit:
• Plug in (you may run the
power cord out of the framed
wall opening to an existing
outlet or install an outlet on
a nearby wall stud within the
wall).
• Hard wire the replace.
!
NOTE: Hard wiring can
be done by removing the plug
from the factory tted cord and
completing the wiring according
to National and Local Elecrical
Codes.
WARNING: Do not attempt
to wire your own new outlets or
circuits. To reduce the risk of re,
electric shock or injury to persons,
always use a licensed electrician.
wall anchors.
6. Install the bottom support
bracket to the wall centered
with the wall mounting bracket,
using the appropriate mount-
ing hardware, 13 ¾" (35cm)
below the wall mounting brack-
et. (Figure 2)
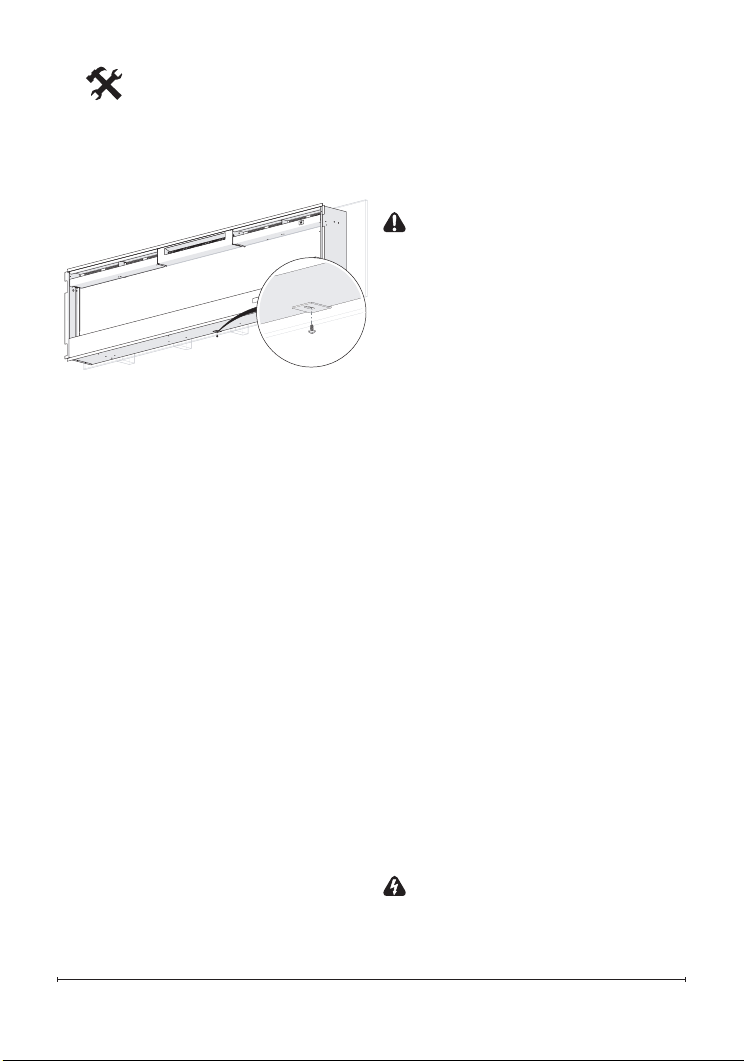
7. Remove the center screw from
the bottom of the replace.
(Figure 3)
8. Hang the replace from the
bracket.
9. Install the removed screw
through the bottom support
bracket into the replace.
10. Refer to Front Glass Installa-
tion section nal installation
procedures.
Fireplace Installation
Figure 3
Loading ...
Loading ...
Loading ...