Loading ...
Loading ...
Loading ...
CARING FOR
YOUR
DISHWASHER
Cleaning Your Dishwasher
Cleaning the extedor
In most cases, regularuse of a soft, damp cloth or sponge
and a milddetergent is all that is necessary to keep the'
outside of your dishwasher looking nice and clean.
Cleaning the interior
Hard water mineralscan cause a white film to buildup on
the insidesurfaces, especially just beneath the door area.
Do not clean the dishwasher interioruntil it has cooled.
Wear rubbergloves. Do not use anytype of cleanser other
than dishwasher detergent because itmay cause foaming
or sudsing.
To clean interior
Make a paste with powdered dishwasherdetergent on a
clamp sponge and clean.
OR
Use liquid automatic dishwasher detergent and clean with
damp sponge.
OR
See thevinegar rinse procedure in "Spotting and filmingon
dishes" in "Troubleshooting."
NOTE: Run a normal wash cycle with detergent after
cleaning the interior.
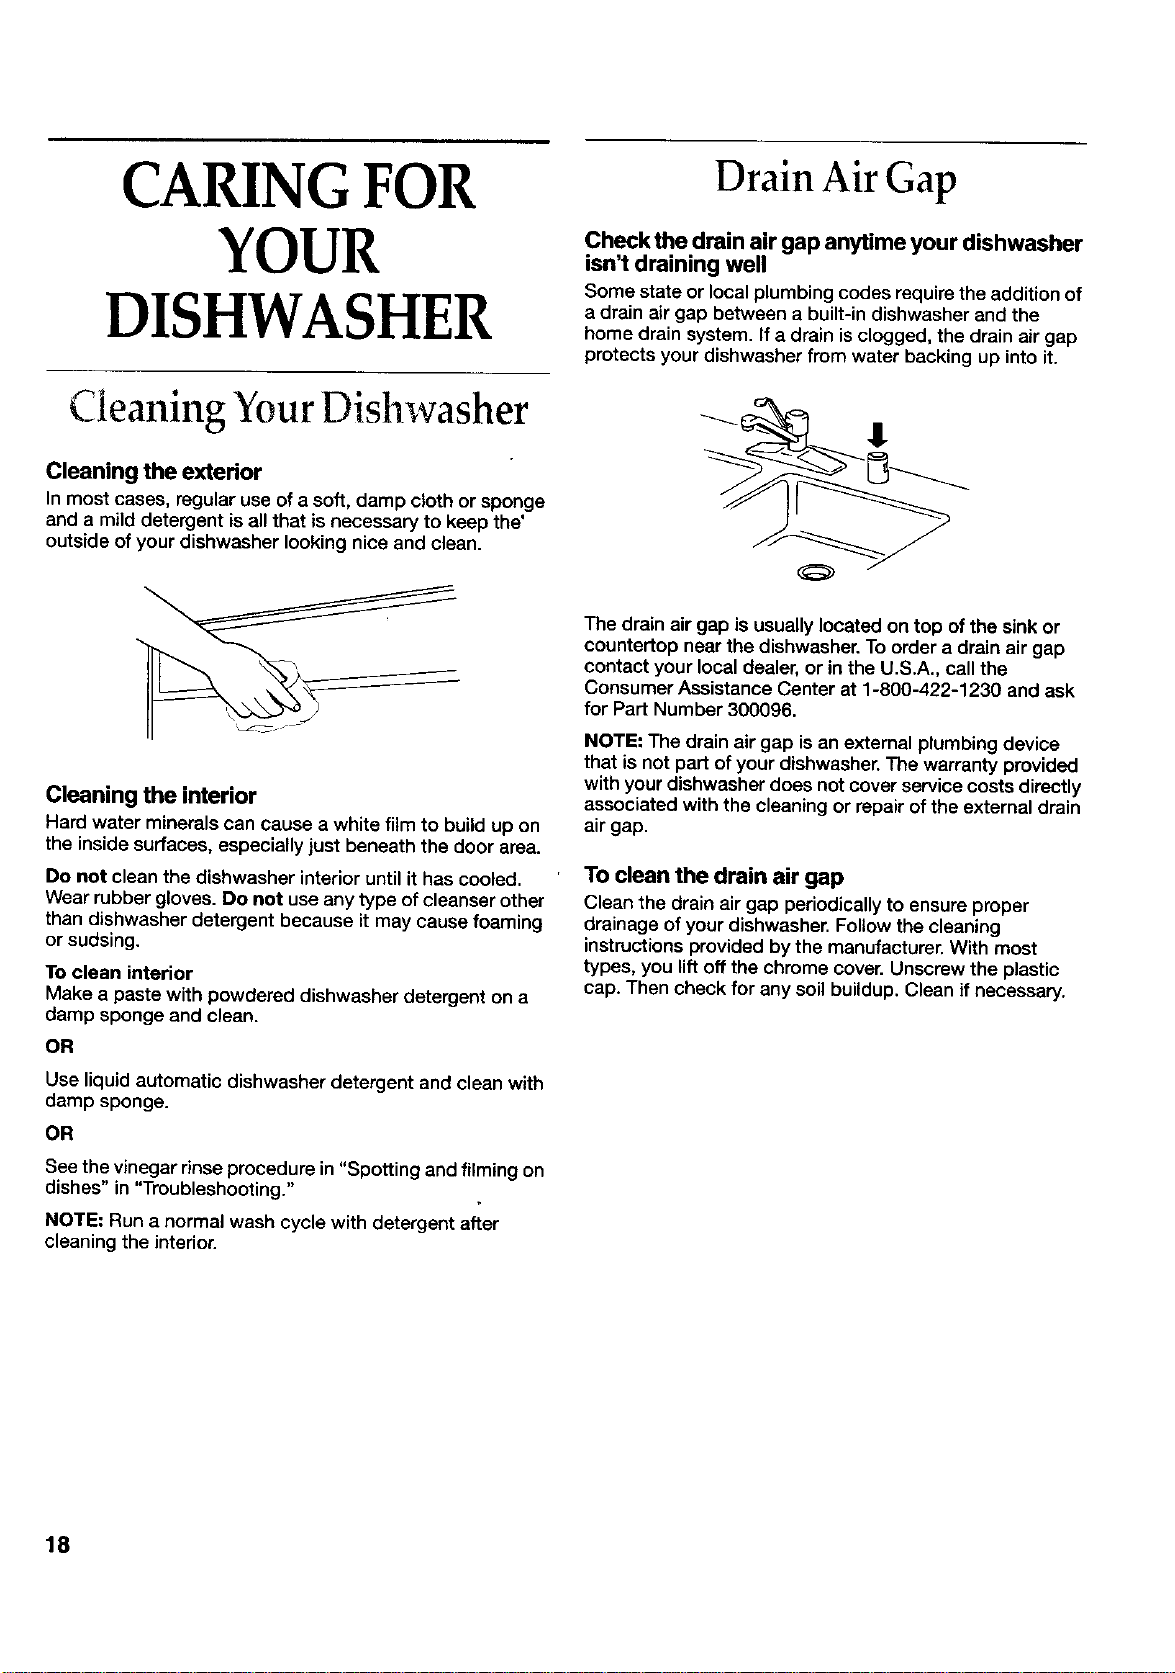
Drain Air Gap
Check the drain air gap anytime your dishwasher
isn't draining well
Some state or local plumbing codes requirethe addition of
a drain air gap between a built-indishwasher and the
home drain system. Ifa drain isclogged, the drain air gap
protects your dishwasher from water backing up into it.
The drain air gap is usuallylocated on top of the sink or
countertop near the dishwasher. To order a drain air gap
contact your localdealer, or in the U.S.A., call the
Consumer Assistance Center at 1-800-422-1230 andask
for Part Number 300096.
NOTE: The drain air gap is an external plumbing device
that is not part of your dishwasher. The warranty provided
with yourdishwasher does not cover servicecosts directly
associated with the cleaningor repair ofthe external drain
air gap.
To clean the drain air gap
Clean the drain air gap periodically to ensure proper
drainage of your dishwasher. Follow the cleaning
instructions provided by the manufacturer. With most
types, you lift off the chrome cover. Unscrew the plastic
cap. Then check for any soil buildup. Clean if necessary.
18
Loading ...
Loading ...
Loading ...