Loading ...
Loading ...
Loading ...
• A work stop with nut is provided to be used when
straight sanding in the horizontal position.
• Remove socket head bolt and washers holding belt
table on sander. Remove belt table.
• Mount work stop to sander using the socket head
bolt and washers.
• Use a combination square to adjust the work stop at
90° to the belt with a '/,8" maximum gap between the
belt and work stop.
• Use the work stop to position and stabilize work-
piece. Keep end butted against work stop and move
workpiece evenly across abrasive belt.
Figure 13 - Attaching Work Stop
• Use extra caution when finishing very thin pieces.
• Remove work stop for finishing long pieces.
ADJUSTING DISC TABLE ANGLE
Refer to Figure 2.
WARNING: Disconnect sander from power source
before making any adjustments.
Disc table isadjustable from 0 to 45° for beveled work.
• To adjust the disc table, loosen the two knobs and
adjust to the desired angle.
• Use the scale on disc table trunnions to set table
from 0 to 45° to abrasive disc.
• When disc table is at desired angle, lock it into posi-
tion by securely tightening the knobs.
REPLACING ABRASIVE DISC
Refer to Figure 2.
WARNING; Disconnect sander from power source
before making any adjustments.
• Loosen and remove two knobs.
• Gently press down on disc table and slide out disc
table.
• Remove old abrasive disc by peeling it from alu-
minum disc. Removing aluminum disc from motor
shaft is not necessary.
• Clean aluminum disc if necessary. Select the proper
abrasive disc and apply to aluminum disc.
• Additional abrasive discs are available (see
Recommended Accessories, page 13).
• Replace disc table and tighten knobs.
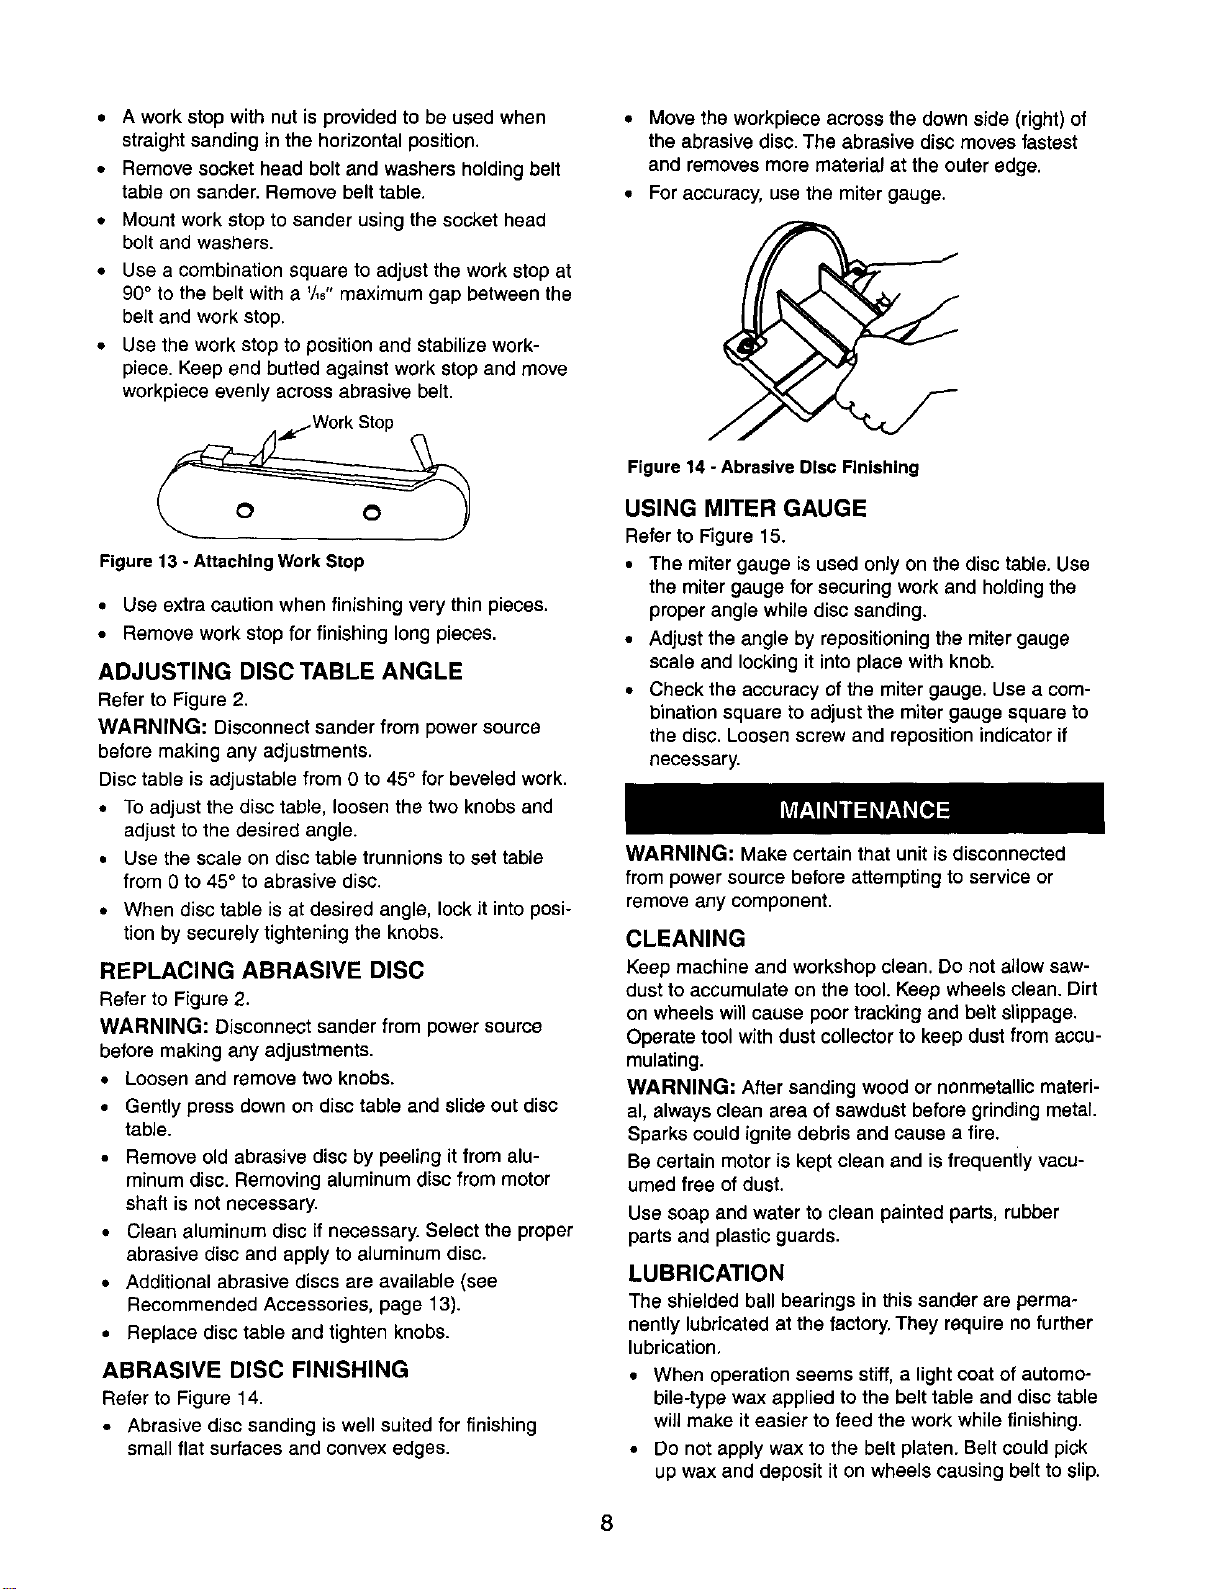
ABRASIVE DISC FINISHING
Refer to Figure 14.
• Abrasive disc sanding is well suited for finishing
small flat surfaces and convex edges.
• Move the workpiece across the down side (right) of
the abrasive disc. The abrasive disc moves fastest
and removes more material at the outer edge.
• For accuracy, use the miter gauge.
Figure 14 - Abrasive Disc Finishing
USING MITER GAUGE
Refer to Figure 15.
• The miter gauge is used only on the disc table. Use
the miter gauge for securing work and holding the
proper angle while disc sanding.
• Adjust the angle by repositioning the miter gauge
scale and locking it into place with knob.
• Check the accuracy of the miter gauge. Use a com-
bination square to adjust the miter gauge square to
the disc. Loosen screw and reposition indicator if
necessary.
WARNING: Make certain that unit is disconnected
from power source before attempting to service or
remove any component.
CLEANING
Keep machine and workshop clean. Do not allow saw-
dust to accumulate on the tool. Keep wheels clean. Dirt
on wheels will cause poor tracking and belt slippage.
Operate tool with dust collector to keep dust from accu-
mulating.
WARNING: After sanding wood or nonmetallic materi-
al, always clean area of sawdust before grinding metal.
Sparks could ignite debris and cause a fire.
Be certain motor is kept clean and is frequently vacu-
umed free of dust.
Use soap and water to clean painted parts, rubber
parts and plastic guards.
LUBRICATION
The shieldedball bearings in this sander are perma-
nently lubricated at the factory. They require no further
lubrication,
• When operation seems stiff, a light coat of automo-
bile-type wax applied to the belt table and disc table
will make it easier to feed the work while finishing.
• Do not apply wax to the belt platen. Belt could pick
up wax and deposit it on wheels causing belt to slip.
8
Loading ...
Loading ...
Loading ...