USER MANUAL
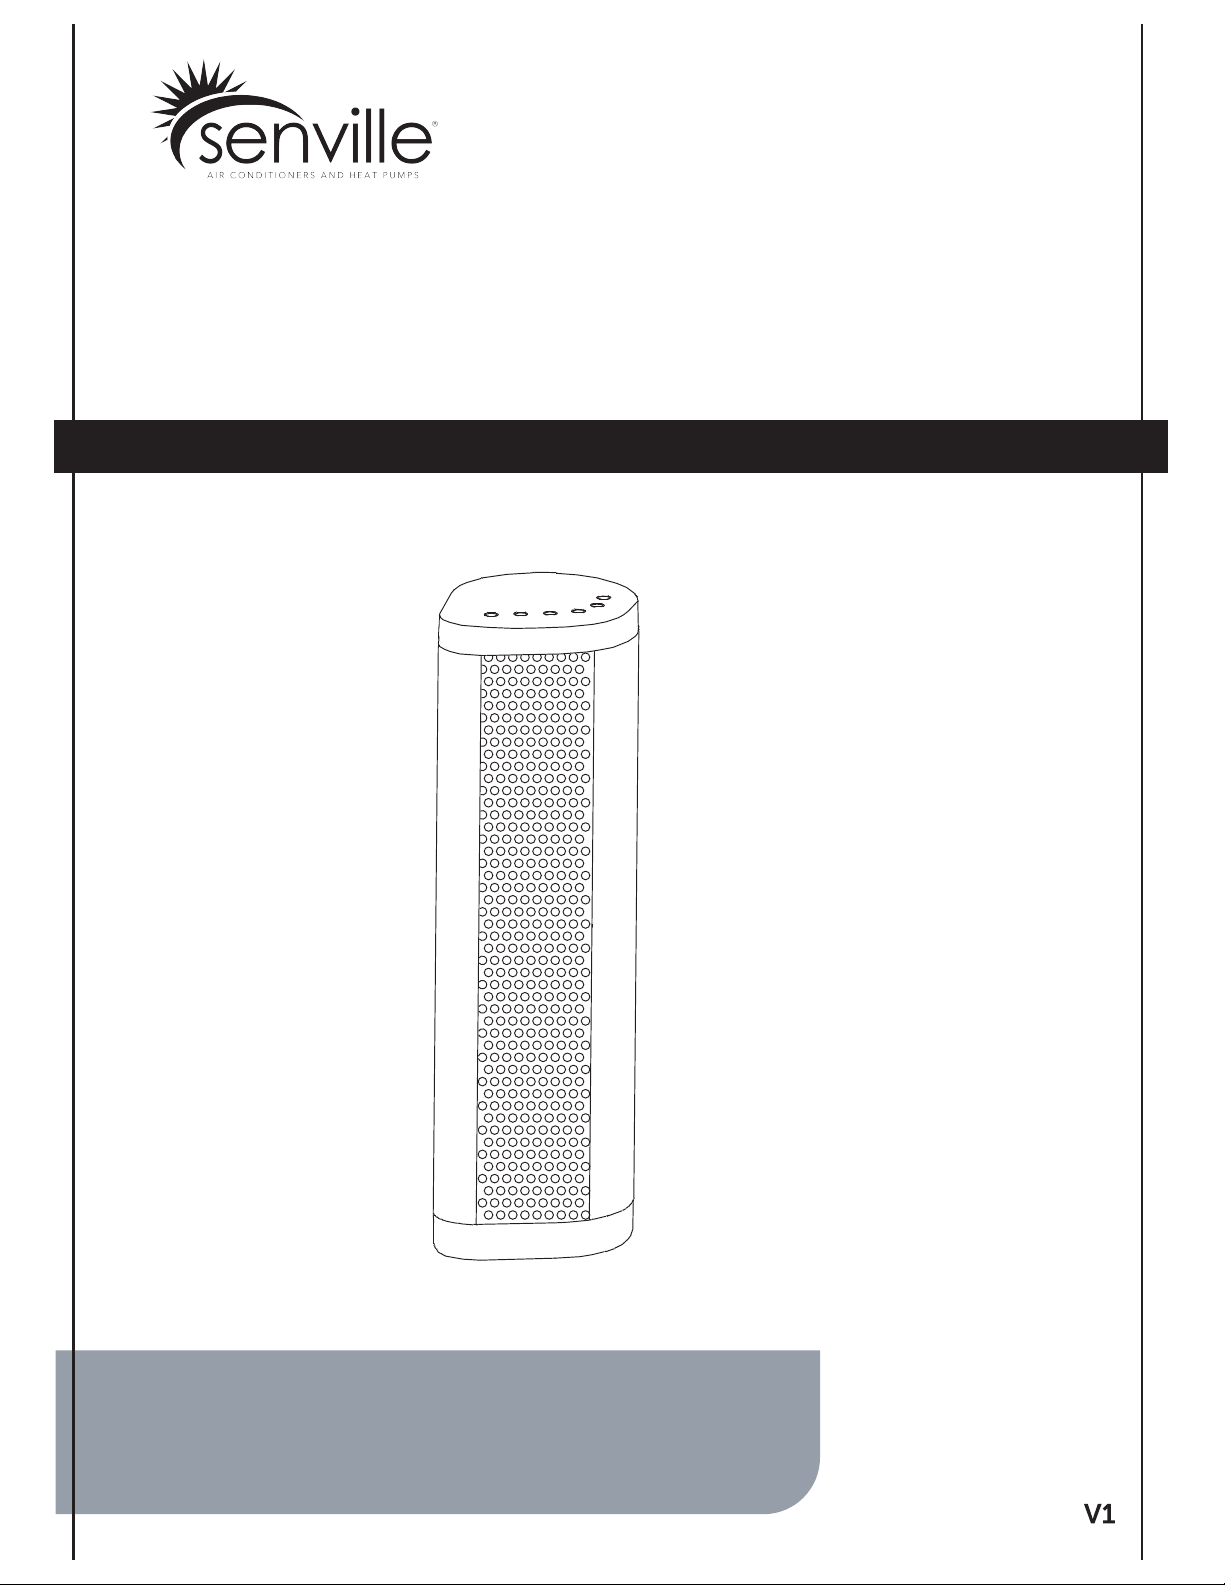
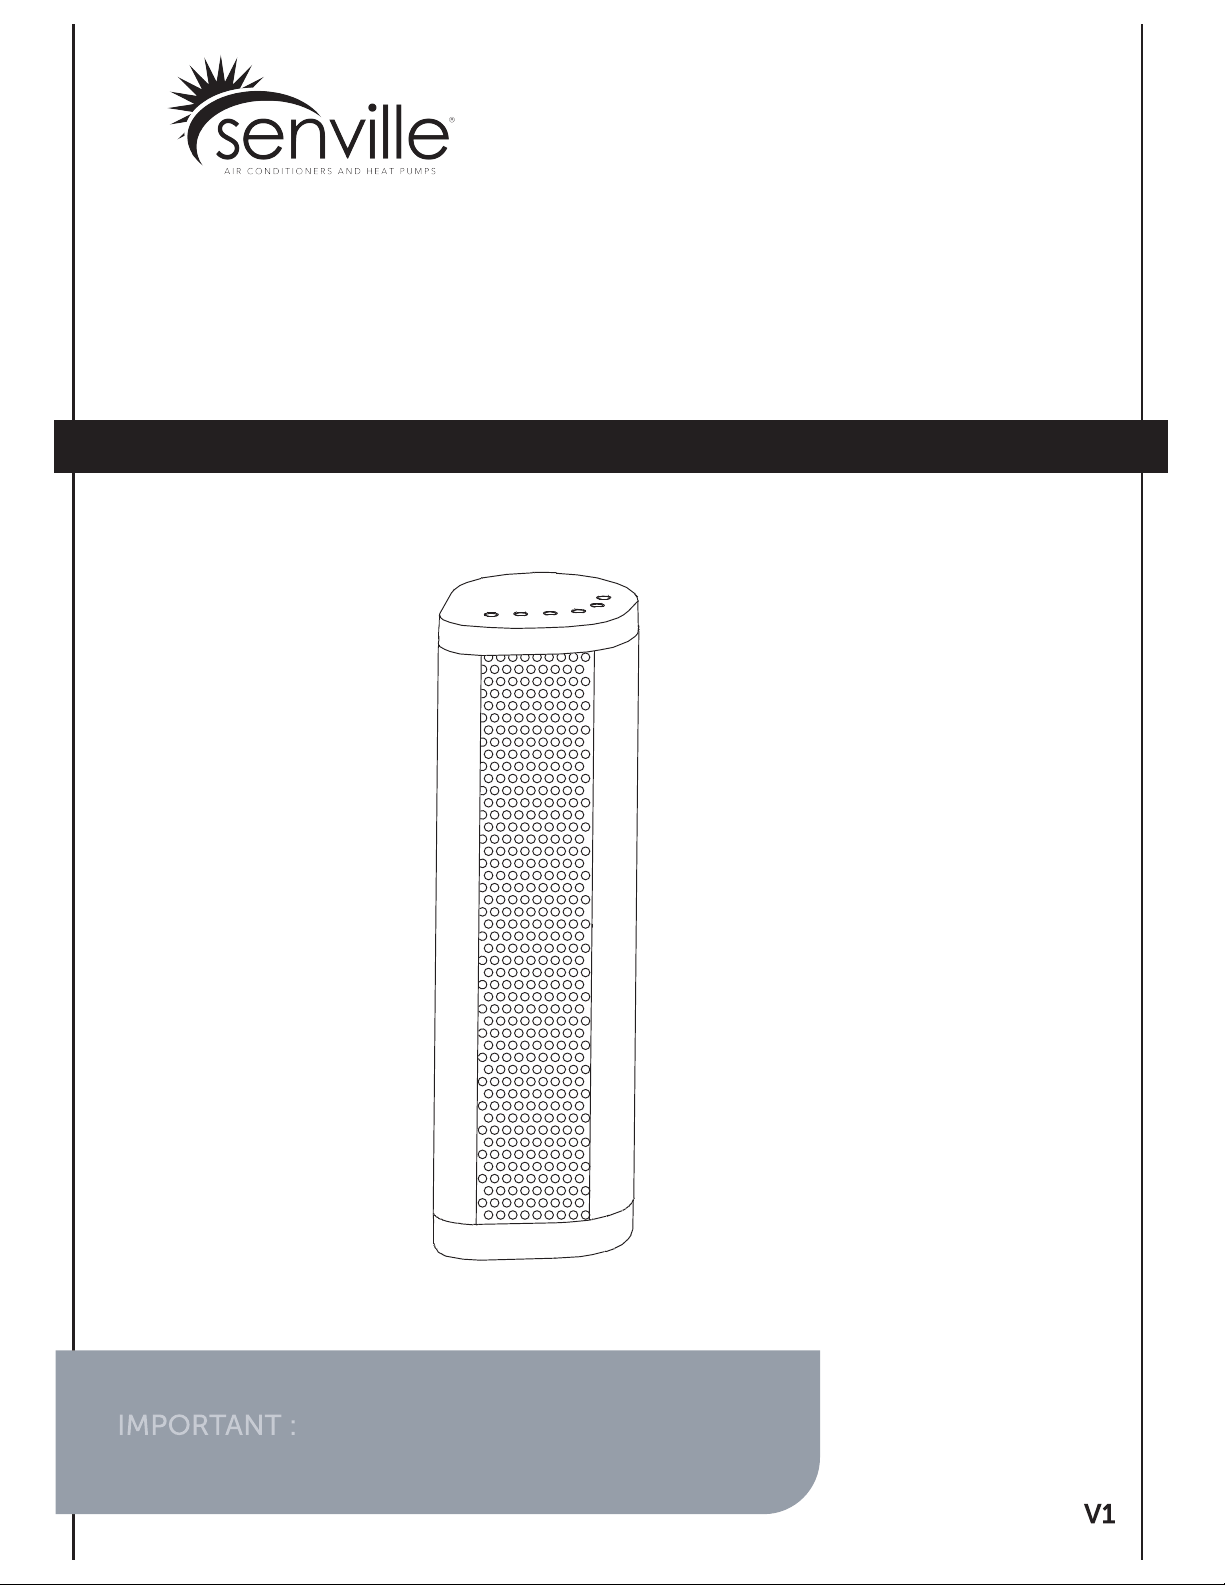
SWING CERAMIC TOWER
HEATER WITH FAN
IMPORTANT : Please read this manual carefully before
running this heater and save it for reference.
www.
senville.com
SENCH-22
Model No NTH15-17BRA
For any inquiries, please give us a call at our toll-free number below
1-800-242-4935
IMPORTANT INSTRUCTIONS
outlet
unplugging
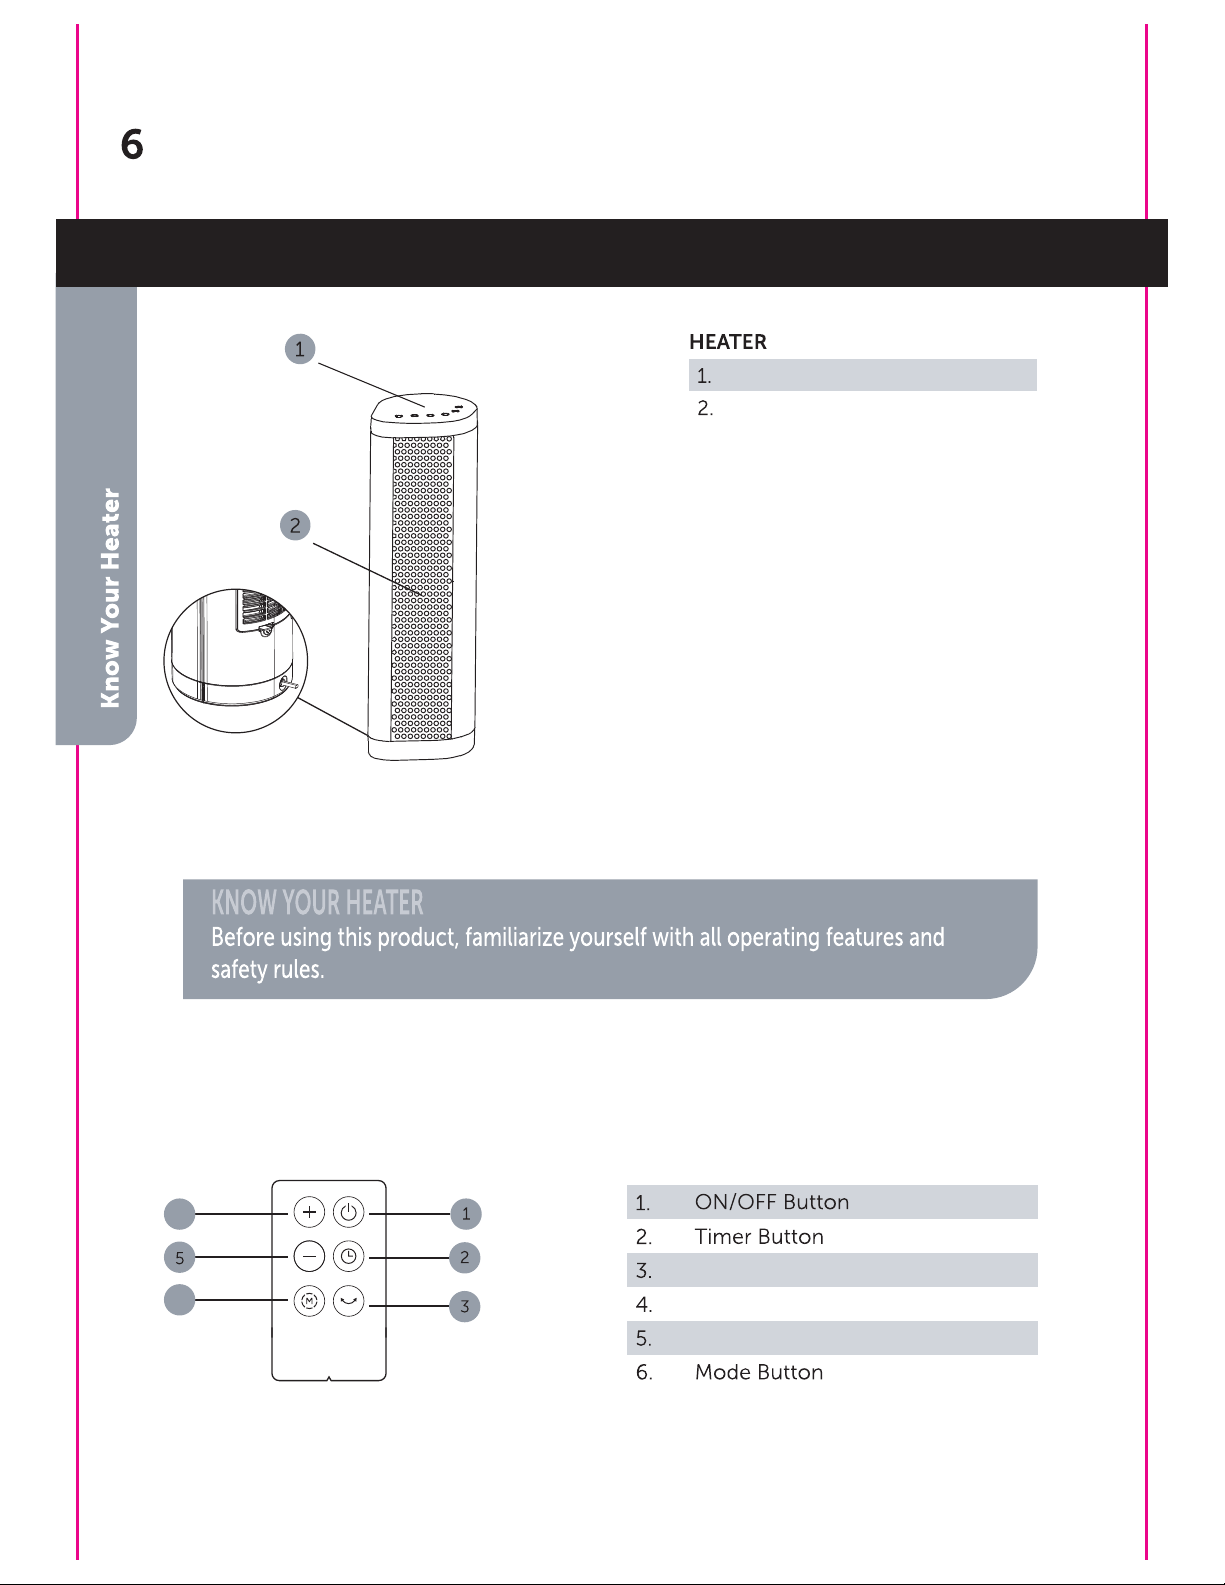
Control panel
Safety grill
Model No NTH15-17BRA
Swing Button
REMOTE CONTROL
Up Button
Down Button
4
6
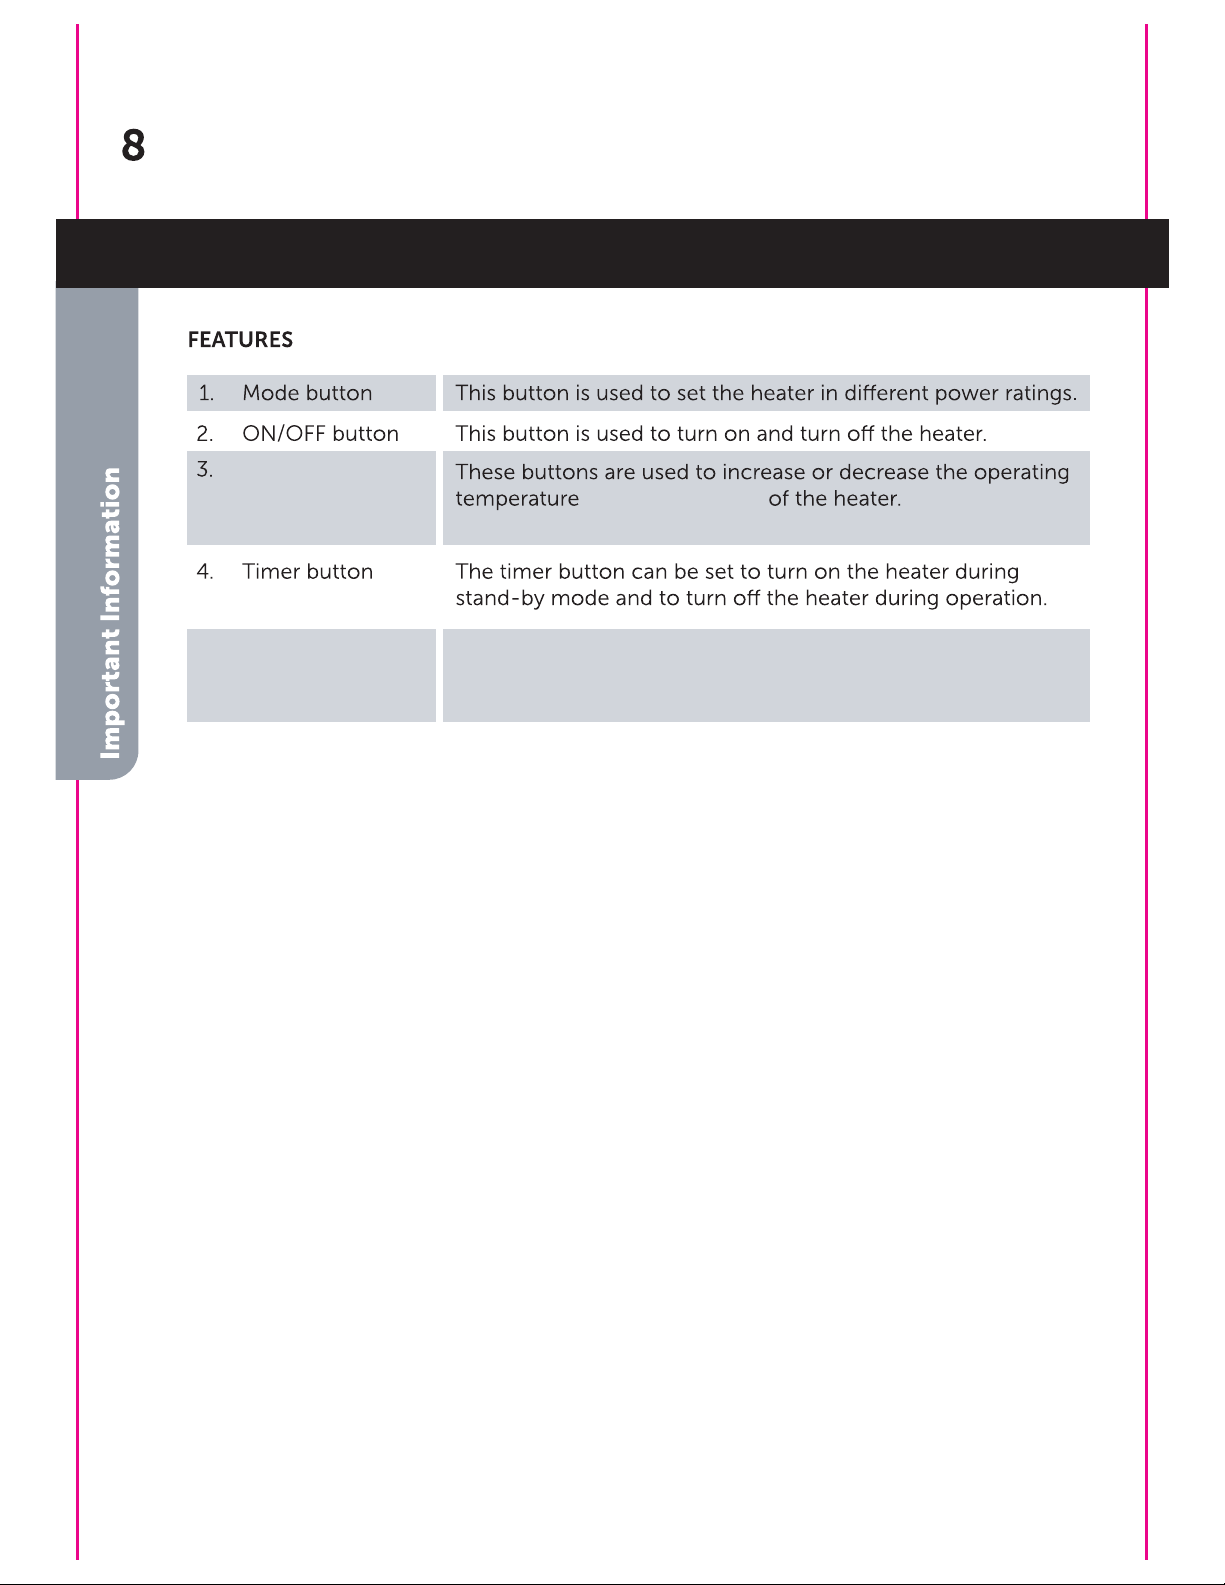
CONTROL PANEL
Swing Button
Up Button
Down Button
6
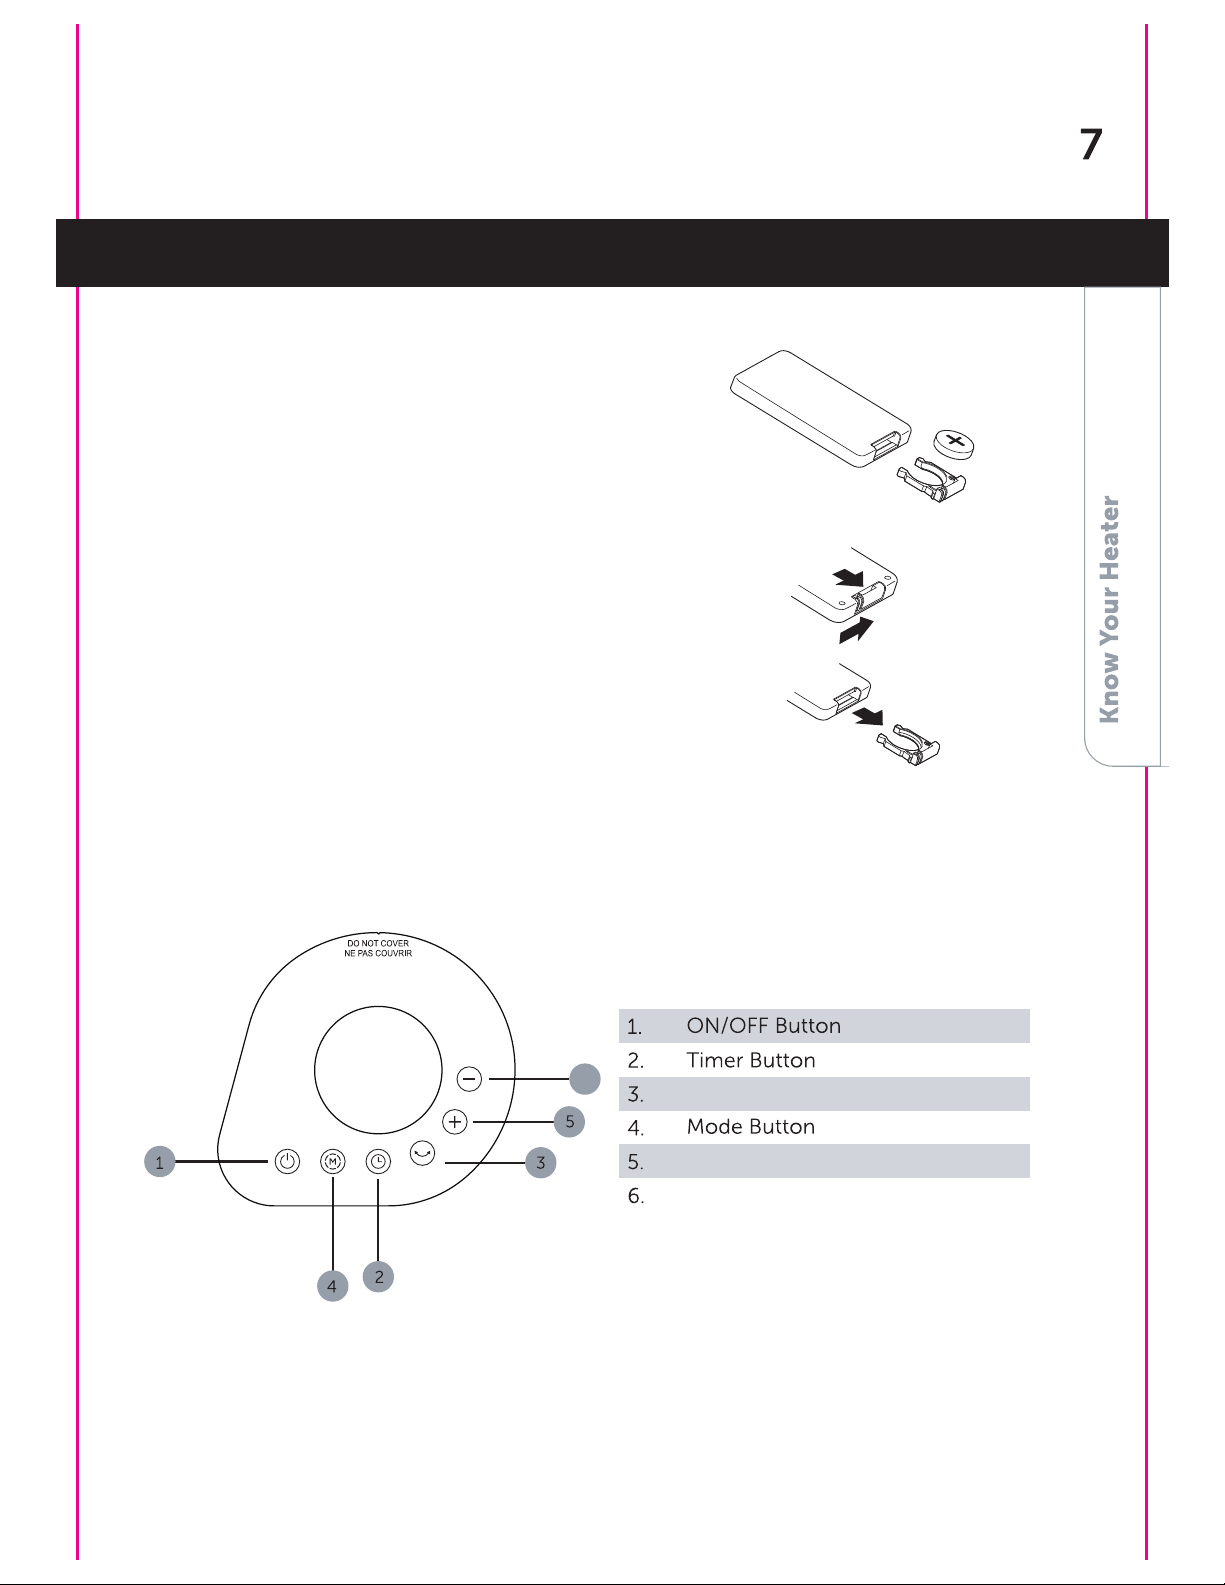
1. Press down on the battery compartment cover
and slide it out.
2. Use 1 "CR2032" lithium battery (included)
3. Insert the batteries, making sure that the positive
terminals are facing the proper way.
4. Replace the cover.
1. Do not dispose of batteries in fire, batteries may
explode or leak.
2. Do not mix old and new batteries.
3. Do not mix alkaline, standard (carbon-zinc) or
rechargeable (nickel-cadmium) batteries.
4. Non-rechargeable batteries are not to be recharged.
5. Batteries are to be inserted with the correct polarity.
6. Exhausted batteries are to be removed from the product.
7. The batteries must be removed from the remote controller before it is scrapped
and that they are disposed of safely.
BATTERIES INSTRUCTIONS (included)
BATTERY WARNING
Up/Down Button
or the timer hours
5.
Swing button Press this button to oscillate the heater left and right. To stop
the heater from
swing in the position desired, press this button
again.
Model No NTH15-17BRA

When the heater is plugged in, push the timer button and adjust with "+"/"-" button, the
heater will be automatically turned on at desired time.
When the heater is plugged in and working, push the timer button and adjust with "+"/"-"
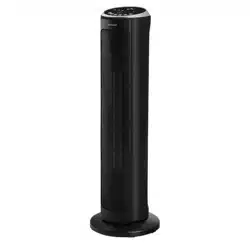
This heater works either vertically or
horizontally, depending on the
working condition and consumers’
preferred way.
SETTING THE MODE
Press the MODE button repeatedly to
select desired operating modes in a
circular sequence
HIGH-LOW-FAN ONLY-ECO-HIGH.
SETTING THE TIMER TO TURN OFF
THE HEATER
When the heater is in operation, press the
heater in a specific number of hours set in
a sequence from 0
24 hours. Press the
UP button to increase 1 hour each
time, and DOWN button to decrease
1 hour each time.
SETTING THE TEMPERATURE
When the heater is working, press the UP
button or DOWN button to set the
desired temperature between 40 and 95
°
F.
Once the room temperature reaches the
Temperature adjustment interval is 5°F.
set temperature, the LED display will flash
for 10 seconds and the heating element
will stop heating and turn to Stand By
status. When the room temperature falls
below the set temperature, the unit will
resume heating.
TURNING ON/OFF THE HEATER:
1. Place the heater on a firm, level
surface free from obstructions, and
at least 3’ (90 cm) away from any wall
and any other objects such as furniture,
curtains, plants or combustible materials.
2. Make sure to plug the power cord of
the heater into a grounded 120 V AC,
60 Hz power outlet.
3. Press the ON/OFF button to turn on
the heater. When the ON/OFF button
is first pressed, the unit will run at high
power setting, and temperature setting
at 95
°
F.
Model No NTH15-17BRA
SETTING THE TIMER TO TURN ON
THE HEATER
When the heater is in stand-by mode,
press the timer button to automatically
turn on the heater in a specific number
of hours set in a sequence from 0
24
hours. Press the UP button to increase
1 hour each time, and DOWN button
to decrease 1 hour each time.
SETTING THE SWING
The heater will swing internally by
pressing the swing button once.
To stop the swing, press the button
again. This button only works when the
heater is in HIGH or LOW mode.
MEMORY FUNCTION
it will resume operation in the mode it
is unplugged then plugged back in again,
it will default to the original settings:
HIGH mode and a temperature setting
of 95
°
F.
SETTING THE AUTOMATIC DISPLAY-OFF
FUNCTION
When the unit is working and no button is
automatically. Only the heating symbol is
function, press the UP and DOWN buttons
at the same time for 2 seconds. To allow
resume, again press the UP and DOWN
buttons for 2 seconds.
TEMPERATURE SENSOR SHORT
CIRCUIT PROTECTION
When the temperature sensor triggers
the short circuit protection, the display
screen will show E1 or E2 and flash.
None of the buttons will work, and the
buzzer rings 10 times. When this
occurs, please contact a qualified
electrician.
SAFETY PROTECTION
When the unit is in operation, and the
room temperature reaches 122
°
F, the
heater will shut down, and the digital
display will show "FF" and flash once
per second 75 times. None of the
buttons will work and the heater must
be unplugged to reset this safety device.
SETTING ECO FUNCTION
The heater is automatically select the
working setting to maintain the desired
temperature by comparing the room
temperature and the setting temperature.
REMOTE CONTROL
The buttons on the remote control
works the same as the buttons on the
control panel.
Model No NTH15-17BRA
Model No NTH15-17BRA
www.
senville.com
Guide d’utilisation
RADIATEUR VERTICAL/PLINTHE
CHAUFFANTE CÉRAMIQUE
OSCILLANT À VENTILATEUR
Veuillez lire attentivement ce guide
d’utilisation avant de faire fonctionner ce radiateur et
le conserver aux fins de consultation ultérieure.
Pour toute demande d’information, veuillez appeler nos numéros de
téléphone gratuits ci-dessous.
1-800-242-4935
Table des matières
Fiche technique
SENCH-22
Fiche technique
Consignes de sécurité
Familiarisez-vous avec votre radiateur
Avis important
Assemblage
Consignes d’utilisation
Entretien
Dépannage
Tension
Fréquence
Puissance
Courant maximum
12,5 A
Consignes de sécurité
Utilisez ce radiateur uniquement pour son emploi prévu. N'utilisez
pas le radiateur pour un emploi qui n'est pas recommandé par le
fabricant puisque cela pourrait provoquer un incendie, un choc
électrique, des blessures ou des dommages matériels.
Suivez toutes les précautions et consignes élémentaires lors de l'utilisation
d'appareils électriques afin de réduire les risques d'incendie, de choc électrique
et de dommages corporels ou matériels.
1. Lisez attentivement toutes les instructions avant d'utiliser ce radiateur.
2. Gardez les matériaux combustibles, comme les meubles, les oreillers, la
literie, le papier, les vêtements et les rideaux, à au moins 3 pi (0,9 m) du
devant du radiateur, et gardez-les éloignés des côtés et de l’arrière de
l’appareil.
3. Ne laissez pas les enfants manipuler le radiateur. Surveillez de près les enfants
lorsque le radiateur est utilisé près de ces derniers.
4. Cet appareil n’est pas destiné à être utilisé par des personnes dont les
capacités physiques, sensorielles ou mentales sont limitées, ou qui ne
disposent pas des connaissances ou de l’expérience nécessaires, à moins
qu’elles n’aient été forméeset encadrées à utiliser l'appareil par une personne
responsable de leur sécurité. Les jeunes enfants doivent être surveillés pour
s'assurer qu’ils ne jouent pas avec l'appareil.
5. Assurez-vous que le radiateur est placé sur une surface stable et sécurisée
afin d’éviter tout risque de renversement. Ne placez jamais le radiateur de
manière où ce dernier risque de tomber dans une baignoire ou un autre
récipient contenant de l'eau.
6. Ce radiateur n'est pas conçu pour être utilisé dans la salle de bains, la
buanderie, ni tout autre endroit intérieur humide ou mouillé similai
re.
7. Ne placez pas le cordon d'alimentation sous un tapis. Ne couvrez pas le
cordon d'alimentation avec une carpette ou un article similaire. Assurez-vous
que le cordon d’alimentation se trouve à l’écart des zones à fort passage et
des zones fréquemment utilisées pour que personne ne risque de trébucher
dessus.
8. Ne laissez pas le radiateur sans surveillance.
9. N'insérez pas d'objets étrangers dans les ouvertures d'aération ou
d'échappement puisque cela peut endommager le radiateur et risque de
causer des chocs électriques ou un incendie.
INSTRUCTIONS IMPORTANTES
Consignes de sécurité
La fiche et le cordon d'alimentation du radiateur sont chauds au
toucher après la mise en marche de l’appareil. Ceci est normal et
Ne placez pas ce radiateur directement sous une prise de
courant.
N'utilisez pas ce radiateur à proximité d'une baignoire, d'une
douche ou d'une piscine.
10. Ce radiateur doit être posé sur le plancher. N'utilisez pas le radiateur sur une
surface molle, comme un lit, où les ouvertures d’aération peuvent être
obstruées.
11. Pour éviter un incendie, ne bloquez pas les prises d'air et les sorties d'air de
quelque manière que ce soit.
12. Ne touchez pas le radiateur lorsqu'il est utilisé afin d’éviter des brûlures
cutanées.
13. Utilisez la poignée de transport lorsque vous déplacez le radiateur. Ne tirez
jamais sur le cordon d'alimentation pour déplacer le radiateur.
14. N’utilisez pas le radiateur à l'extérieur. Ce radiateur n'est pas conçu pour être
utilisé dans un endroit où il y a de l'eau dormante ou stagnante.
15. N'utilisez pas ce radiateur dans un endroit où de l'essence, des peintures ou
d'autres liquides inflammables sont utilisés ou entreposés. Ce radiateur
comporte des pièces internes chaudes, produisant parfois des étincelles.
16. Ne faites pas fonctionner le radiateur s'il y a des dommages au cordon
d'alimentation ou si le radiateur est tombé par terre, endommagé ou
défectueux. Retournez le radiateur à un centre de service agréé pour
examen, ajustement électrique ou mécanique ou réparation.
surcharges et les fusibles grillés, branchez toujours le radiateur sur un circuit
électrique dédié. Ne branchez aucun autre appareil électrique sur le même
circuit électrique auquel le radiateur est branché.
18. Cet article est muni d'une fiche polarisée (une broche est plus large que
l'autre) pour prévenir le risque de choc électrique. Cette fiche ne peut être
insérée dans une prise polarisée que dans un seul sens. Si la fiche ne s’insère
pas complètement dans la prise, inversez la fiche. Si elle ne peut pas être
insérée complètement dans la prise, communiquez avec un électricien
qualifié. Ne tentez pas contourner ce dispositif de sécurité car vous risquerez
de subir un choc électrique.
Consignes de sécurité
Éliminez ou recyclez la pile de la télécommande conformément aux
lois municipales ou provinciales.
19. Ne branchez pas le radiateur sur une prise CA usée, car cela pourrait
provoquer une chaleur ou une déformation du cordon d'alimentation,
Remplacez toujours les prises usées avant d'utiliser de nouveau le radiateur.
20. Assurez-vous qu'il n'y a pas de connexion lâche entre la prise CA et la fiche,
Communiquez avec un électricien qualifié pour remplacer une prise mal
fixée ou abîmée.
21. Branchez toujours le radiateur directement à une prise murale. N'utilisez
jamais une rallonge ou une prise d'alimentation amovible comme une
barre d'alimentation ou une multiprise.
22. L'utilisation de ce radiateur par des personnes ayant une sensibilité réduite à
la chaleur ou une incapacité à réagir aux brûlures n’est pas recommandée.
La chaleur produite par ce radiateur peut varier et sa température peut
23. Lorsqu'il n'est pas utilisé, débranchez le radiateur en retirant le cordon
24. ATTENTION : POUR ÉVITER LES CHOCS ÉLECTRIQUES, INTRODUIRE LA LAME
LA PLUS LARGE DE LA FICHE DANS LA BORNE CORRESPONDANTE DE LA PRISE
ET POUSSER JUSQU’AU FOND.
d'alimentation de la prise de courant.
Pour réduire le risque de choc électrique, cette fiche est conçue
pour une insertion dans une prise polarisée que dans un sens. Si
la fiche ne s’insère pas complètement dans la prise, inversez la
fiche. Si la fiche ne s’insère toujours pas, contactez un
électricien pour remplacer la prise.
N'essayez pas de réparer le cordon d'alimentation ou la prise de
courant. Le non-respect de cette consigne peut provoquer un
choc électrique.
Avant d'utiliser ce produit, familiarisez-vous avec toutes les
caractéristiques de fonctionnement et les règles de sécurité.
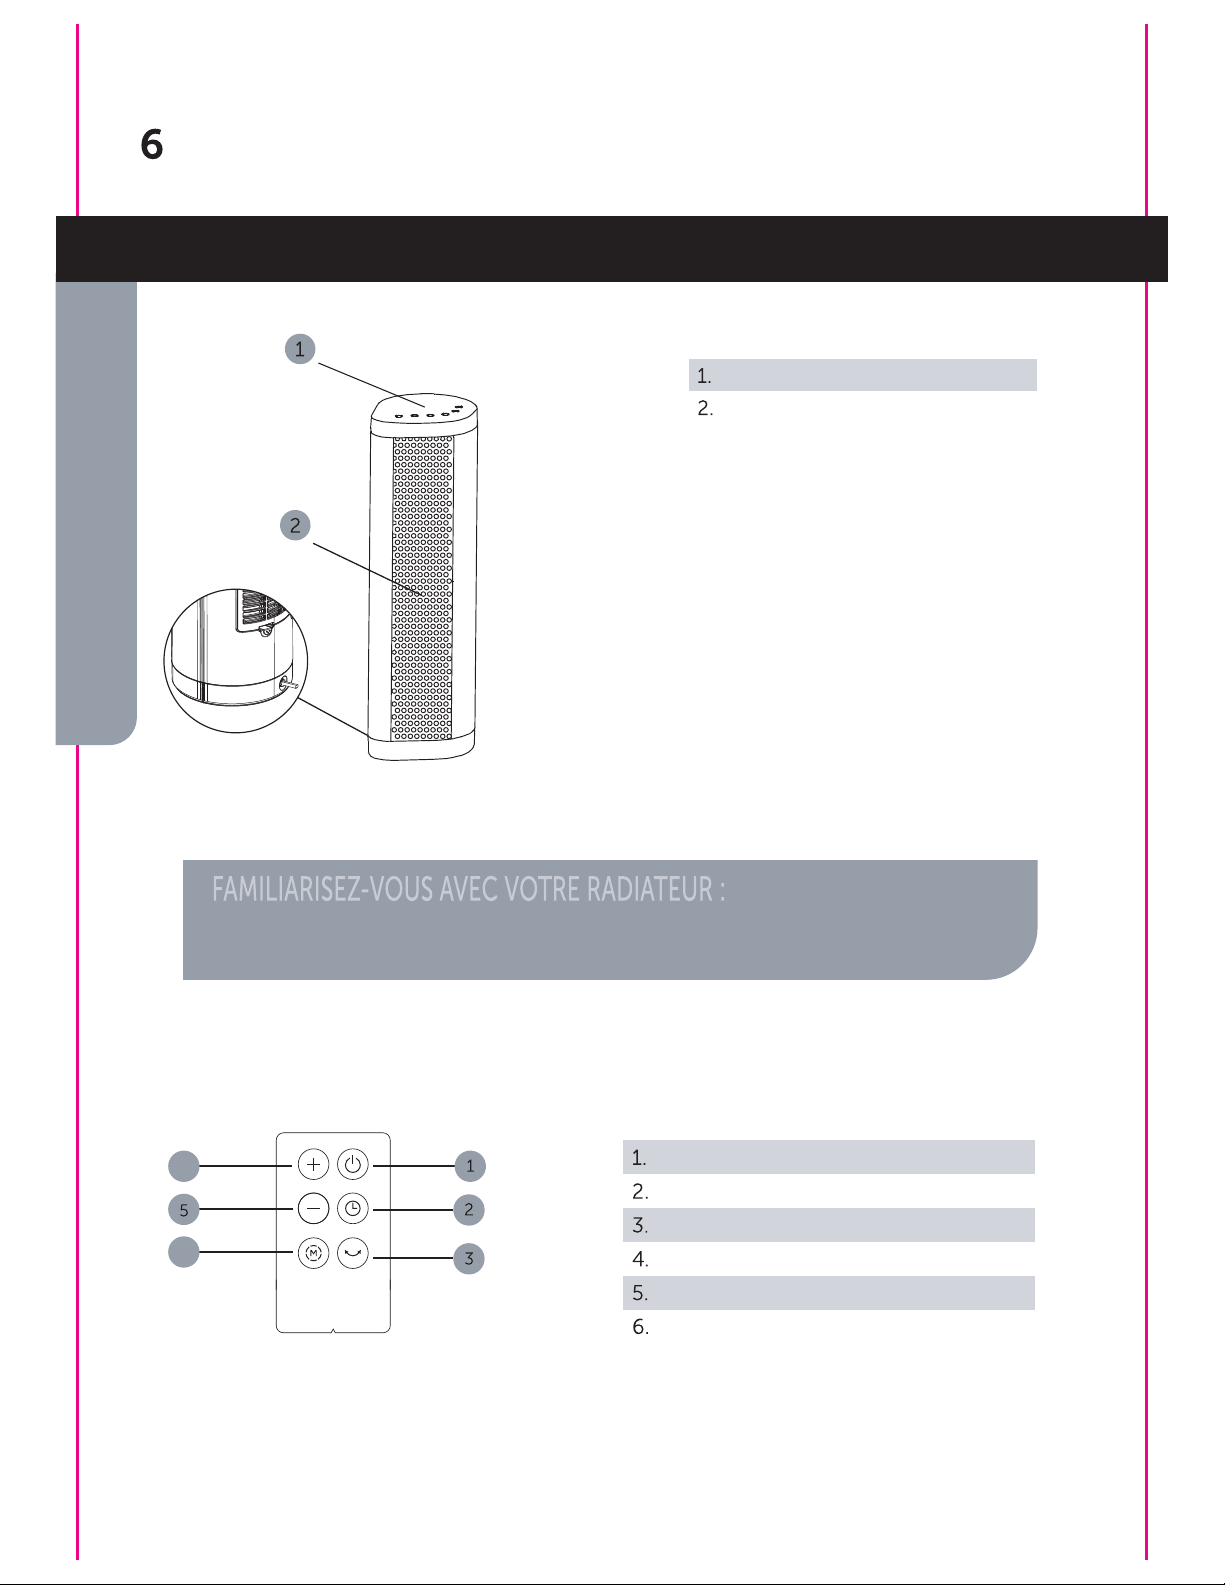
Tableau de commande
Grille de protection ill
Familiarisez-vous avec votre radiateur
RADIATEUR
TÉLÉCOMMANDE
Bouton MARCHE/ARRÊT
Bouton Minuterie
Bouton Oscillation
Bouton haut
Bouton bas
Bouton Mode
4
6

TABLEAU DE COMMANDE
Bouton MARCHE/ARRÊT
Bouton Minuterie
Bouton Oscillation
Bouton Mode
Bouton haut
Bouton bas
6
Familiarisez-vous avec votre radiateur
BATTERIES INSTRUCTIONS (incluses)
AVERTISSEMENT CONCERANT LA PILE
1. Appuyez sur le couvercle du compartiment à batterie et
faites-le glisser.
2. Utilisez 1 pile au lithium "CR2032" (fournie)
3. Insérez la pile en veillant à ce que la borne positive soit
dans le bon sens.
4. Replacez le couvercle.
1. Ne jetez pas les piles au feu, elles pourraient exploser ou fuir.
2. Ne mélangez pas les piles neuves avec les piles usagées.
3. Ne mélangez pas les piles alcalines, standard (carbone-zinc) ou
rechargeables (nickel-cadmium).
4. Les piles non rechargeables ne doivent pas être rechargées.
5. Les piles doivent être insérées convenablement.
6. Les piles épuisées doivent être retirées du produit.
7. Les piles doivent être retirées de la télécommande avant d'être
mises au rebut et éliminées en toute sécurité.
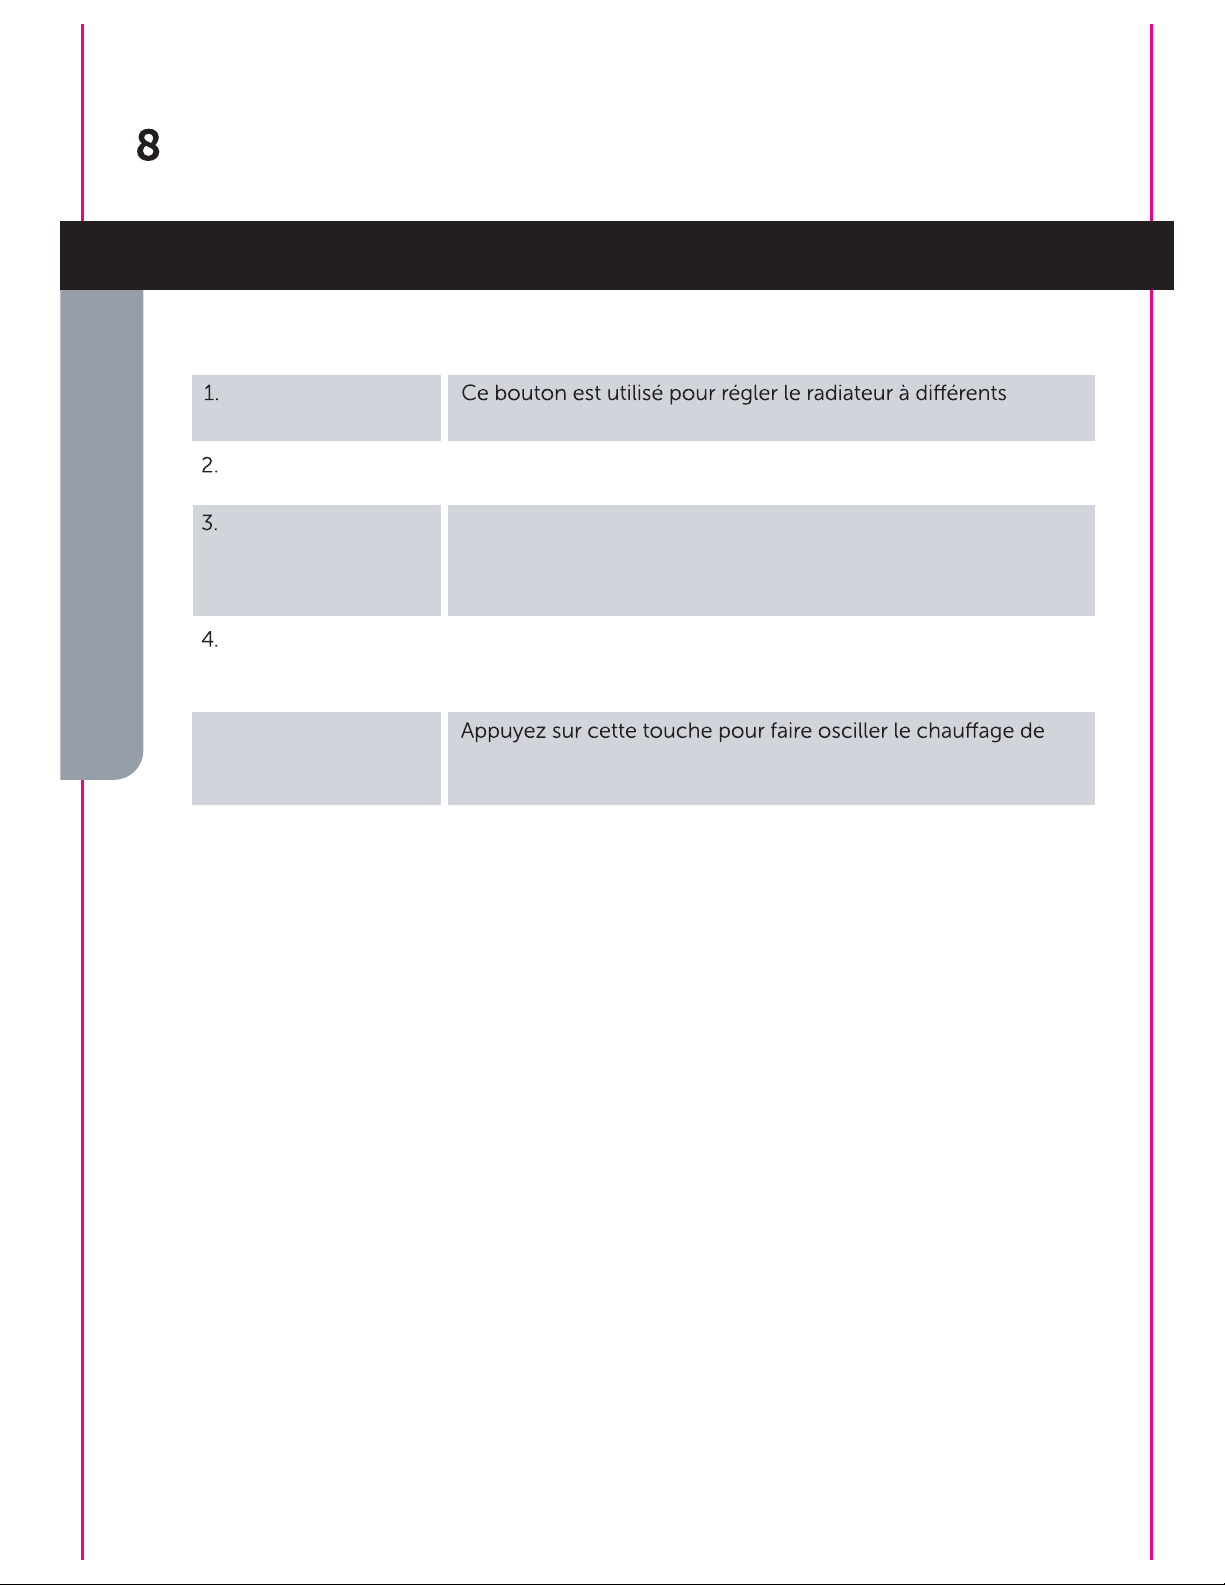
CARACTÉRISTIQUES
Bouton
MARCHE/ARRÊT
Bouton
d'augmentation/
d'abaissement de
la température
Bouton Minuterie
Bouton Mode
Ce bouton permet d’allumer et d’éteindre le radiateur.
Ce bouton permet d'augmenter ou d'abaisser la température
de fonctionnement du radiateur.
Le bouton de la minuterie peut être réglé pour allumer le
radiateur en mode veille et éteindre le radiateur pendant le
fonctionnement.
niveaux de puissance.
Avis important
5. Bouton d'oscillation
gauche à droite. Pour arrêter l’oscillation, appuyez de nouveau.
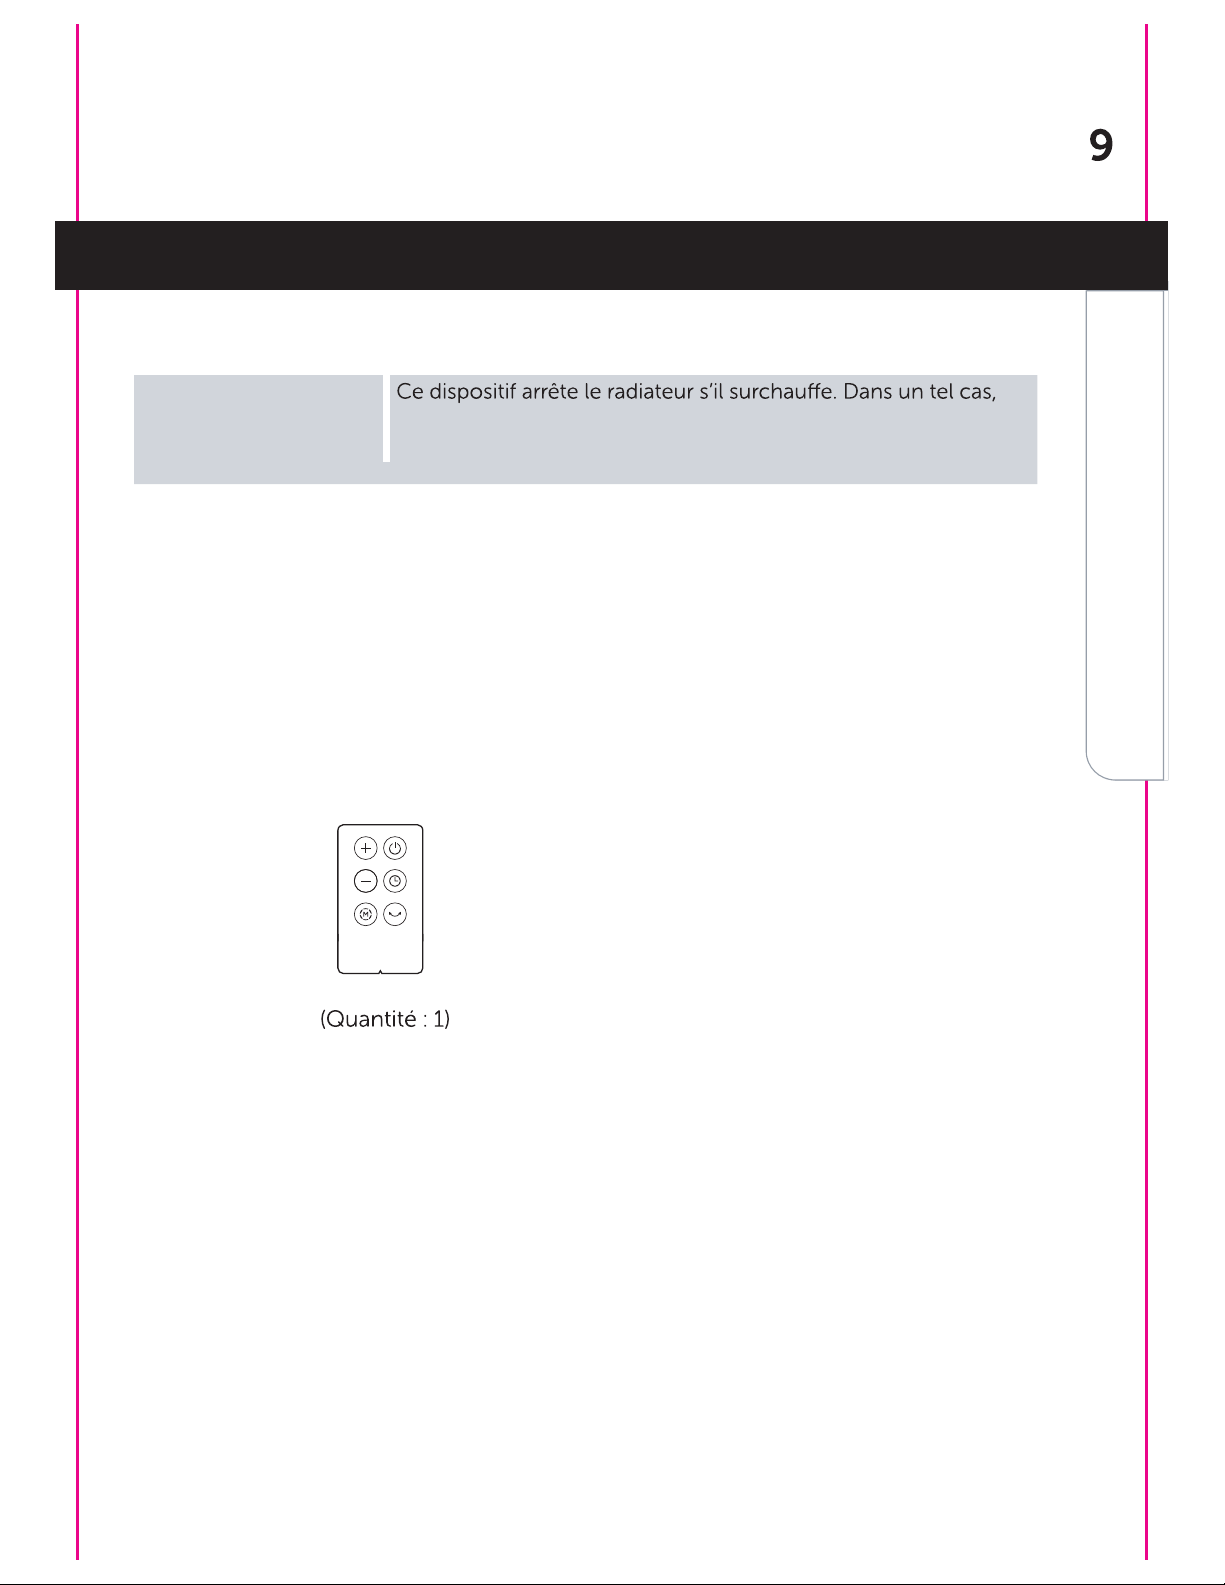
DISPOSITIF DE SÉCURITÉ
MODE VEILLE
CONTENU DE LA BOÎTE
Télécommande
Le radiateur est en mode veille lorsque le radiateur est branché et que le bouton
MARCHE/ARRÊT est en position d’arrêt. Pendant ce mode, la minuterie peut être réglée
sur une plage souhaitée pour la mise en marche automatiquement.
Avis important
1. Coupe-circuit
thermique
l’alimentation du radiateur sera coupée de façon permanente.
Ne tentez pas de le réparer vous-même; composez le numéro
de téléphone figurant dans le guide d’utilisation.
Le radiateur fonctionne en position
verticale ou horizontale, selon l'état
de fonctionnement et la préférence
du consommateur.
MISE EN MARCHE/ARRÊT DU
1. Placez le radiateur sur une surface
ferme et plane sans obstruction, et à
de tout autre objet comme les
meubles, les rideaux, les plantes ou les
matériaux combustibles.
2. Assurez-vous de brancher le cordon
d'alimentation à une prise mise à la
terre de 120 V CA, 60 Hz.
3. Appuyez sur le bouton MARCHE/
ARRÊT pour allumer le radiateur.
Lorsque le bouton MARCHE/ARRÊT
est appuyé pour la première fois,
l'appareil fonctionnera à haute
puissance et le réglage de la
RÉGLAGE DU MODE
Appuyez à plusieurs reprises sur le
bouton MODE pour sélectionner les
modes de fonctionnement souhaités
en séquence circulaire
HAUTE-BASSE-VENTILATEUR
SEULEMENT-ÉCO-HAUTE
RÉGLAGE DE LA TEMPÉRATURE
Lorsque le radiateur fonctionne, appuyez
sur le bouton flèche vers le HAUT ou vers
le BAS pour régler la température de
que la température ambiante atteint la
clignotera pendant 10 secondes et
mode Veille. Lorsque la température
ambiante est inférieure à la température de
RÉGLAGE DE LA MINUTERIE POUR
ÉTEINDRE LE RADIATEUR
Lorsque le radiateur est en marche,
appuyez sur le bouton de la minuterie
pour éteindre automatiquement le
radiateur aux heures spécifiques définies
dans une séquence de 0 à 24 heures.
Appuyez sur le bouton flèche vers le
HAUT pour augmenter de 1 heure
chaque fois, et sur le bouton flèche
vers le BAS pour diminuer de 1 heure
chaque fois.
Consignes d’utilisation
RÉGLAGE DE LA MINUTERIE POUR
ALLUMER LE RADIATEUR
Lorsque le radiateur est en mode veille,
appuyez sur le bouton de la minuterie
pour allumer automatiquement le
radiateur aux heures spécifiques
définies dans une séquence de 0 à
24 heures. Appuyez sur le bouton
flèche vers le HAUT pour augmenter
de 1 heure chaque fois, et sur le bouton
flèche vers le BAS pour diminuer de
1 heure chaque fois.
RÉGLAGE DE L’OSCILLATION
Le radiateur oscillera en appuyant une
fois sur le bouton d'oscillation. Pour
arrêter l'oscillation, appuyez de nouveau
sur le bouton. Ce bouton ne fonctionne
que lorsque le radiateur est en mode
HAUTE ou BASSE puissance.
FONCTION DE MÉMOIRE
Si le radiateur est éteint puis remis en
marche, il reprend son fonctionnement
au mode utilisé avant qu'il soit éteint. Si
le radiateur est débranché puis branché
à nouveau, il fonctionnera aux réglages
puissance et réglage de température
RÉGLAGE DE LA FONCTION D’ARRÊT
AUTOMATIQUE DE L'AFFICHAGE
Lorsque l'appareil fonctionne et qu'aucun
bouton n'est enfoncé pendant 1 minute,
Pour désactiver la fonction d’arrêt
simultanément sur les boutons de
flèche vers le HAUT et vers le BAS
pendant 2 secondes. Pour reprendre la
fonction d’arrêt automatique de
boutons de flèche vers le HAUT et vers
le BAS pendant 2 secondes.
RÉGLAGE DE LA MINUTERIE POUR
ÉTEINDRE LE RADIATEUR
Consignes d’utilisation
Avant d'utiliser le radiateur, assurez-vous que le radiateur ou le
cordon d'alimentation n’ont pas été endommagés de quelque
manière que ce soit pendant le transport.
Lorsque le capteur de température
déclenche la protection contre les
indiquera E1 ou E2 et clignotera. À ce
moment-là, aucun des boutons ne
fonctionnera, et l'avertisseur sonnera
dix fois. Si cela se produit,
communiquez avec un électricien.
Le radiateur est équipé d'une fiche polarisée en ligne à courant
alternatif (une fiche a une broche plus large que l'autre). Ceci est
un dispositif de sécurité. Si la fiche ne s’insère pas complètement
dans la prise, inversez la fiche. Si la fiche ne s’insère toujours pas,
contactez un électricien pour remplacer la prise.
DISPOSITIF DE SÉCURITÉ
Lorsque l'appareil est en marche et
que la température ambiante atteint
et clignote 75 fois, un clignotement
par seconde. Aucun des boutons ne
fonctionnera et le radiateur doit être
débranché pour réinitialiser ce
dispositif de sécurité.
RÉGLAGE DE LA FONCTION ÉCO
Le radiateur sélectionne
automatiquement le réglage de
fonctionnement pour maintenir la
température souhaitée, en comparant
la température ambiante à la
température de consigne.
TÉLÉCOMMANDE
Les boutons de la télécommande
fonctionnent de la même manière
que les boutons du tableau de
commande.
Consignes d’utilisation
supplémentaire et ne peut pas remplacer la source de chaleur
principale pendant l'hiver.
Avant de nettoyer le radiateur, réglez l’interrupteur
d’alimentation sur la position d’arrêt, puis débranchez le
radiateur. N’essayez pas d’ouvrir ou de réparer le radiateur
vous-même. Cela risque d’annuler la garantie et pourrait
entraîner des dommages matériels ou corporels.
Il est recommandé de nettoyer régulièrement le radiateur.
1. Après son utilisation, éteignez toujours le radiateur et laissez-le refroidir.
d'eau, de cire, de vernis ou de solutions chimiques.
3. N’immergez pas le radiateur dans l’eau.
4. Si le radiateur n'est pas utilisé pendant une certaine période, enroulez le cordon
d'alimentation autour du support pour cordon et rangez le radiateur dans un endroit
sec.
Entretien

Dépannage
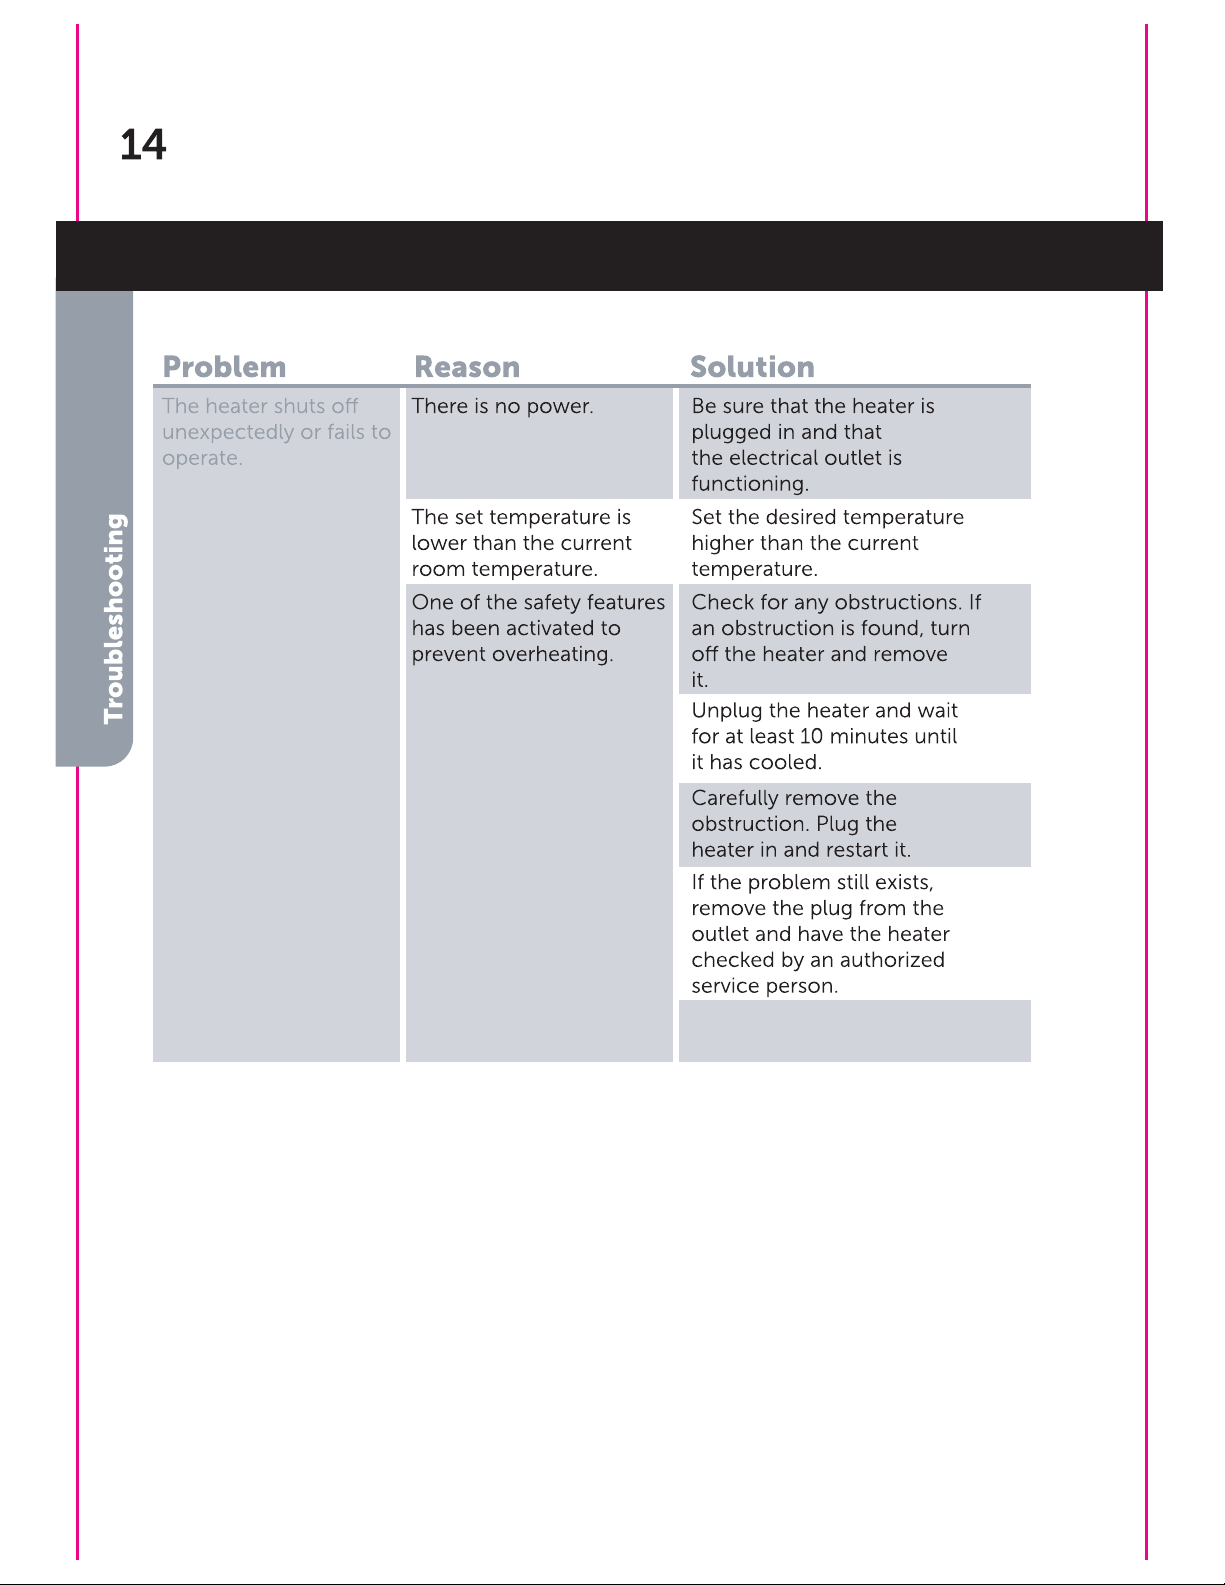
Problème Cause Solution
Le radiateur s'arrête
de façon inattendue
ou ne fonctionne plus.
Il n’y a pas d’alimentation
en courant.
Assurez-vous que le radiateur
est branché et que la prise
électrique fonctionne.
Il n’y a pas d’alimentation
en courant.
L'un des dispositifs de
sécurité a été activé pour
Réglez la température souhaitée
au point de consigne plus haut
que la température actuelle.
Vérifiez s'il y a des obstructions.
Si une obstruction est trouvée,
éteignez l'appareil avant de
retirer l’obstruction.
Débranchez le radiateur et
attendez au moins 10 minutes
pour le laisser refroidir.
Retirez avec précaution
l'obstruction, branchez le
radiateur, puis redémarrez-le.
Si le problème persiste, retirez la
fiche de la prise et faites vérifier
le radiateur par un technicien
agréé.