Loading ...
Loading ...
Loading ...
PRODUCT "
CARE
590 Exterior Surfaces: Same as
interior for all Factory Supptied
Exterior Surfaces.
590 Glasswell cleaning: Wipe up
spills after removing dispenser spill
tray. See Figure 17. Clean with a
mild solution of soap and water to
which a small amount of baking
soda has been added.
I_wARNING I
Shut off electrical power to
equipment before cleaning
product with soap and water
solution.
I_'cAU'I]ON I
Do not submerge or pour hot
water over cold glass shelves.
CLEANING OUT THE ICE
CHUTE MODEL 590
On occasion, ice crescents may
become lodged in the ice chute.
The ice chute is a clear plastic
housing that directs ice from the
freezer section's ice storage con-
tainer to the refrigerator door ice
dispenser. This may prevent the
icemaker from supplying ice to
either the ice dispenser or the bulk
ice dispenser. We have made avail-
able access to the ice chute to
allow a convenient way to unblock
any obstructions.
The ice chute is located behind the
freezer control panel, mounted to
the left hand side of-refrigerator.
The side panel is removed by
holding the bottom of the"_ide
panel and pushing rearward, then
pulling out as in Figure 25. Once
the panel is removed, the clear
plastic ice chute will be visible as
well as any obstruction.
Figure 25
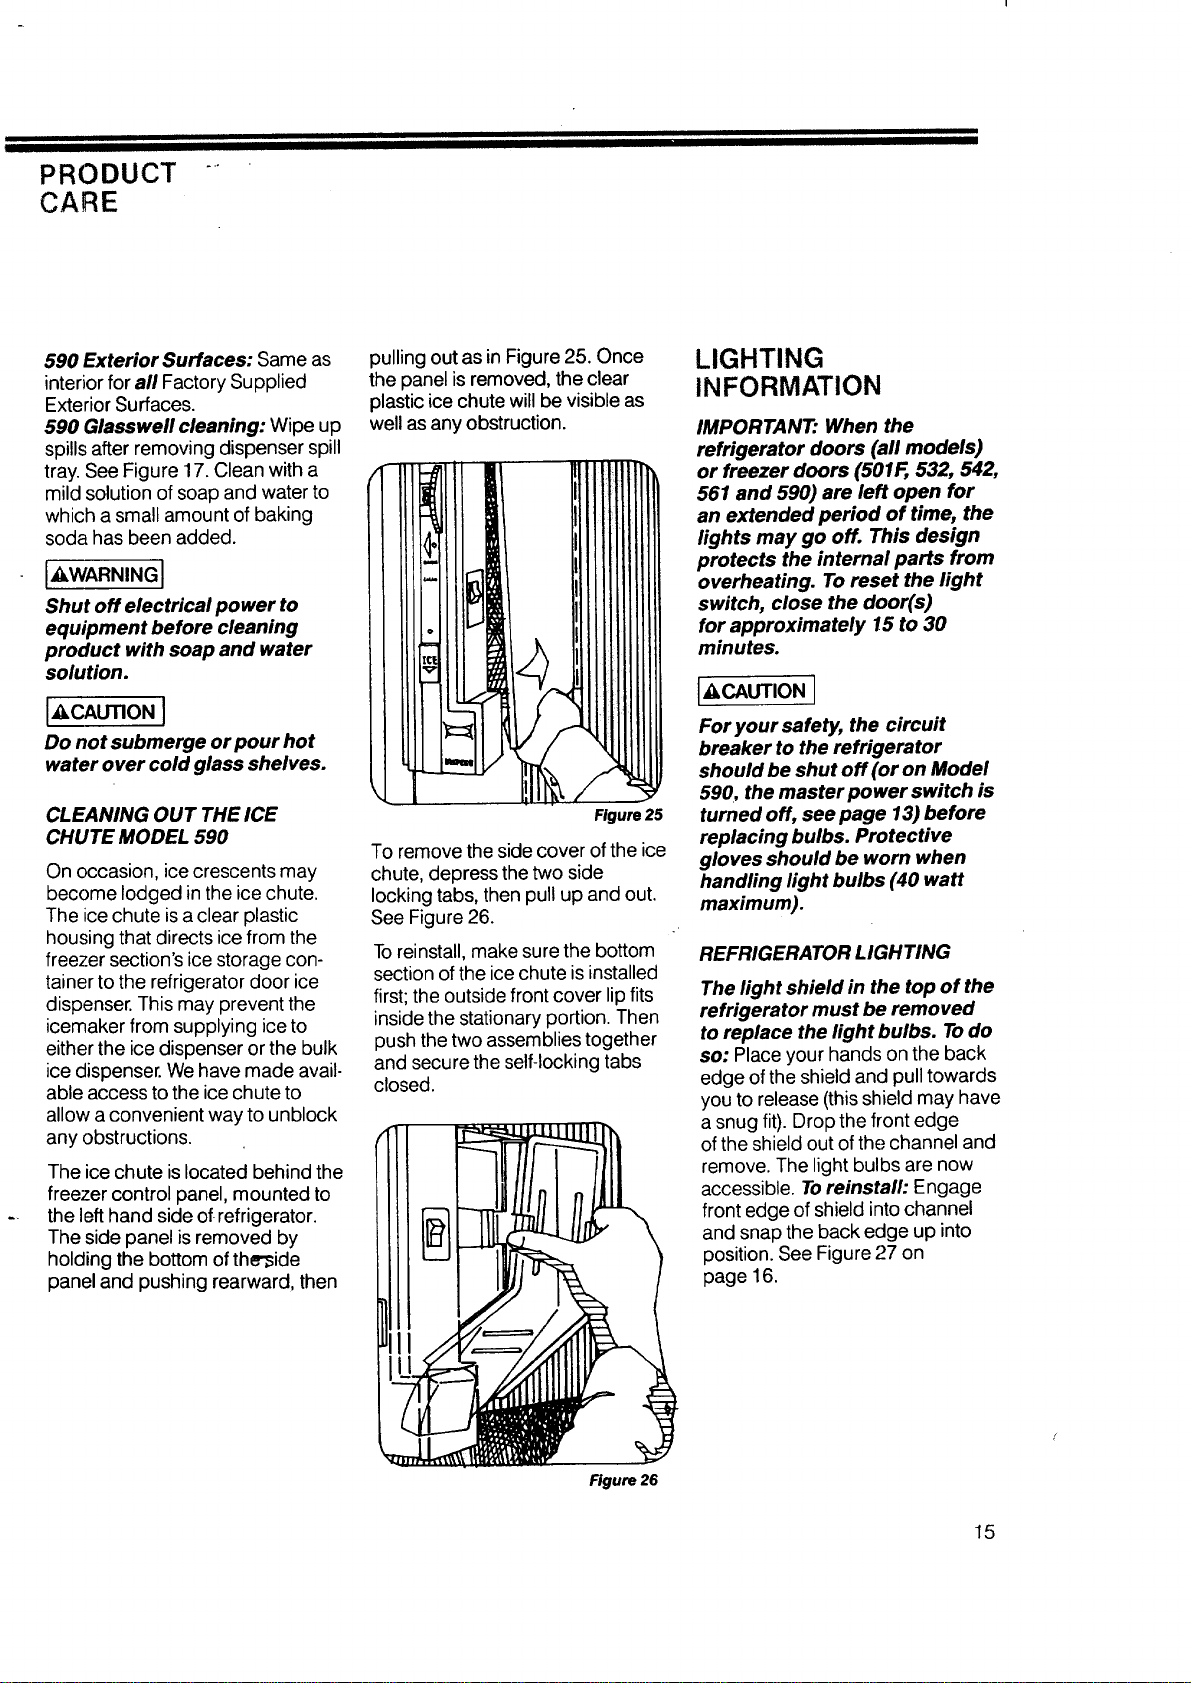
To remove the side cover of the ice
chute, depress the two side
locking tabs, then pull up and out.
See Figure 26.
Toreinstall, make sure the bottom
section of the ice chute isinstalled
first; the outside front cover lip fits
inside the stationary portion. Then
push the two assemblies together
and secure the self-locking tabs
closed.
Figure 26
LIGHTING
INFORMATION
IMPORTANT." When the
refrigerator doors (all models)
or freezer doors (501F, 532, 542,
561 and 590) are left open for
an extended period of time, the
lights may go off. This design
protects the internal parts from
overheating. To reset the light
switch, close the door(s)
for approximately 15 to 30
minutes.
[,_CAUTION ]
For your safety, the circuit
breaker to the refrigerator
should be shut off (or on Model
590, the master power switch is
turned off, see page 13) before
replacing bulbs. Protective
gloves should be worn when
handling light bulbs (40 watt
maximum).
REFRIGERATOR LIGHTING
The light shield in the top of the
refrigerator must be removed
to replace the light bulbs. Todo
so: Place your hands on the back
edge of the shield and pull towards
you to release (this shield may have
a snug fit). Drop the front edge
of the shield out of the channel and
remove. The light bulbs are now
accessible. Toreinstall: Engage
front edge of shield into channel
and snap the back edge up into
position. See Figure 27 on
page 16.
15
Loading ...
Loading ...
Loading ...