SPQ1141 Page 1 / 2
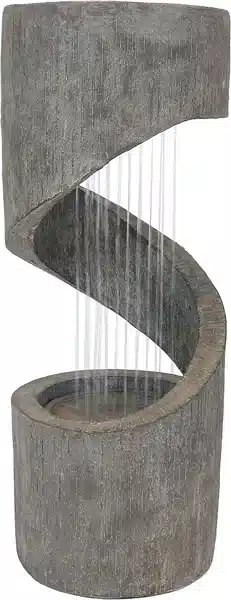
DESCENDING STAIRCASE SLATE OUTDOOR WATER
FOUNTAIN WITH COPPER ACCENTS AND LED SPOTLIGHT
GSI-828
Read the assembly instructions carefully and follow the care instructions. Save these instructions for future reference.
Select a smooth, level surface to place the fountain.
Note: When rst used, there may be air in the pump. It may take several minutes for trapped air to escape, allowing water to ow.
Thank you for choosing Sunnydaze Decor. We stand behind our brand and the quality of the items we
sell. Replacement parts or products will be sent at our discretion within the 1-year warranty period. Proof
of purchase, with the date of purchase as well as photos of the merchandise defect, must be provided.
Photos are used to determine the cause of defects and for future quality control. Register your warranty at
www.serenityhealth.com/warranty/
If you have any questions, comments or concerns, feel free to contact us by phone at 888-881-4668, by email:
customerservice@sere nityhealth.com, or via our contact us page at www.SerenityHealth.com/contact-us/
Purchase Date: / / Order/Customer Reference Number:
NOTE: The water tubing is built into the
upper fountain body. Take care when handling
the water tube; detaching the water tube from
the fountain will damage the fountain and void
the product warranty.
The copper components may patina; this is
a natural characteristic of copper and is not
cause for return or replacement.
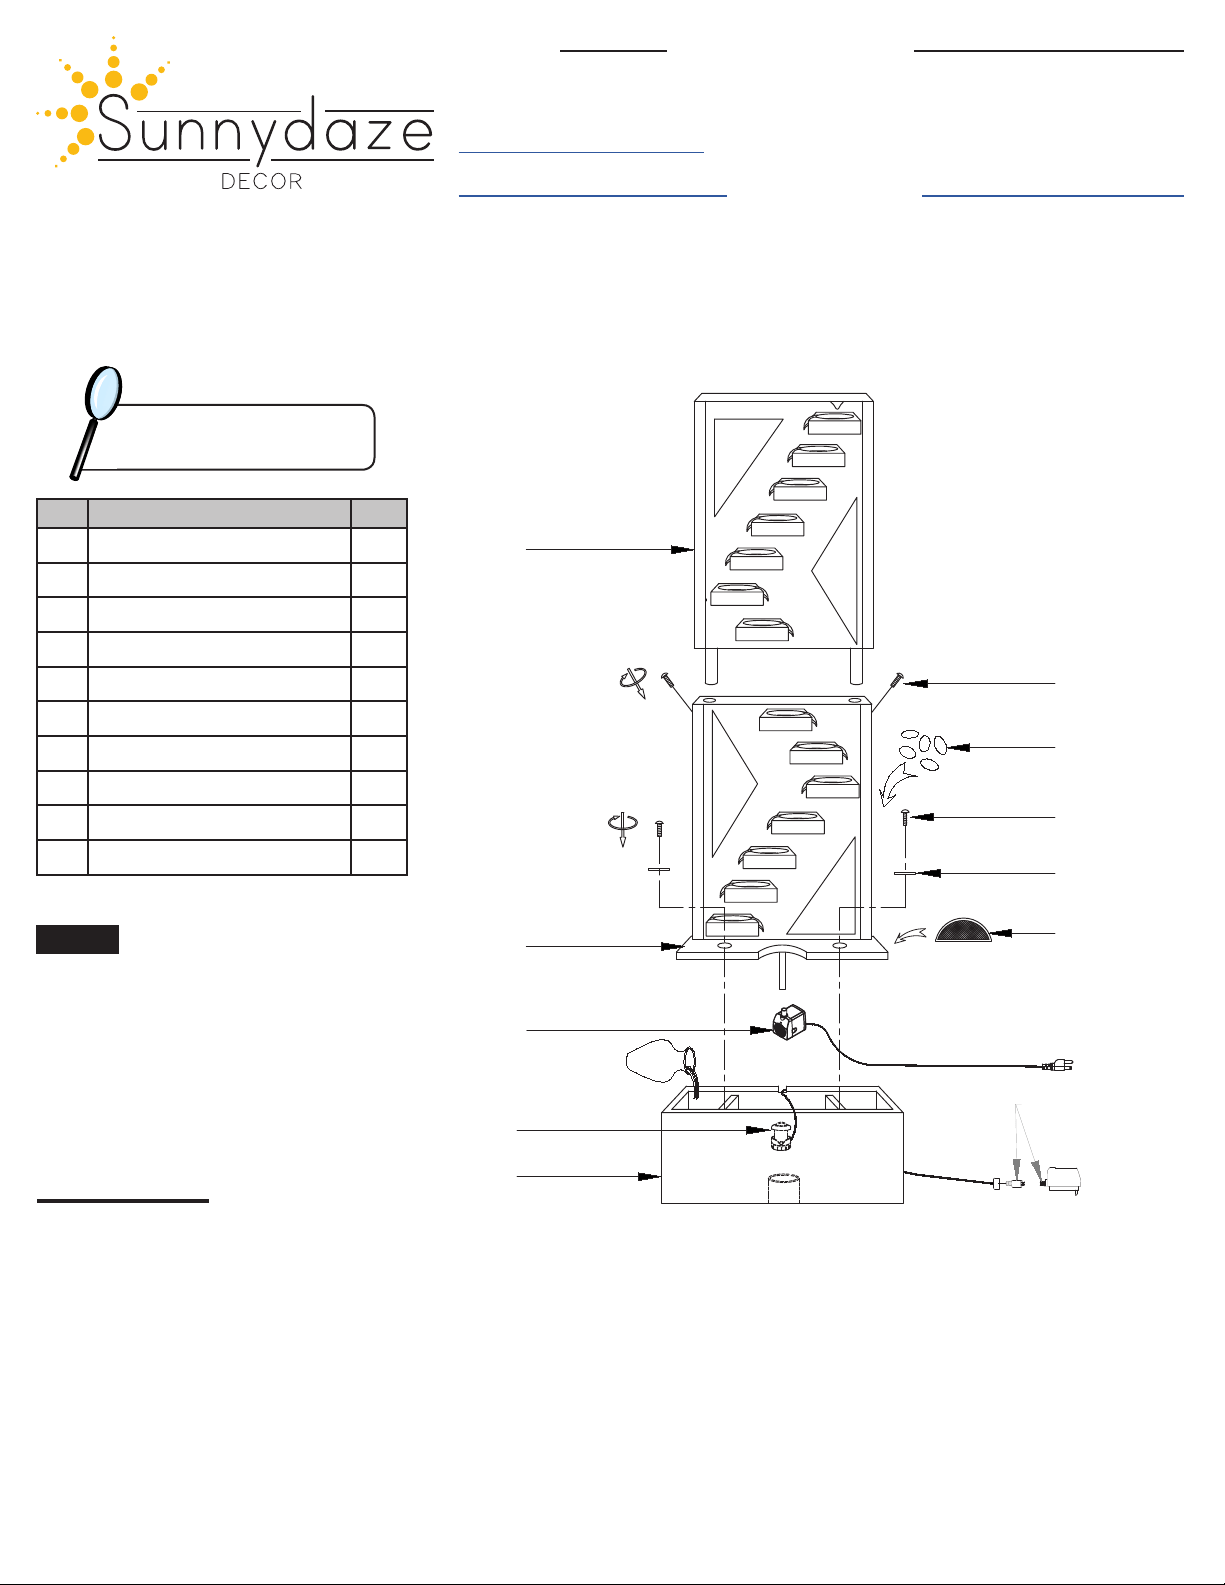
A Basin 1
B Spotlight with AC Adapter 1
C Electric Submersible Pump 1
D Lower Fountain Body 1
E Upper Fountain Body 1
F Washer 2
G Bolt 2
H Decorative Stones 1 PK
I Back Bolts 1
J Splash Guard 1
Inspect packaging to ensure all
parts are accounted for before
disposing of packing materials.
CONNECTORS
H
A
C
D
G
F
I
E
B
J
01/2020
ASSEMBLY
1. Place the light in the basin and connect the AC adapter.
2. Gently place the upper fountain body onto the lower fountain body and secure them using the back bolts.
Secure the water tube from the upper fountain body to the clip on the back of the lower fountain body.
3. Connect the pump to the water tube. Gently place the assembled components onto the basin and secure
the fountain body to the basin with the washers and bolts. NOTE: the pump has an adjustable ow rate;
adjust the dial to achieve the desired ow rate.
4. Place the splash guard on the lower fountain body and gently lay the decorative stones in the basin.
5. Fill the fountain with enough water to keep the pump fully submerged during operation; approximately 3 gallons.
6. Plug the power cords into properly grounded GFCI outlets.
SPQ1141 Page 2 / 201/2020
WARNING!
Manufacturer and seller expressly disclaim any and all liability from personal injury, property damage
or loss, whether direct or indirect, or incidental, resulting from the incorrect attachment, improper use,
inadequate maintenance, or neglect of this product.
TROUBLESHOOTING
• Ensure that the pump is fully submerged and add water to the reservoir if necessary.
• Check the pump and tubing for obstructions.
• Some splashing is normal. Check the flow control on the body of the pump; it may need to be adjusted to achieve
the desired flow rate.
• If water is not flowing within several moments of the fountain being plugged in, the pump may have trapped air
which can prevent water from circulating properly. Simply unplug the power supply for a few moments and plug it
back in.
• If the light is not working, ensure the adapter is fully connected and is plugged in.
• Check to make sure the power outlet is working; if in doubt about electrical connections, consult a certified electrician.
If you are still experiencing issues, please contact our customer service team through one of the methods mentioned
at the top of page 1. To expedite response time, please have the item number and order information available.
IMPORTANT INFORMATION
USE & CARE
• For outdoor use only.
• The lighting feature of this fountain is optional. To turn the light off, simply unplug the 2-prong power cord.
• Check the water level frequently to ensure the pump remains fully submerged; never allow the pump to run dry as
it will burn out the motor.
• Only use water in this fountain. Distilled water will help prevent mineral buildup but is not required, avoid heavily
chlorinated tap water as it may damage the fountain or pump.
• Periodically change the water to reduce scale and buildup — clean the fountain and pump regularly for optimal
performance and appearance.
DO NOT use harmful additives such as bleach, chlorine, etc.
DO NOT use a pressure washer or abrasive materials to wash the fountain.
• Always shut off the power supply before cleaning and maintaining the fountain and the recirculating pump.
• Take care when handling the pump; only pick it up by the body of the pump, never by the power cord.
• During freezing temperatures, drain the fountain, disconnect the pump and store indoors; allowing ice to form may
crack the fountain and will damage the pump.