Loading ...
Loading ...
Loading ...
Operation
Cutting HeightAdjustment
WARNING ,A
DONOTattempt any maintenance,adjustments or service
with engine and blade running. STOPengine and blade.
Removestarter insert. Disconnect spark plug wire and
secure away from spark plug. Engine and components
are HOT.Avoid serious burns, allow sufficient time for all
components to cool.
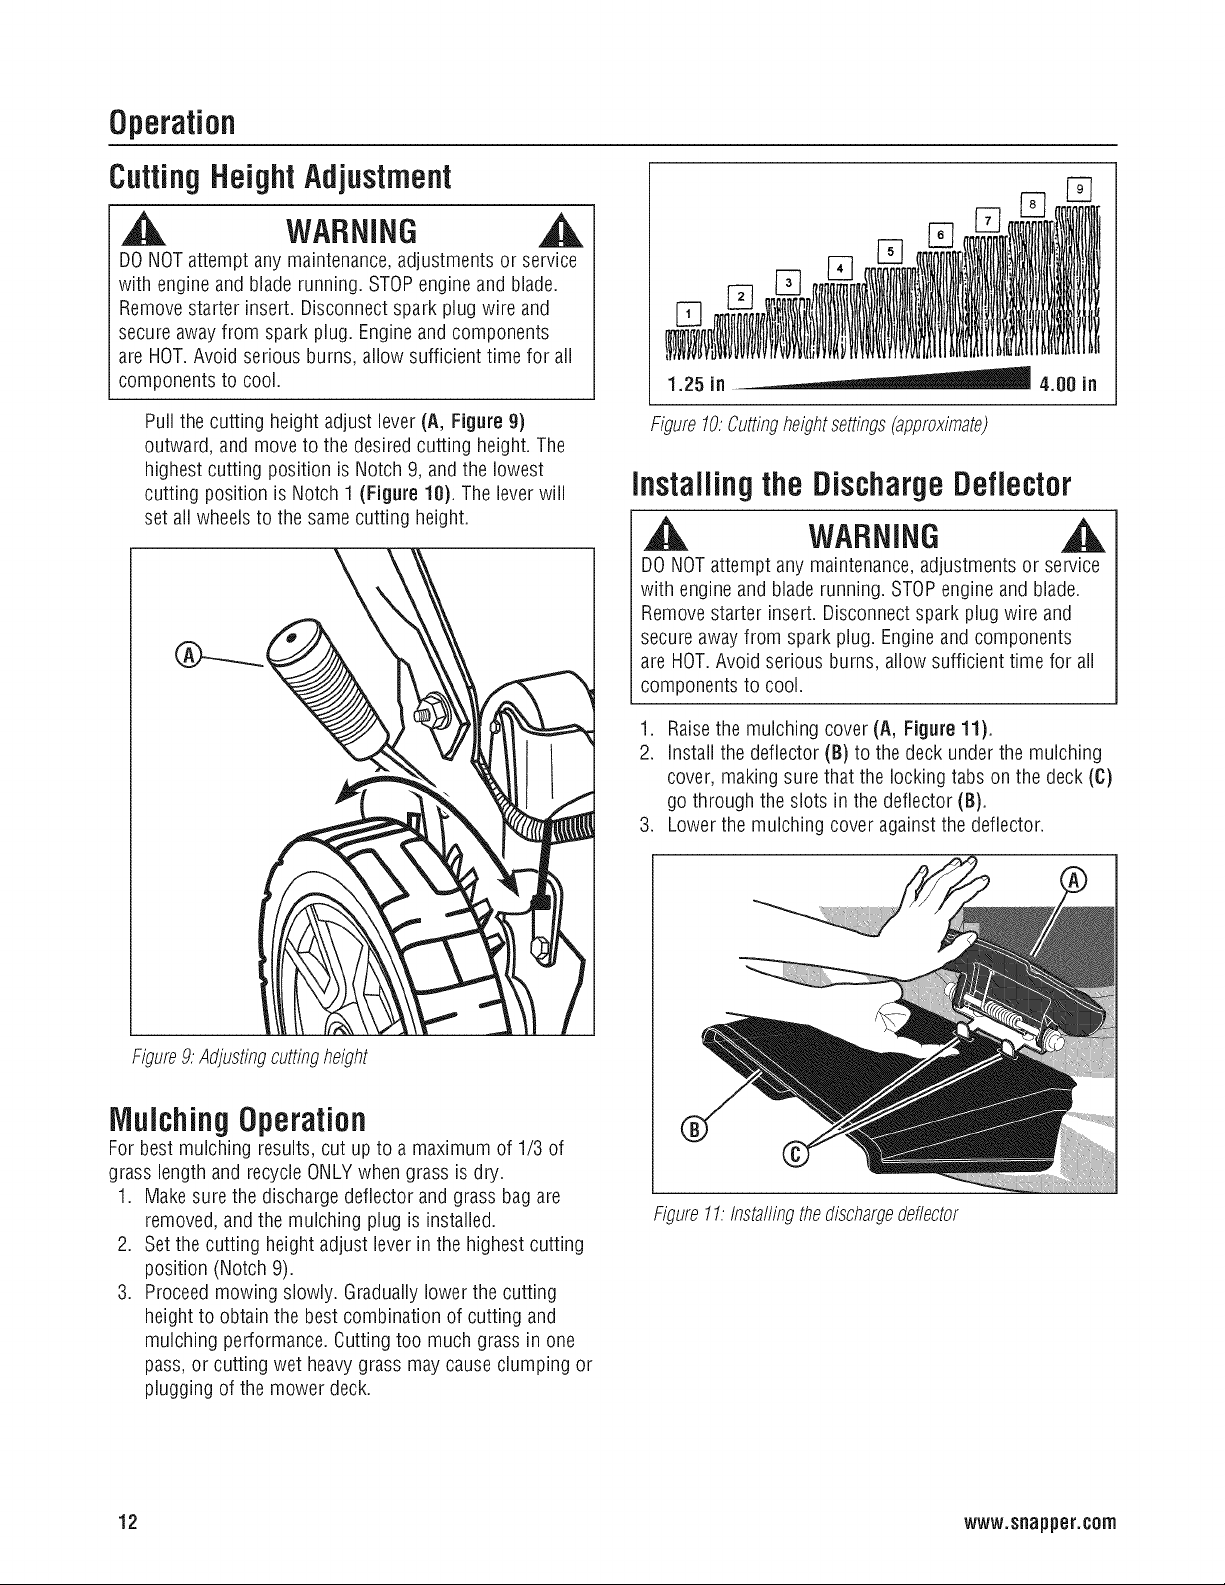
Pull the cutting height adjust lever (A, Figure 9)
outward, and move to the desired cutting height. The
highest cutting position is Notch 9, and the lowest
cutting position is Notch 1 (Figure 10). The lever will
set all wheels to the same cutting height.
1.25 in 4.00 in
Figure10:Cuttingheightsettings(approximate)
Installingthe DischargeDeflector
WARNING
DO NOTattempt any maintenance,adjustments or service
with engine and blade running. STOPengine and blade.
Remove starter insert. Disconnect spark plug wire and
secure away from spark plug. Engineand components
are HOT.Avoid serious burns, allow sufficient time for all
components to cool.
1. Raisethe mulching cover (A, Figure 11).
2. Install the deflector (B) to the deck under the mulching
cover, making sure that the locking tabs on the deck (C)
go through the slots in the deflector (B).
3. Lower the mulching cover against the deflector.
Figure9: Adjustingcuttingheight
Mulching Operation
For best mulching results, cut up to a maximum of 1/3 of
grass length and recycle ONLYwhen grass is dry.
1. Make sure the discharge deflector and grass bag are
removed, and the mulching plug is installed.
2. Set the cutting height adjust lever in the highest cutting
position (Notch 9).
3. Proceed mowing slowly. Gradually lower the cutting
height to obtain the best combination of cutting and
mulching performance. Cutting too much grass in one
pass, or cutting wet heavygrass maycause clumping or
plugging of the mower deck.
Figure11:Insta//ingthedischargedeflector
12 www.snapper.corn
Loading ...
Loading ...
Loading ...