Loading ...
Loading ...
Loading ...
29
DIAGNOSTICS
Your stove's controller comes equipped with an
on-board diagnostics option that will let you test
some components of the stove.
NOTE: You will only be able to enter the
diagnostic screen when the stove is turned
OFF.
To get into the diagnostic screen:
Press and hold the "Enter" button. This will
take you to the "Set Data" screen.
Using the "Scroll Down" key, move to option 6
"Diagnostics". Press "Enter" to access the
"Diagnostics Screen" See Figure 28
1.
2.
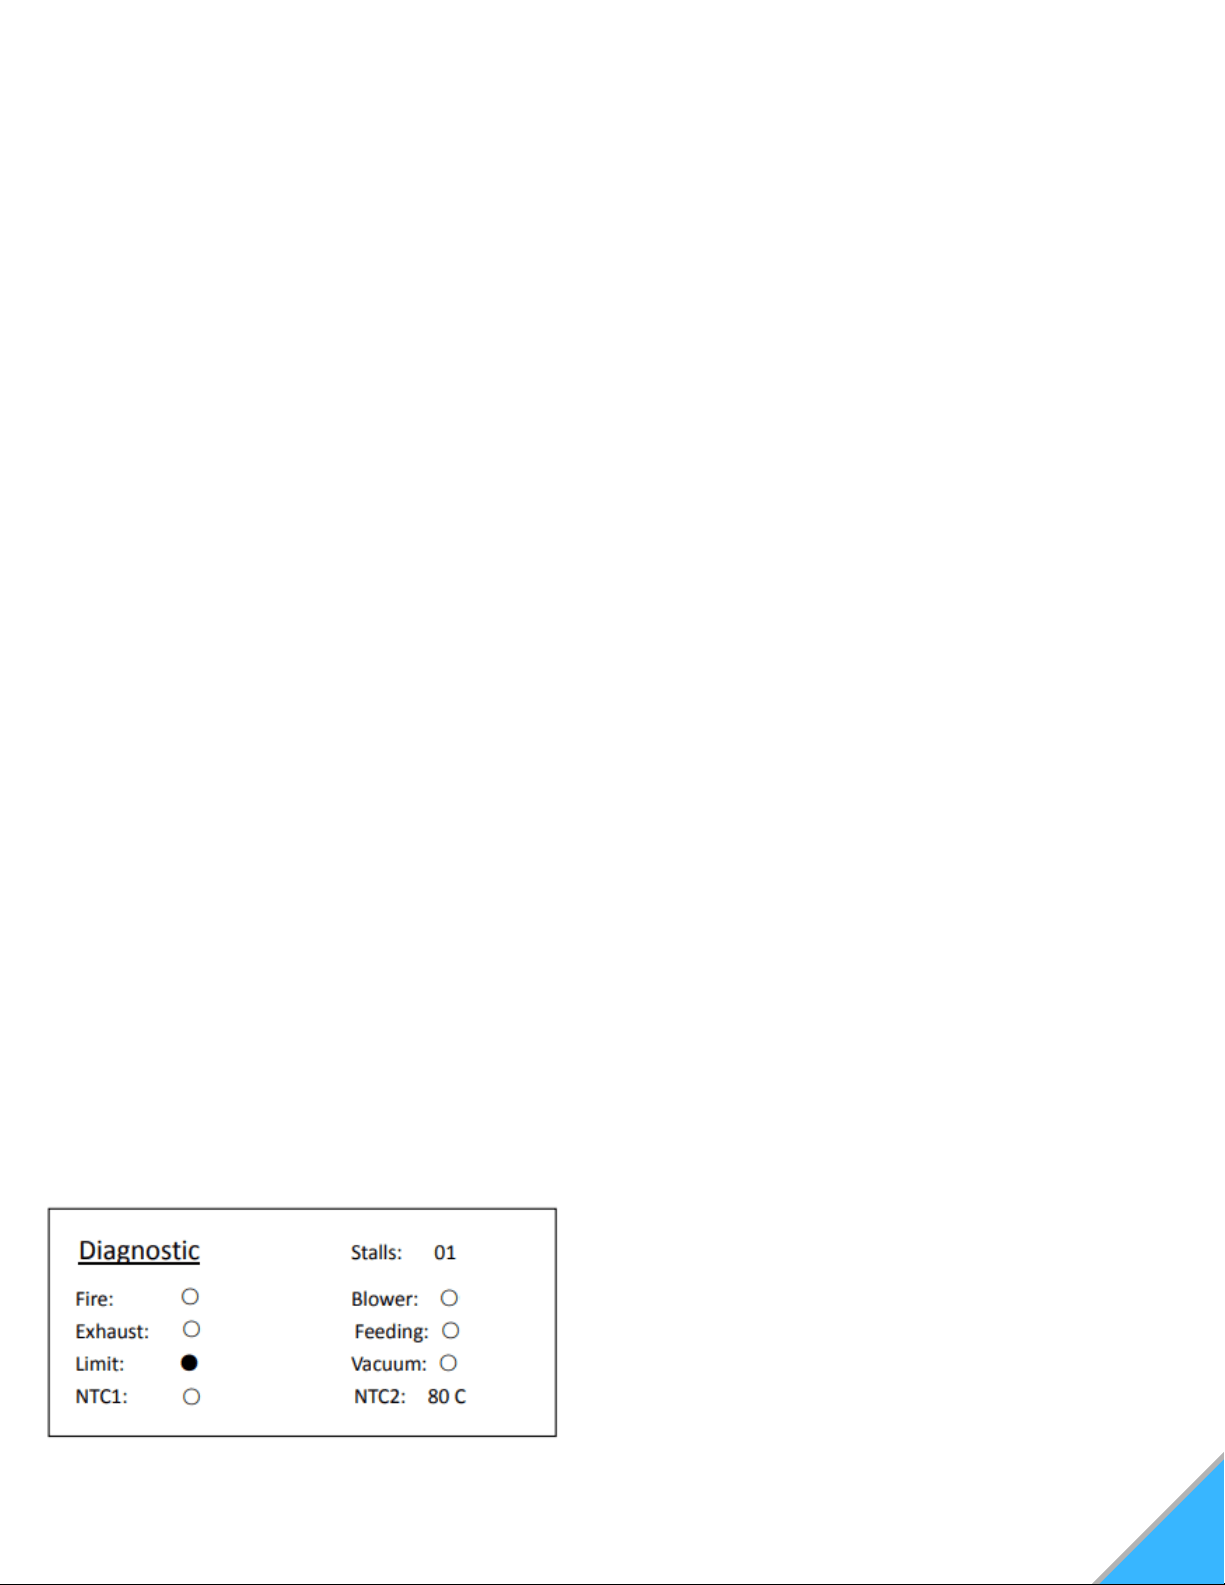
Figure 28: Diagnostics Menu
NOTE: The shaded circles indicate when a
component is in the "Engaged" or ON
position.
When stove is OFF and cool, the only circle
that will appear shaded is the "Limit" (Hopper
Lid Indicator)
In the diagnostics mode, you will have the ability
to test certain components of the stove to ensure
they are working as intended.
In order to test a specific component:
Move the cursor arrow to the desired
component keyword using the "Scroll Up" or
"Scroll Down" keys, and press "Enter"
The selected component keyword will
highlight. Press the "Scroll Up" or "Scroll
Down" key once to shade the selected circle.
This will turn on, or "Engage" this component.
The only components that you are able to
manually Engage are "Fire", "Blower", "Exhaust",
and "Feeding"
1.
2.
Component Keywords:
Stalls: Changing the stall # will allow you to test
the components in the various heating power
levels.
Fire: Tests whether the igniter is working
properly.
Exhaust: Tests whether the combustion motor
and exhaust system is working properly.
Limit: Will indicate whether the hopper lid is
properly shut.
Blower: Tests whether the room blower fan is
working properly.
Feeding: Tests whether the auger is properly
feeding pellets.
Vacuum: Will indicate whether there is sufficient
negative pressure in the stove. (Should shade
when "Exhaust" is engaged).
NTC1: Proof of Fire indicator. (Will only be
shaded when stove is still hot enough to engage
the P.O.F. switch.
NTC2: Will indicate temperature being read by
the overheat sensor. (Temperature is in Celsius)
1.
2.
3.
4.
5.
6.
7.
8.
9.
Option 9 "Restore Default Settings" should never
need to be used, as the correct baseline settings
are programmed into the controller during the
inspection process.
NOTE: Restoring default settings will erase the
changes that were made during the inspection
process and could affect the performance of your
stove.
RESTORING DEFAULT SETTINGS
Press the "On/Off" button on the control pad to
initiate the shut down mode. The On/Off indicator on
the screen will now read "Off".
The auger will stop feeding pellets, but the exhaust
fan and room blower fans will continue to operate for
a time. Once the stove has cooled, the screen light
will turn off.
NOTE: Stove shut down times can vary.
SHUT DOWN PROCEDURE
Loading ...
Loading ...
Loading ...