Loading ...
Loading ...
Loading ...
13
.7 Cu. Ft. Retro Microwave Oven
www.insigniaproducts.com
Using your microwave
Setting the clock
1 Plug the power cord into an outlet. 0:00 flashes on the display and the buzzer sounds
once.
2 Press (kitchen timer/clock) twice. The hour flashes on the display.
3 Turn the adjustment knob to select the hour. You can select from 1 to 12. The hour
you select appears on the display.
4 Press (kitchen timer/clock). The minutes flash on the display.
5 Turn the adjustment knob to select the minutes. You can select from 0 to 59. The
minutes you select appear on the display.
6 Press (kitchen timer/clock) to confirm the setting. The: symbol flashes on the
display.
Using the kitchen timer
1 Press (kitchen timer/clock) once. 00:00 flashes on the display.
2 Turn the adjustment knob to select the amount of time. You can select from 1 to 95
minutes. The time you select appears on the display.
3 Press (start/+30sec.) to confirm the setting. When the time reaches 0, the buzzer
sounds five times and the display shows the current time.
Cooking in your microwave
1 Press (microwave). PL10 appears in the display.
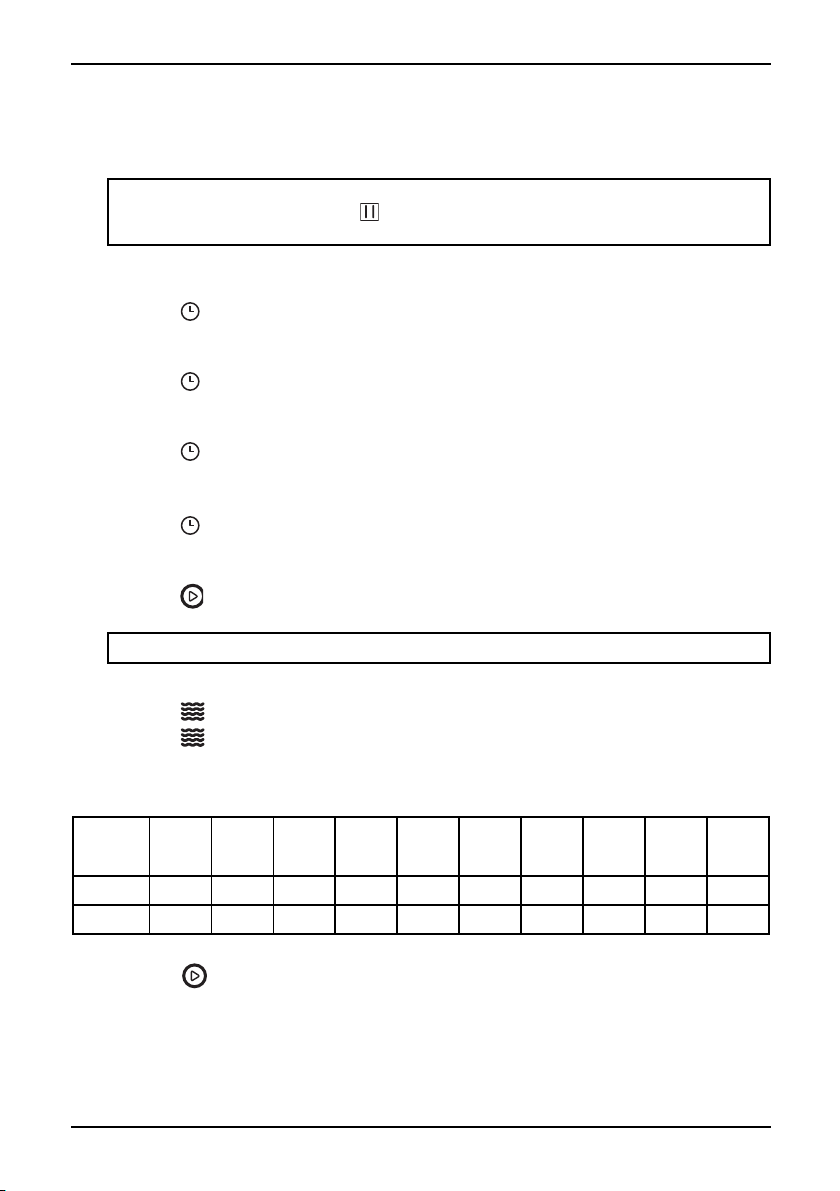
2 Press repeatedly or turn the adjustment knob to select the power level. You can
select between 100% and 10%. The power levels (PL10, PL9, PL8, PL7, PL6, PL5, PL4,
PL3, PL2, and PL1) appear in sequence on the display.
The available power levels are:
3 Press (start/+30sec.) to confirm the setting.
Note: If the clock isn’t set, it won’t function when powered. During the process of
setting up the clock, if you press (stop/clear) or make no changes within in one
minute, the oven exits the setting.
Note: While the kitchen timer is running, you can’t program your microwave.
1
TIME
2
TIMES
3
TIMES
4
TIMES
5
TIMES
6
TIMES
7
TIMES
8
TIMES
9
TIMES
10
TIMES
Power 100% 90% 80% 70% 60% 50% 40% 30% 20% 10%
Display PL10 PL9 PL8 PL7 PL6 PL5 PL4 PL3 PL2 PL1
Loading ...
Loading ...
Loading ...