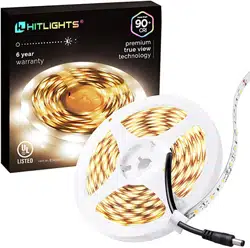
SINGLE COLOR
LED LIGHT STRIPS
10MM LED STRIPS8MM LED STRIPS
LUMA5
LUMA10 LUMA20
3528 LEDs (Luma5)
8MM Width
Single Color LED
Light Strips
5050 LEDs (Luma10)
2835 LEDs (Luma20)
10MM Width
Single Color LED
Light Strips
Models Include:
L0512V-301-1630, L0512V-301-1665,
L0512V-401-1630, L0512V-401-1665,
L0512V-501-1630, L0512V-501-1665,
L0512V-BL1-1630, L0512V-BL1-1665,
L0512V-GN1-1630, L0512V-GN1-1665,
L0512V-RD1-1630, L0512V-RD1-1665,
L0512V-RWB-1630, L0512V-RWB-1665,
L0512V-301-1630-U, L0512V-301-1667-U,
L0512V-302-1630-U, L0512V-302-1667-U,
L0512V-501-1630-U, L0512V-501-1667-U,
L0512V-502-1630-U, L0512V-502-1667-U
Models Include:
L1012V-301-1630, L1012V-301-1665,
L1012V-302-1630, L1012V-302-1665,
L1012V-501-1630, L1012V-501-1665,
L1012V-502-1630, L1012V-502-1665,
L1012V-301-1630, L1012V-302-1630,
L1012V-501-1630, L1012V-502-1630,
L2012V-301-1030-U, L2012V-401- 1030-U,
L2012V-501-1030-U, L2012V-302-1030-U,
L2012V-402-1030-U, L2012V-502-1030-U
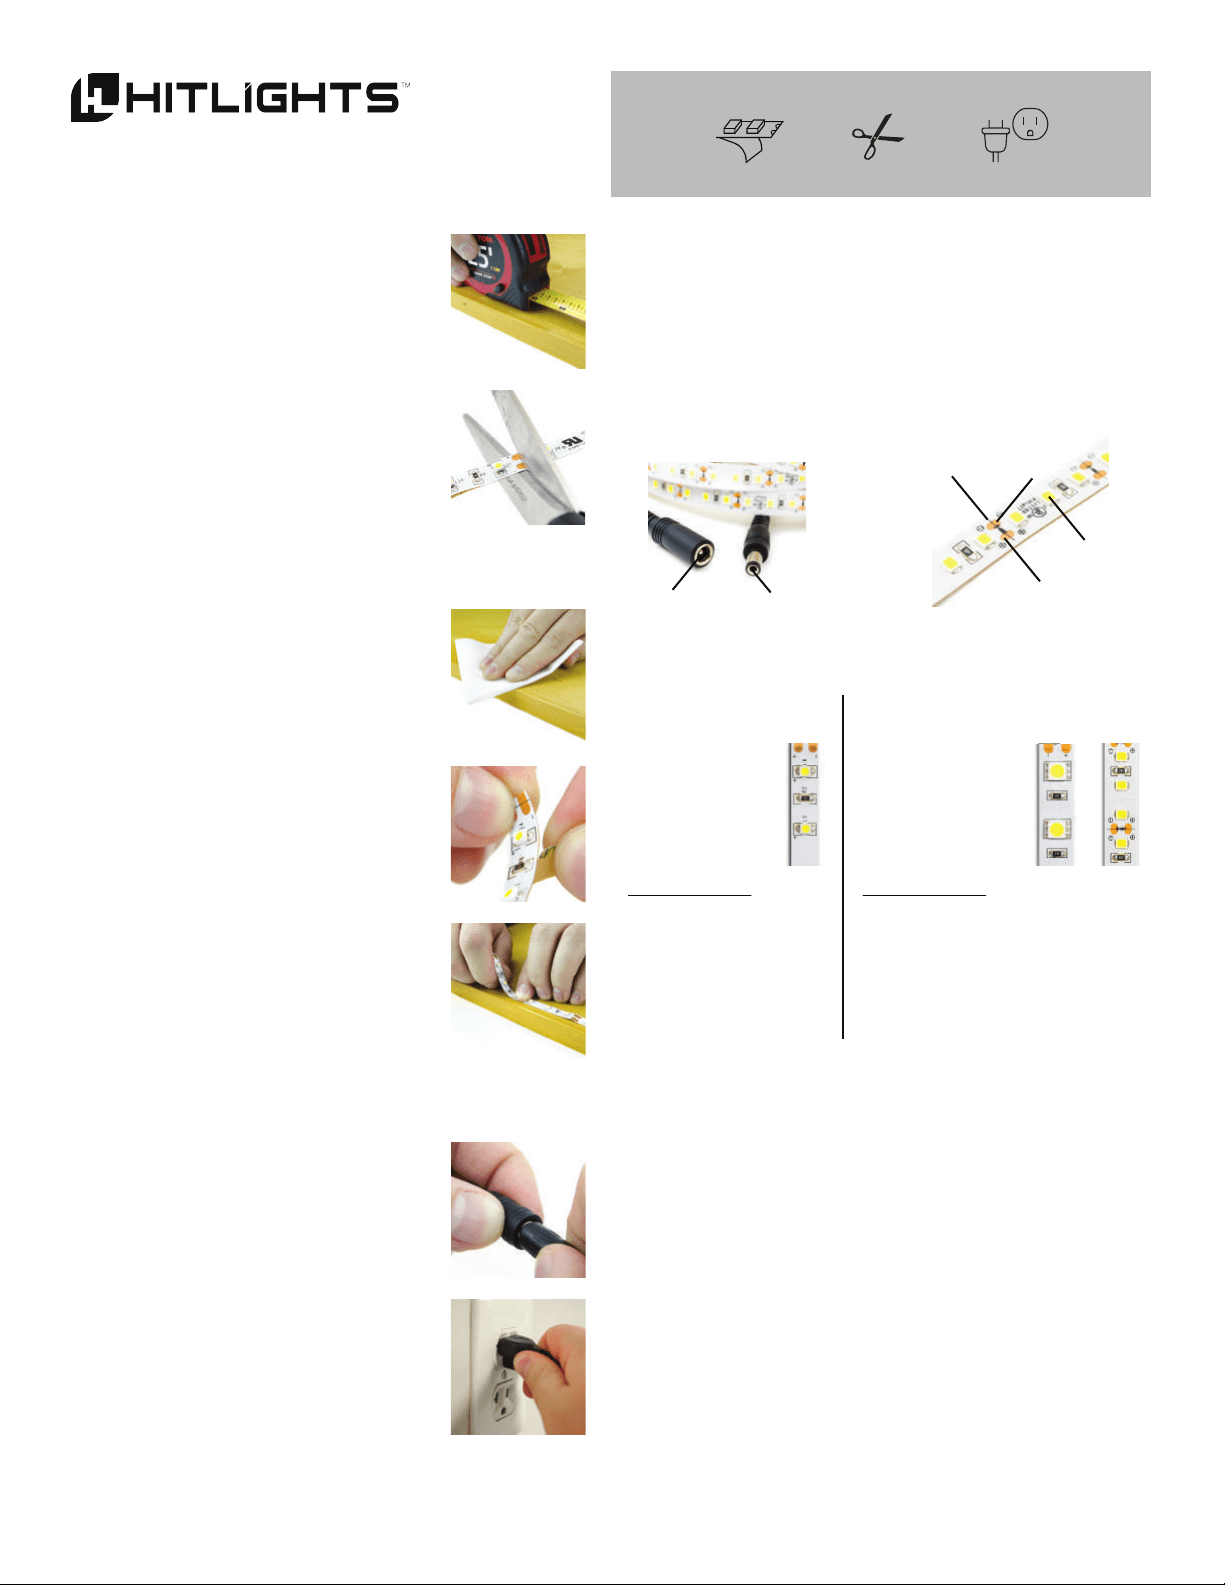
LED LIGHT STRIP
Cut Line
LED
- Contact Pad
+ Contact Pad
DC Male
DC Female
What you’ll need:
LED Light Strip 12V DC
Power Source
Scissors
1. CUT STRIP
a. Measure the LED light strip to
your desired length, and locate
the nearest cut line.
b. Using your scissors, cut neatly
along the cut line.
2. MOUNT THE TAPE
a. Clean the smooth mounting surface
where you intend to stick the
HitLights LED Strips.
b. Remove the backing from the
adhesive tape.
c. Gently yet firmly press and hold
the HitLights LED Strip to
the mounting surface.
(NOTE) The waterproof IP67
strips will not include adhesive
tape. These and any of our other
strips may be mounted with
HitLights Foam Tape, Mounting
Clips, or Aluminium Channels.
fig. 1a
fig. 1b
fig. 2a
fig. 2b
fig. 2c
fig. 3a
3. POWER ON
a. Plug your strip into a 12V DC
power source (may be sold
separately).
b. Turn on your power source, and
your strip will light up!
TROUBLESHOOTING
Problem: Lights not turning on.
Solution: Confirm the strip is connected to the power source.
(HitLights LED strips require a 12V DC power source.)
If the lights are connected to a controller, ensure they
are switched on.
Problem: Lights dim or flickering.
Solution: Check the voltage on your power source. Anything
below 12V DC may result in dim lights or flickering.
Problem: Adhesive tape not sticking.
Solution: Make sure to thoroughly clean your mounting surface.
The mounting tape may not work on certain surfaces
like wood, stone or other rough materials. Try HitLights
Foam Tape, Mounting Clips, Aluminium Mounting
Channels or an adhesive suited to the material
in question.
fig. 3b
These Instructions Apply to:
INTRODUCTION
HitLights LED strips run with a simple 12 Volt DC connection made
via the female DC Barrel Jack at the beginning of the strip. They can
be cut at the cut line every three LEDs and re-connected using our
connectors (sold separately). Each strip has a positive (+) and a
negative (-) contact pad which is marked on the strip.