Loading ...
Loading ...
Loading ...
After initial remote control start up and after replacing the batteries it is required to
set the time and date. It is not possible to navigate to the home screen and product
settings until the time and date have been set.
It is possible to modify these settings at any stage from within the menu structure,
see page 19.
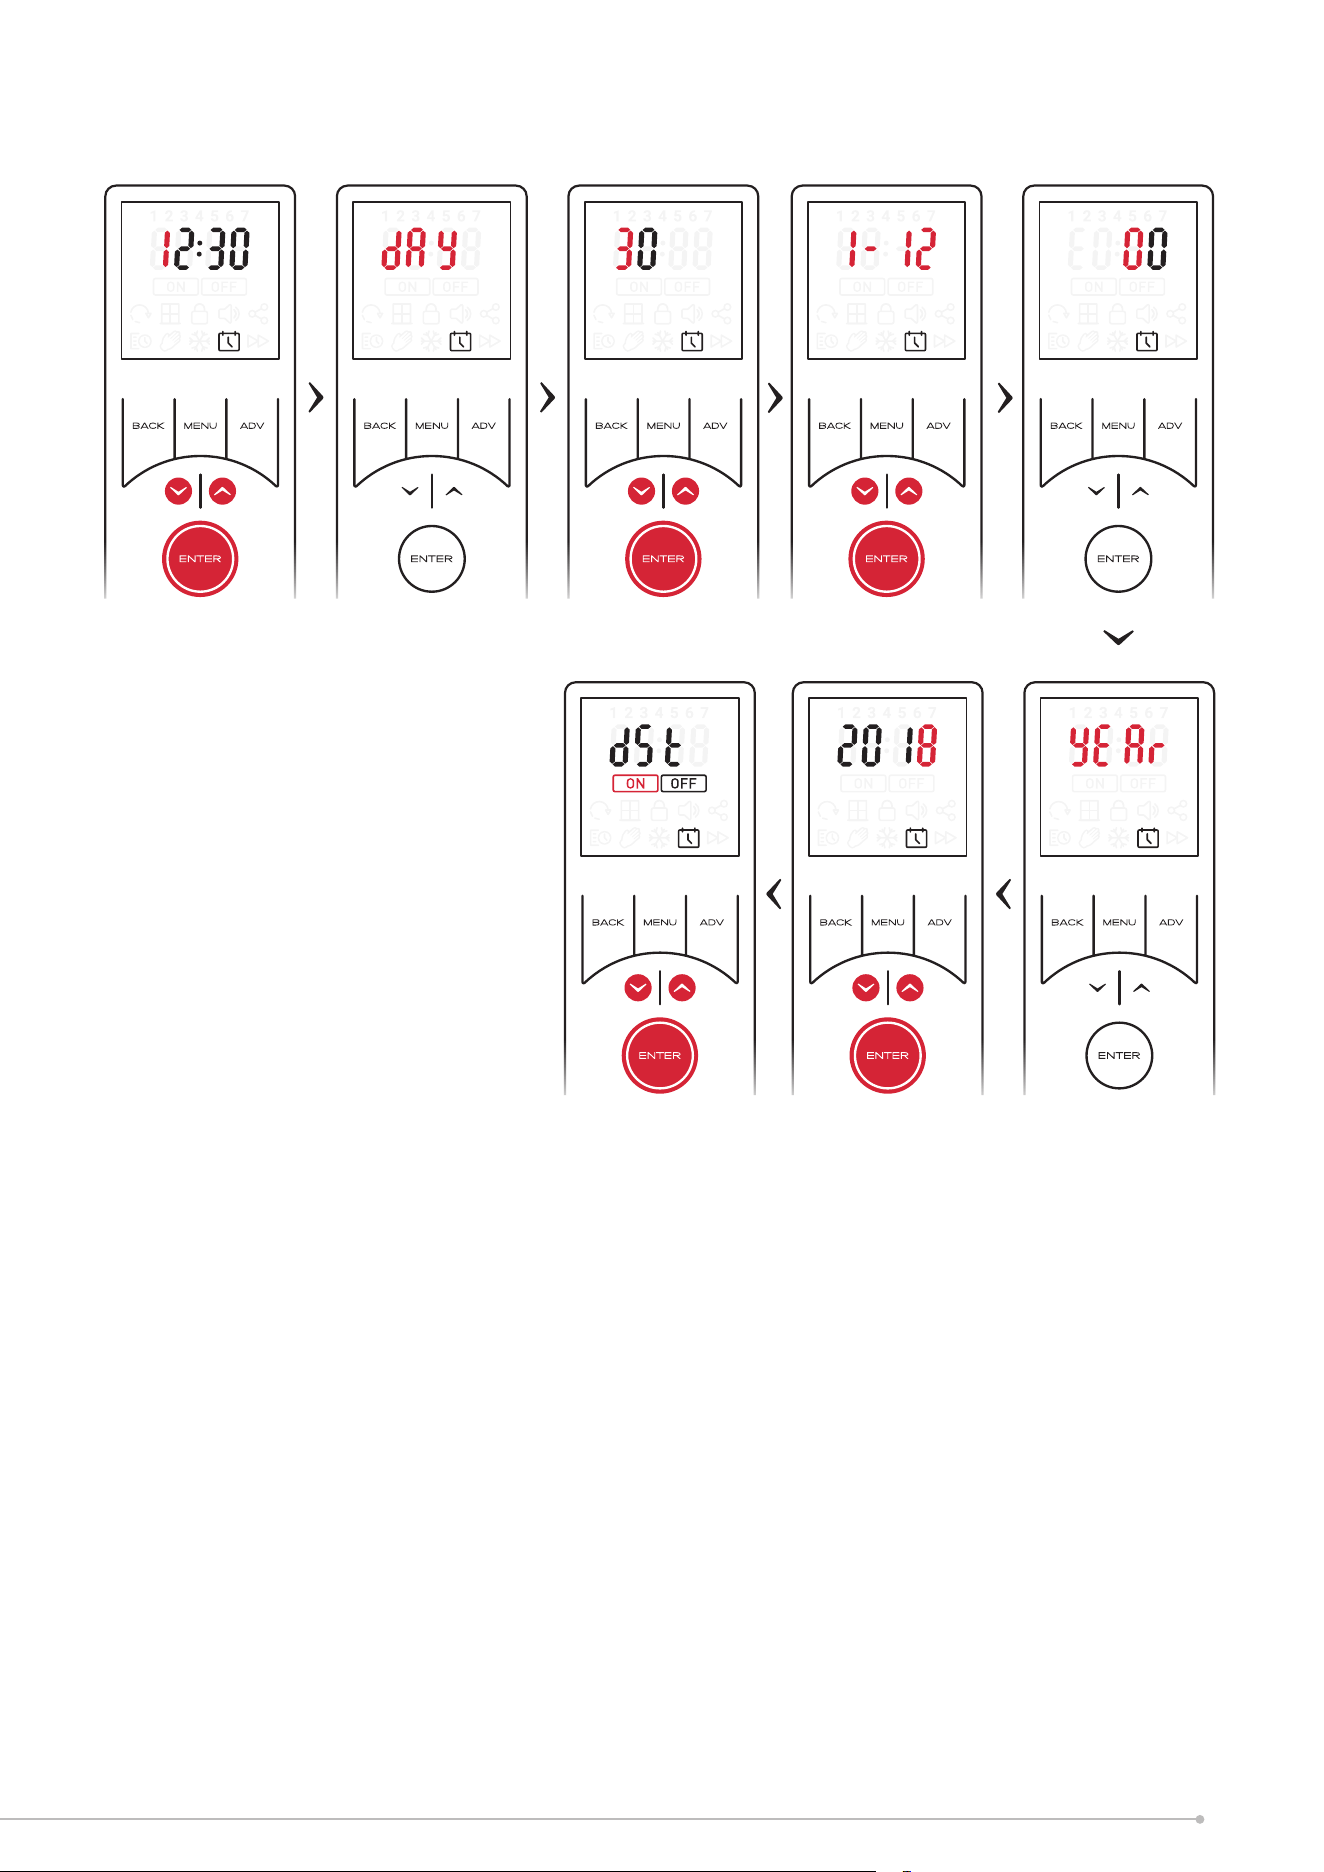
Setting Time
It is required to set the hour and minute digits independantly.
1. The first digit of the Hour setting will be blinking. Use the
arrow key to set the first digit of the time.
2. Confirm the selection by pressing the ENTER button, the
second digit of the Hour can then be set.
3. Once the hour digits have been set and confirmed, step 1
& 2 should be repeated to set the minute.
Setting Date
Once the time has been set the remote will automatically move to the date setting.
1. After confirming the last time digit ‘Day’ will blink three times and then change to
a two digit number with the first digit blinking. This two digit number represents
the day of the month.
2. Use the arrow key to set the first digit of the date and confirm using the ENTER
button.
3. The second digit will then blink and can be set as per step 2.
4. After the day has been confirmed it is necessary to set the month, this is indicated
by ‘1-12’ blinking on the screen.
5. A numerical value for the month can be set using steps 2 & 3 above.
6. Once the month has been set the year can be set. Each digit must be set and
confirmed individually.
7. Finally the remote will oer an option to turn on or o day light saving settings.
‘On’ and ‘O’ can be selected using the arrow keys and confirmed by pressing enter.
Once the time and date have been set the remote will revert to the home screen and
normal operation can resume.
15
Loading ...
Loading ...
Loading ...