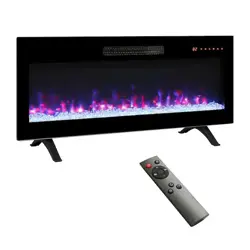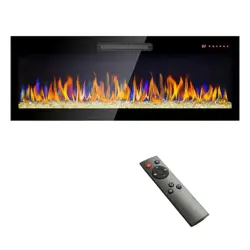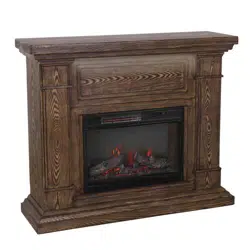
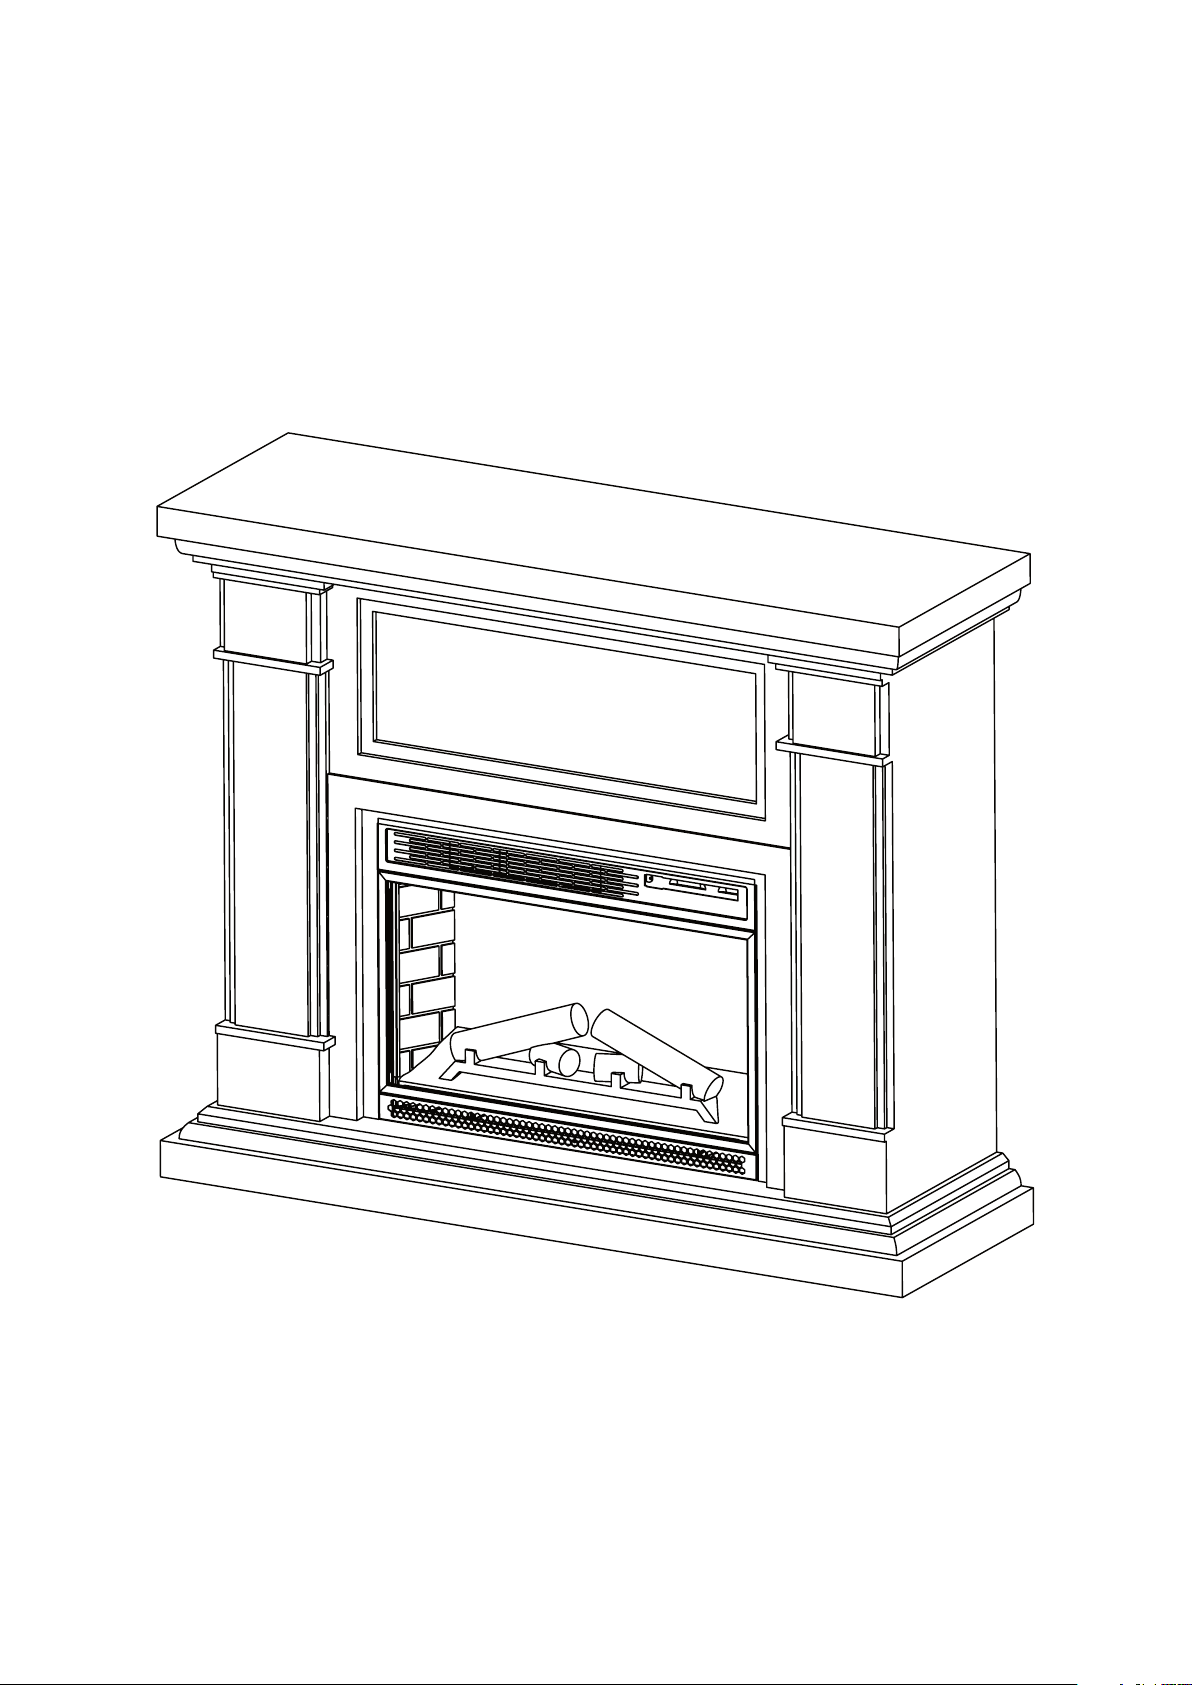
48" FAUX WOOD FIREPLACE
MODEL: PD-E200001
SKU: 641-5261
QUESTIONS, PROBLEMS, MISSING PARTS?
Before returning to the store, please contact us
via email at customerser[email protected]
OPERATING MANUAL
SAVE THESE INSTRUCTIONS!

IMPORTANT SAFETY INFORMATION!
When using this or any electrical device, precautions should always be taken to reduce the risk of
fire, electric shock, injury to persons, and/or damage to property. Please study the following
instructions carefully PRIOR to using this device.
1. Read all instructions contained in this Operating Manual BEFORE using this electric fireplace
insert.
2. This electric fireplace insert is hot when in use. To avoid burns, never allow bare skin to touch hot
surfaces. Use handles (if provided) when moving this electric fireplace insert. Keep all
flammable / combustible materials and curtains a minimum of 3 feet (0.9m) from this electric
fireplace insert at all times.
3. Proper ventilation is required when operating this electric fireplace insert NEVER cover this
device with anything which could restrict air circulation to or from this unit.
4. To prevent a possible fire, DO NOT install or use this electric fireplace insert directly on carpet,
beds, or similar soft surfaces as this may block air intakes, exhaust outlets or otherwise restrict
air circulation beneath the heater.
5. Extreme caution is necessary when this electric fireplace insert is used by or near children or
individuals with restricted mobility.
6. NEVER leave this electric fireplace insert unattended when in use.
7. Always unplug this electric fireplace insert when not in use. Turn off all controls prior to removing
the plug from the power source.
8. This electric fireplace insert is designed for indoor use only. NEVER use this device outdoors.
9. Connect this electric fireplace insert only to properly grounded outlets.
10. Use caution and do not strike the glass on this electric fireplace insert.
11. NEVER use this device in bathrooms, laundry areas, or similar locations where it may come into
contact with water.
12. Avoid placing the power cord in high traffic areas where it could become damaged or be a trip
hazard.
13. DO NOT run the power cord under carpeting, furniture, or appliances.
14. NEVER cover the power cord with throw rugs, runners, or similar coverings.
15. DO NOT operate this device with a damaged power cord or plug.
16. DO NOT operate this device if the cord becomes damaged, after the unit’s malfunctions in any
way, has been dropped, or becomes damaged in any manner. If this happens, discard the unit
or return to an authorized service facility to inspection and/or repair.
17. DO NOT insert or allow foreign objects to enter any ventilation or exhaust opening as this may
cause an electric shock, fire, or damage to this electric fireplace insert.
18. This electric fireplace insert utilizes sparks and arcing in this internal operation. NEVER use this
device in areas where gasoline, paint, or other flammable liquids are used or stored.
19. Always plug heaters directly into a wall outlet/receptacle. Never use with an extension cord or
relocatable power tap (outlet/power strip).
20. NEVER burn wood or other materials of any kind in this electric fireplace insert.
21. Always use a licensed electrician for any maintenance to this device.
22. Always use properly grounded, fused, and polarized outlets.
23. Always use ground fault protection where required by local electrical code.
24. Always disconnect the device from its power source before moving the device or performing any
cleaning or maintenance.
02
IMPORTANT SAFETY INFORMATION!
25. To avoid damage when transporting or storing this electric fireplace insert, always keep both the
insert and its power cord in a dry place and free from excessive vibration.
26. Use this electric fireplace insert ONLY as described in this Operating Manual. Using this device
in a manner other than recommended by the manufacturer may cause fire, electric shock, injury
to persons, and/or damage to property.
27. To reduce the risk of fire, do not store or use gasoline or other flammable vapors and liquids in
this vicinity of the heater.
28. To disconnect heater, turn controls to off, and turn off power to heater circuit main disconnect
panel.
29. To prevent a possible fire, do not block air intakes or exhaust in any manner.
30. Warn that the heater must be properly installed before it is used.
31. If the product is not used for a long period of time, please unplug the power cord from wall outlet
to assure safety.
32. NEVER plug this heater into an outlet that is old, cracked, or has any loose wires or
connections. Plugging this heater into a faulty outlet could result in electric arcing within the
outlet that could cause the outlet to overheat or catch fire.
33. ALWAYS check your heater cord and plug connections with each use.
i) MAKE SURE the plug fits tight in the outlet. Faulty wall outlet connections or loose plugs can
cause the outlet to overheat.
ii) Heaters draw more current than small appliances. Overheating may occur even if it has not
occurred with the use of other appliances.
iii) During use check frequently to see if the plug outlet or faceplate is HOT!
iv) If the outlet or faceplate is HOT, discontinue use immediately and have a qualified electrician
inspect and/or replace the faulty outlets.
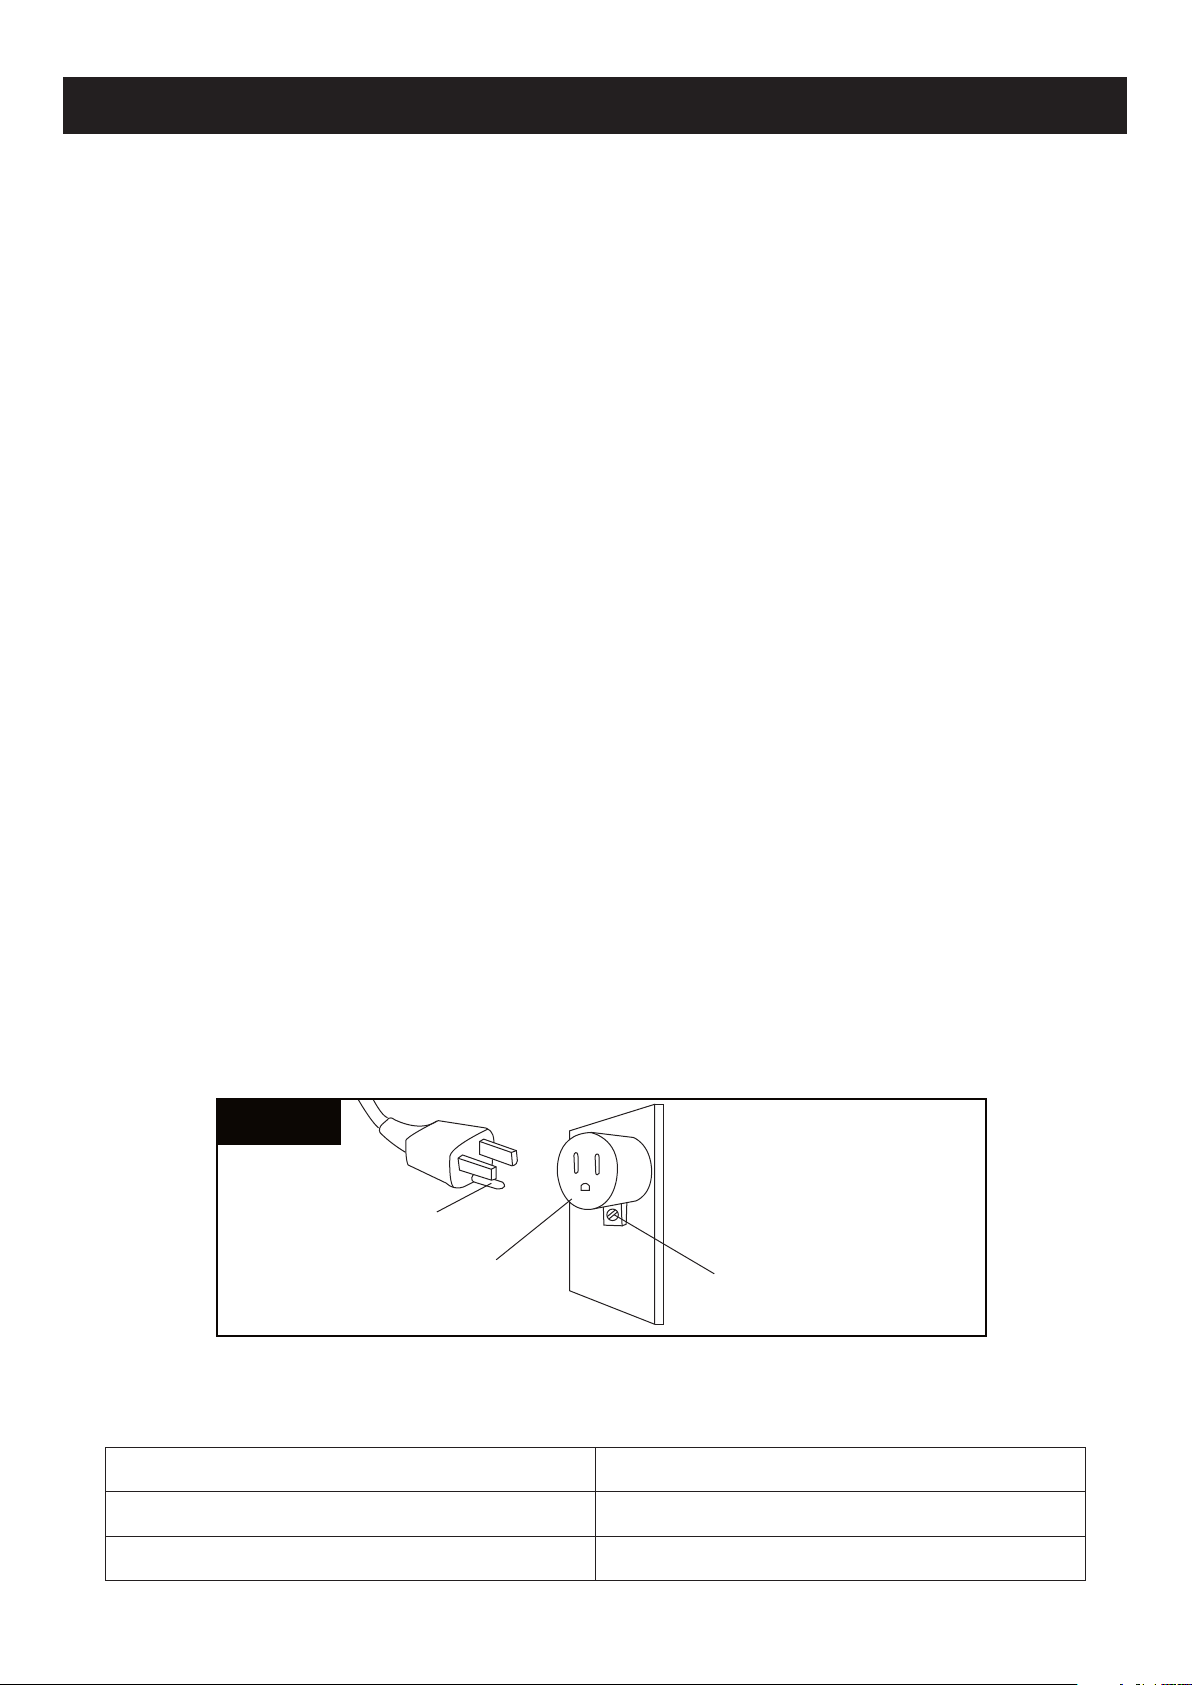
34. Grounding Instructions:
This fireplace is for use on 120V outlets. The cord has a three-prong plug (see Figure 1). If a
three-slot grounded receptacle is not available, the adapter should be used. The adapter should
be properly grounded to outlet box.
NOTE: Adapter NOT INCLUDED.
03
Grounding pin
Adapter
Metal Grounding Screw
Figure 1
PRODUCT SPECIFICATION
Voltage 120V AC, 60Hz
11.67 AMPS
1400 Watts
AMPS
Maximum Watts
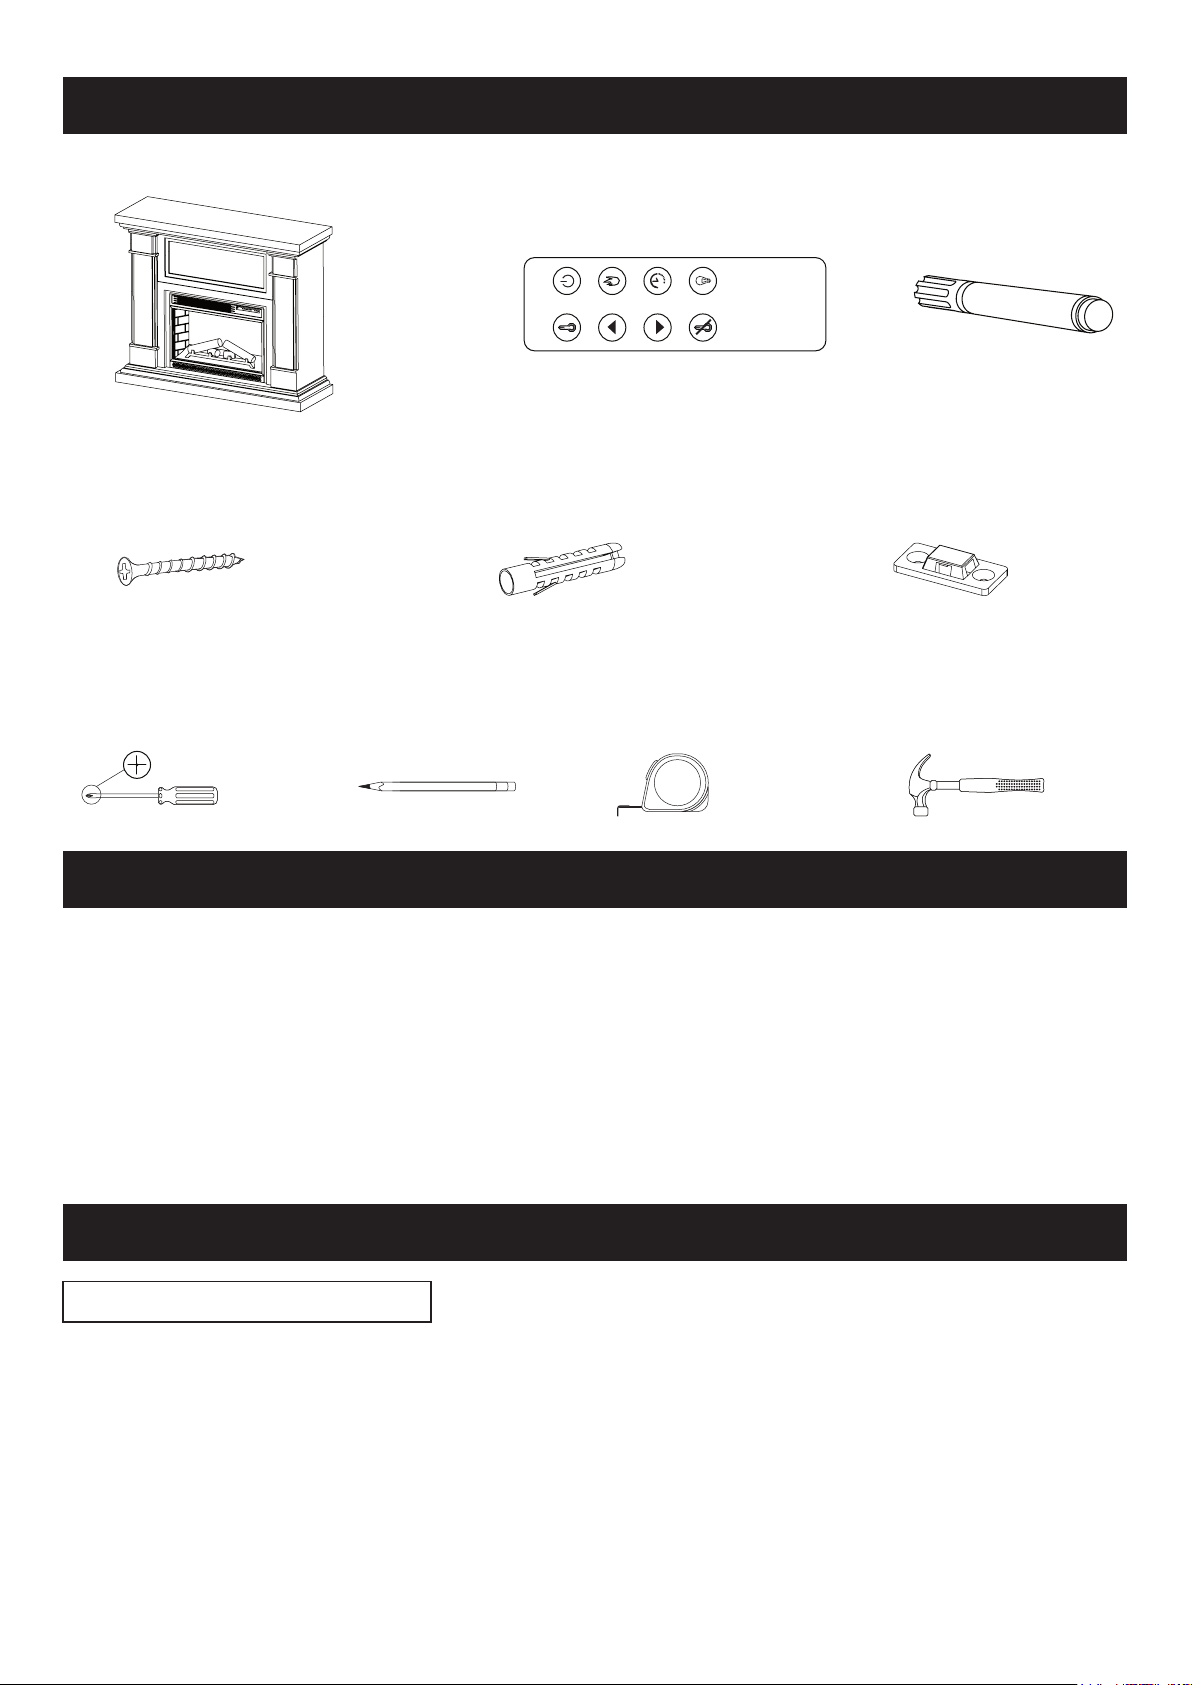
PACKAGE CONTENTS
PREPARATION
Fireplace body: 1pc Remote control: 1pc Touch up pen 1pc
Hardware Included:
Screw (M4x40): 2pcs Anchor: 2pcs Bracket: 1pc
Tools required (NOT included):
Phillips screwdriver Pencil Tape measure Hammer
1. The electrical outlet must be 120V AC / 60Hz. Make certain that the outlet is near the location
where electric fireplace is located so that the use of an extension cord is not necessary.
2. Avoid installing the electric fireplace in areas such as bathrooms, kitchen, or laundry rooms where
excessive moisture or water may be present. DO NOT place heater on carpet, near drapes or
materials that may easily catch fire.
3. Remove all parts and hardware from the carton and place them on a clean, soft and dry surface,
check the package content to make sure nothing is missing. Prepare the tools (NOT INCLUDED)
available before installation.
This tipping restraint strip is pre-assembled with fireplace, it must be attached to wall stud using the
screw provided.
1. Measure the fireplace height from the floor using a tape measure. Measure additional 1~2 inch
height above the fireplace height, mark on the wall where the fireplace will stand against with a
pencil. At the marked location on the wall, drill the appropriate holes for the anchors provided and
gently punch the anchors into the wall using a hammer. Attach the bracket to the wall with screw
(M4x40) using Phillips screwdriver and tighten clockwise (see Figure 2).
2. Place the fireplace into position so both mounting brackets are vertical in line.
NOTE: two adults are required to move the fieplace.
INSTALLATION
04
ON/OFFHeat
+
_
Flame
Timer
Heat OFF Downlight
TIPPING RESTRAINT KITS
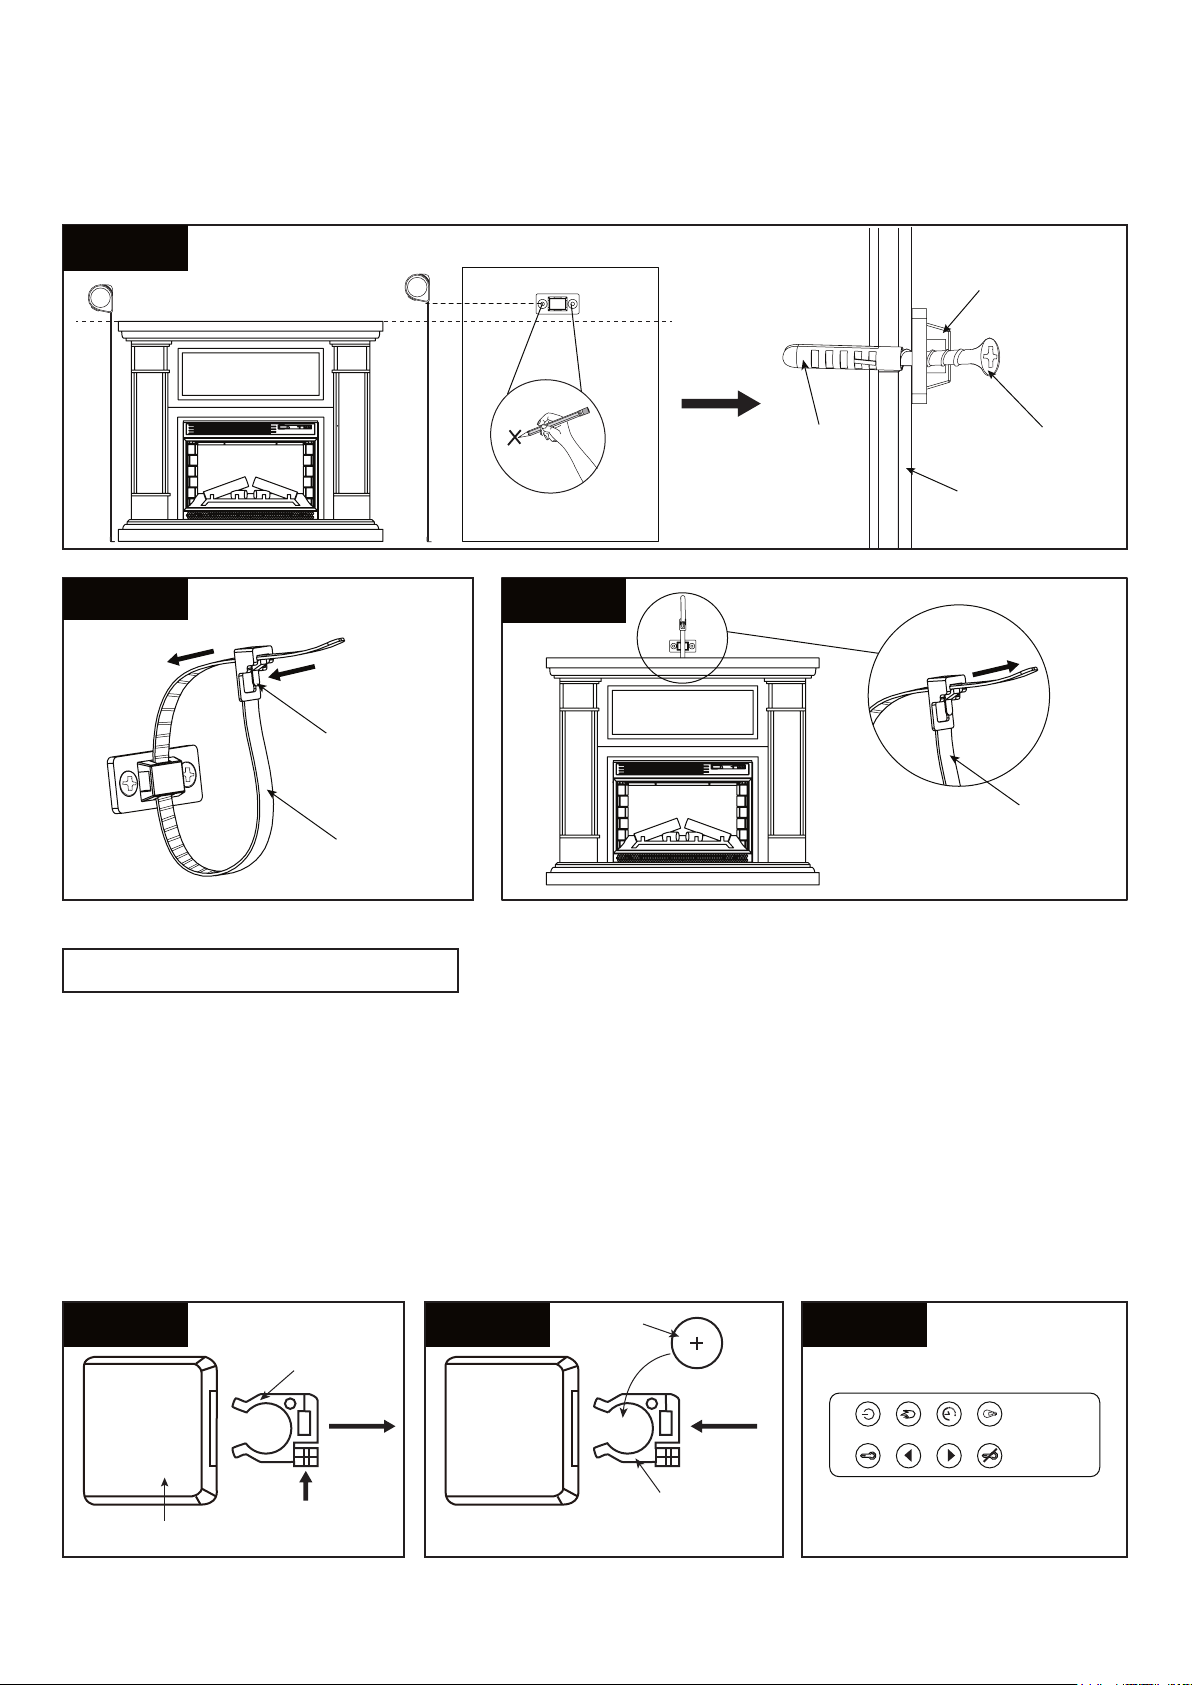
3. Flip the lock on the tipping restraint strip, pull out the strip completely (see Figure 3).
4. Lace the strip through the hole of bracket mounted on the wall, bring both ends together and draw
it through until all slack is removed (see Figure 4).
5. Confirm that the strip is securely laced and locked.
05
Wall stud
Bracket
Tipping
restraint strip
Screw (M4x40)
Anchor
Figure 2
Figure 3 Figure 4
ON/OFFHeat
+
_
Flame
Timer
Heat OFF Downlight
Figure 5
Push
Open
Battery
compartment
Remote control
Figure 6
Battery
compartment
Battery
Figure 7
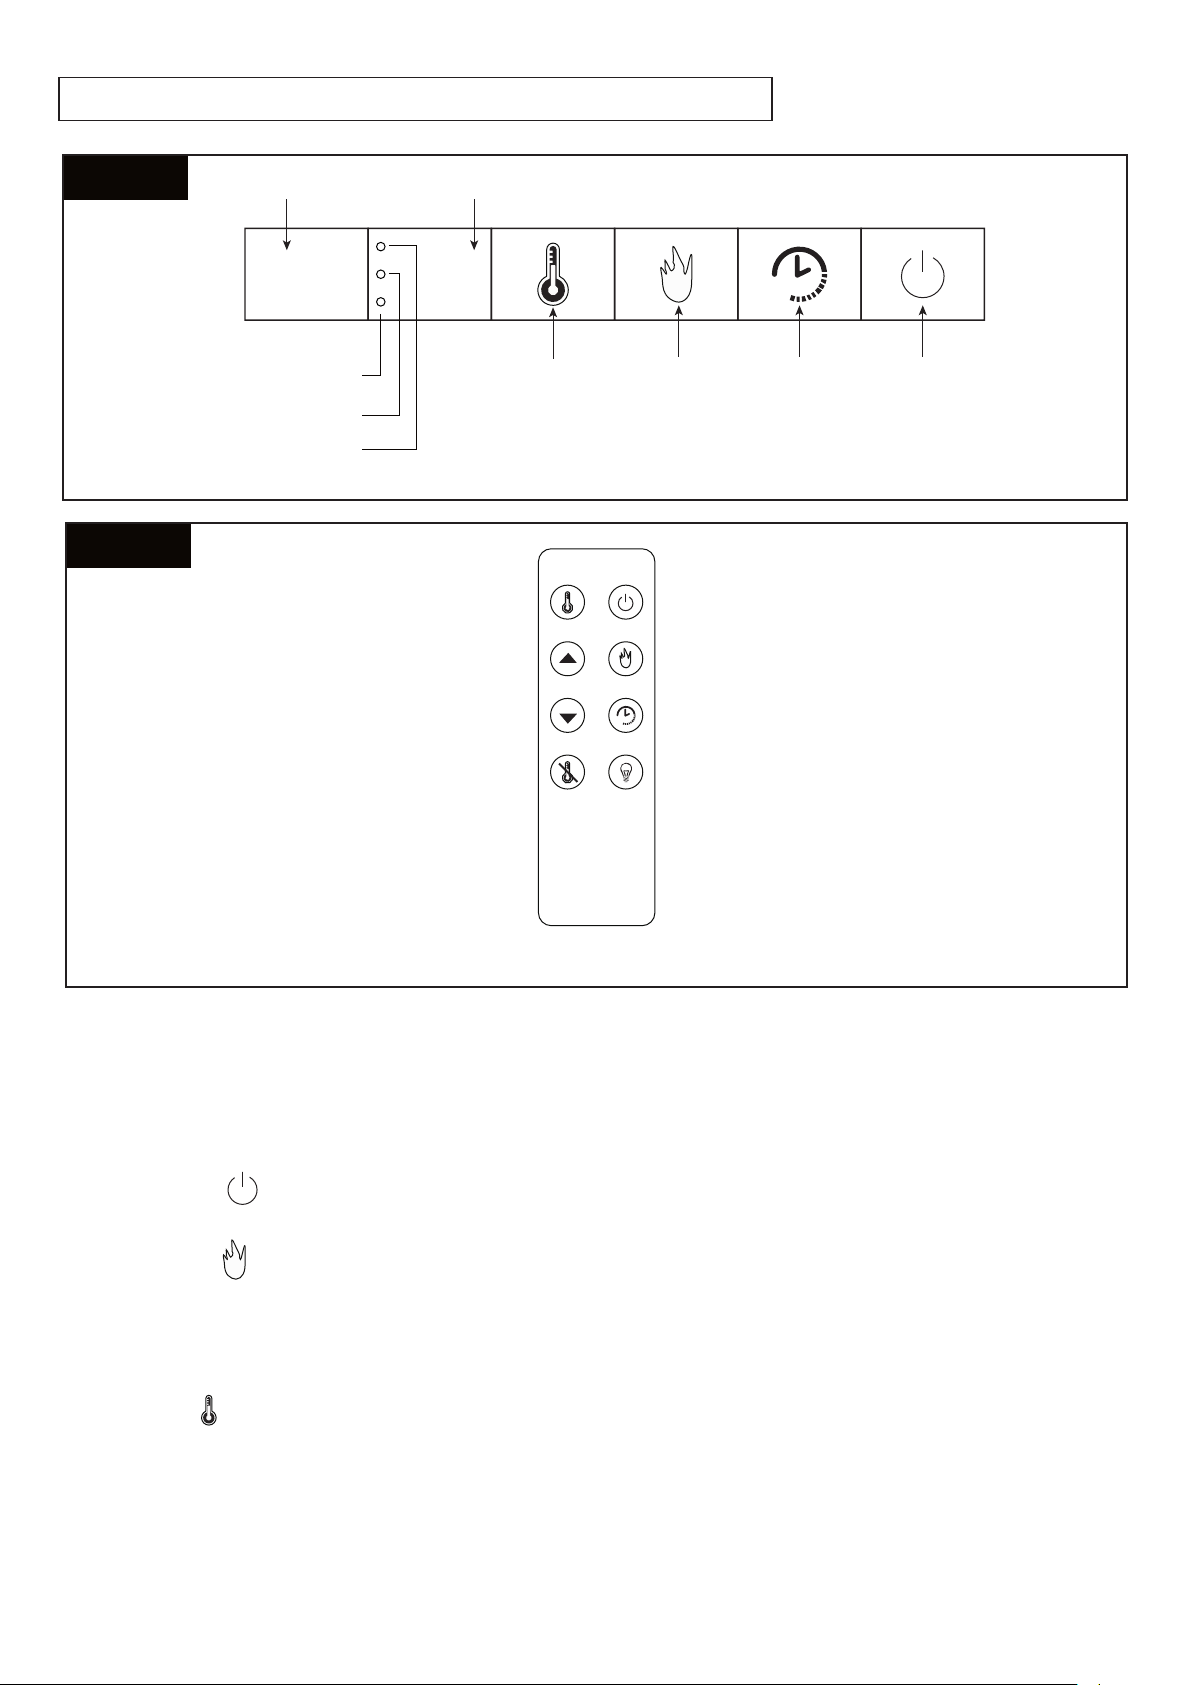
1. Push the side fixture and then pull out the battery compartment from the bottom of the remote
control (see Figure 5).
2. Place button battery in the battery compartment with “+” (positive) mark face up to correspond the
“+” mark on the battery compartment, then push it into the remote control (see Figure 6).
NOTE: battery is pre-installed.
3. Installation is completed (see Figure 7).
NOTE: be sure to use Lithium Battery Model CR2032 DC3V, and make sure the positive side and
negative side follow the instruction on the battery holder.
WARNING: KEEP BATTERY OUT OF REACH OF CHILDREN.
BUTTON LITHIUM BATTERY
Tipping
restraint strip
Lock
OPERATION INSTRUCTIONS
Reminder: Please make sure to read through “IMPORTANT SAFETY INFORMATION” above
before operating this electric fireplace. To avoid malfunction, please be certain that the input voltage
of the electric fireplace insert and voltage of the outlet are identical before plugging. Check the unit
for any damage that may exist (such as dents, missing screws, etc.) before using this device.
1. One plastic bumper is pre-inserted into remote control to prevent the battery to come in touch
with electrical contact.
2. On the first use, remove the plastic bumper, remote control will activate the electric fireplace
insert to work (see Figure 9).
3. Please follow “REMOTE CONTROL FUNCTION” below to use the remote control to operate the
electric fireplace.
06
Figure 9 Plastic bumper
REMOTE CONTROL OPERATION
Swallowing may lead to serious injury in as little as 2 hours or death, due to chemical burns and
potential perforation of the esophagus.
If you suspect your child has swallowed or inserted a button battery, immediately seek urgent
medical assistance.
Examine devices and make sure the battery compartment is correctly secured, e.g. that the screw
or other mechanical fastener is tightened. Do not use if compartment is not secured.
Dispose of used button batteries immediately and safely. Flat batteries can still be dangerous.
Tell others about the risk associated with button batteries and how to keep their children safe.
Ensure the batteries are installed correctly with regard to polarity (+ and -).
Remove batteries from equipment which is not to be used for an extended period of time.
Remove used batteries promptly.
For recycling and disposal of batteries to protect the environment,
please check the internet or your local phone directory for local
recycling centers and/or follow local government regulations.
Do not dispose used battery in to or nearby fire which may cause
battery to explode.
This symbol marked on the battery and/or packaging indicates that
used battery shall not be treated as municipal waste (see Figure 8).
Instead it shall be left at the appropriate collection point for recycling.
CAUTIONS:
Figure 8
Reminder: There are 3 indicators at the left side of control panel, when the heater has its initial use,
heater function is set at the low level. This model has thermostat function, when the environment
temperature reaches the desired temperature, the heater will shut down automatically.
There are eight (8) buttons on the remote control and four (4) corresponding buttons on the control
panel of the electric fireplace insert.
1. [ON/OFF (or )] turns the electric fireplace insert either on or off. When the heater is off, press
this button once to turn the heater on, press it again to turn the heater off.
2. [FLAME (or )] controls the color and brightness of flame and log, there are 6 shifts that can
be selected. When heater is turned on the first time, flame and log is at their brightest level. Press
the button each time, the flame color can be adjusted. Long press the button for 3 seconds, the
corresponding digital display will blink, then press the button, the brightness of flame and log will
cycle through the brightest level to weakest level.
3. [HEAT (or )] controls the heating element. Press once, the heater is at the low level; press
again, the heater is at the high level; then press the third time, the heater stops and heating
element is turned off. Long press the button for 3 seconds, temperature can be adjusted, follow
the “TEMPERATURE SETTING AND OPERATION” below to operate the fieplace.
07
ON/OFFHeat
+
_
Flame
Timer
Heat OFF Downlight
Figure 11
Remote Control
Figure 10
00
Control Panel
ON/OFFTimerFlameHeat
ReceiverDigital display
Working indicator
Low heat level indicator
High heat level indicator
CONTROL PANEL & REMOTE CONTROL FUNCTION

4. [HEAT OFF (or )] controls the heating element. Press the button, the heater is off.
5. [TIMER (or )] is the timer setting button, there are 7 shifts. When heater is turned on the first
time, the default setting is “0H". Press the button, the time will cycle through from 1H to 6H; When
the digital display indicates “0H” which means timer setting is off. Long press the button “ ” on
the control panel for 3 seconds, downlight color can be adjusted, follow the “DOWNLIGHT
SETTING AND OPERATION” below to operate the fieplace.
6. [DOWNLIGHT (or )] controls the downlight colors. There are 13 options in 10 downlight colors.
When heater is turned on the first time, the default setting is “01”, downlight color is solid white.
The color can be adjusted and cycles through “01” ~ “13” below:
01 – solid white
02 – solid purple
03 – solid red
04 – solid blue
05 – solid green
06 – Spring color (jump), the jump color interval is five seconds
07 – Spring color (fix)
08 – 4
th
of July color (jump), the jump color interval is five seconds
09 – 4
th
of July color (fix)
10 – Fall color (jump), the jump color interval is five seconds
11 – Fall color (fix)
12 – Holiday color (jump), the jump color interval is five seconds
13 – Holiday color (fix)
7. [ + (or )] increase the downlight color level and temperature. When the mode is at “downlight”
setting, press once, the digital display indicates that downlight color will increase by 1 level, the
level and color options are between the shift of 01 ~ 13 and cycle in sequence. When the mode is
at “heat” setting, press the button “+ (or )” once, temperature will increase by 2°F, the options
are between 62°F ~ 82°F and cycle in sequence.
8. [ - (or )] decrease the downlight color level and temperature. When the mode is at
“downlight” setting, press once, the digital display indicates that downlight color will decrease by 1
level, the level and color options are between the shift of 13 ~ 01 and cycle in sequence. When
the mode is at “heat” setting, press the button ” - (or )” once, temperature will decrease by 2°F,
the options are between 82°F ~ 62°F and cycle in sequence.
9. To protect the heater, the fan will continue turning for quite a few seconds after heater is shut
down.
10. When the heater is connected to power plug the first time, all functions will start with the default
setting.
11. If the temperature inside of the electric fireplace insert becomes abnormally high, the
temperature protection mechanism will turn on automatically and the heater will be shut down
with a few seconds (fan will be stopped in around 15 seconds of retardation), any operation is
prohibited. Please remove the power cord from outlet and await a few minutes for heater to cool
down or till temperature protection mechanism reconnect, then plug in the power cord to resume
the condition before the abnormality of electric heater.
08
Other Important Features
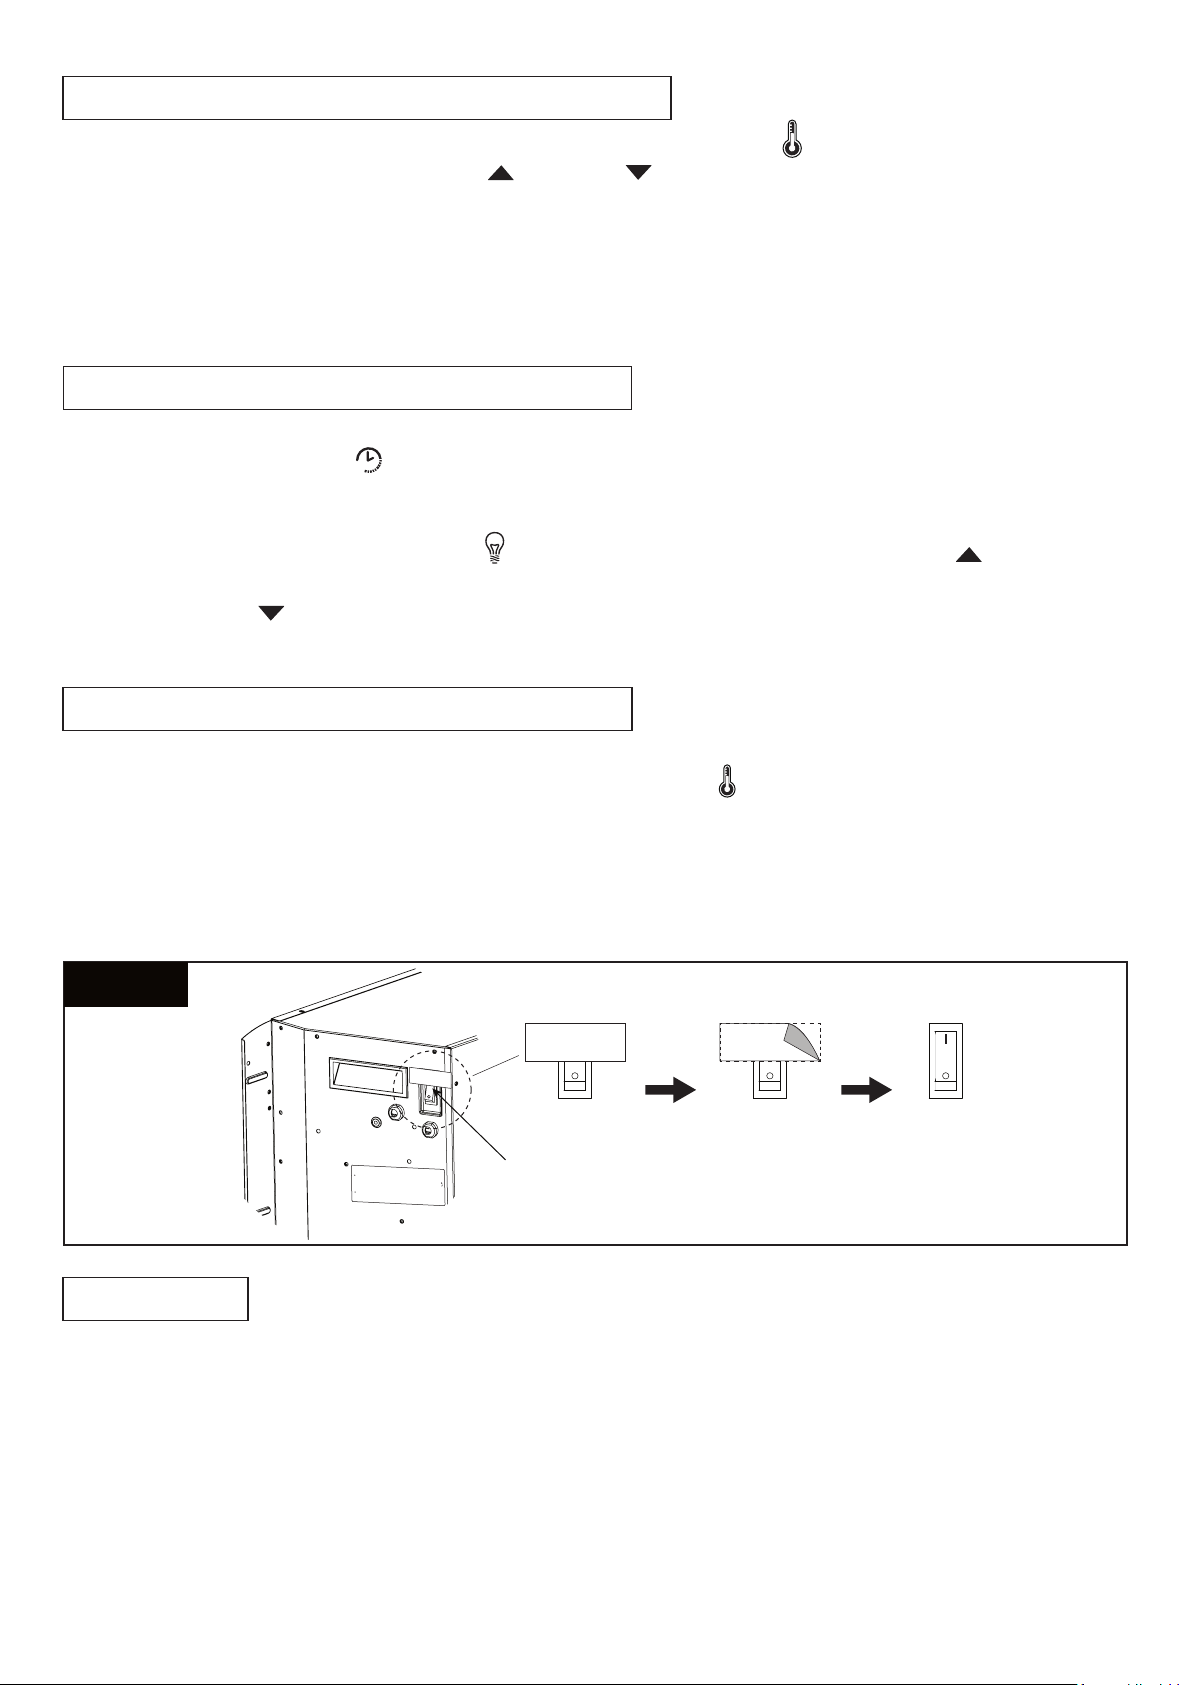
Figure 12
09
Under the use of electric fireplace, long press the button “HEAT (or )” for 3 seconds, the digital
display will blink, press the button “+ (or )” or “- (or )”, desired temperature can be adjusted
between 62°F ~ 82°F, each time you press the button, temperature will increase or decreased by
2°F. If temperature is greater than the environment temperature, heater will be turned on, hot air will
start blowing; If temperature shown on digital display is less than the environment temperature,
heater will not turn on, but fan will turn and blow cold air for a while and then stop.
NOTE: the default temperature setting is 62°F.
TEMPERATURE SETTING AND OPERATION
Under the use of electric fireplace, there are 2 options of shifting the downlight colors as below:
(1). Long press the button “ ” on the control panel for 3 seconds, the digital display will blink and
indicates the “01” shift, the default setting is solid white color. Each time you press the button,
downlight color can be adjusted by 1 shift and cycle through the shift of “01” ~ “13” in sequence.
(2). Press the button “DOWNLIGHT (or )” on the remote control, then press “+ (or )”, downlight
color can be adjusted by 1 shift and cycle through the shift of “01” ~ “13” in sequence; While
pressing “- (or )”, downlight color can be adjusted by 1 shift and cycle through the shift of
“13” ~ “01” in sequence.
DOWNLIGHT SETTING AND OPERATION
1. Flip switch to “O” to turn demo mode ON, which means the heater is off. This deactivates the
heating ONLY. All buttons work normally except “HEAT (or )” button.
2. Flip switch to “I” to turn demo mode OFF, which means the heater is on. All buttons work
normally.
NOTE: DEMO MODE Switch for use in retail store. One label will pre-fix onto the rocker switch in
the DEMO “I” status, when the fireplace is first used, the heater is on. Remove the label, you can flip
the switch to mode “O” or “I” to control the heater is off or on respectively.
DEMO MODE SETTING AND OPERATION
1. On the first use, the electric fireplace insert may emit a slight odor. This is normal and harmless
and will go away after the first few uses.
2. The outlet must be 120V / 60Hz / 11.67A
3. To avoid the risk of electrical shock, ALWAYS disconnect the power cord from the electrical outlet
before any internal maintenance or replacement activity or moving this electric fireplace.
4. DO NOT tighten power cord with cords of other appliances while in use.
5. DO NOT touch the vent when heater is turned on.
ATTENTION
DEMO MODE Switch for use in retail store:
Flip switch to “O” to turn demo mode ON. This deacvates
the heang ONLY. All buons work normally except “Heat”
buon.
Flip switch to “I” to turn demo mode OFF. All buons work
normally.
Demo Switch
ENABLE HEATER
ENABLE HEATER ENABLE HEAT
1. Follow the “IMPORTANT SAFETY INFORMATION” and “OPERATION INSTRUCTIONS” as well
as periodic checks and maintenance are necessary to extend the life of this electric fireplace
insert.
2. Glass was already cleaned during assembly in the factory. However, glass may get dirty or dust
during transition or operation, use a clean rug to wipe the surface. To clean fingerprints or other
marks, you can use a damp rug to clean, use lint to wipe glass clean to avoid water marks. To
avoid scratches, do not use detergent or other sprays to clean the surface.
3. Dust the fieplace regularly with a soft non-producing cloth or household dusting product. Clean
the fieplace with a gentle non-abrasive household cleaner.
4. Liquid spills should be removed immediately, as it may damage the fireplace. Use a soft, clean
cloth and blot the spill gently. Avoid rubbing.
5. Use solvents of any kind on the fieplace may damage the finish.
6. Always use protective pads under hot dishes and plates.
7. Follow the Instruction Manual of touch up pen (PROVIDED) while in use.
10
Figure 14 Figure 15
NOT
FULLY
PLUG IN
FULLY
PLUG IN
Figure 13
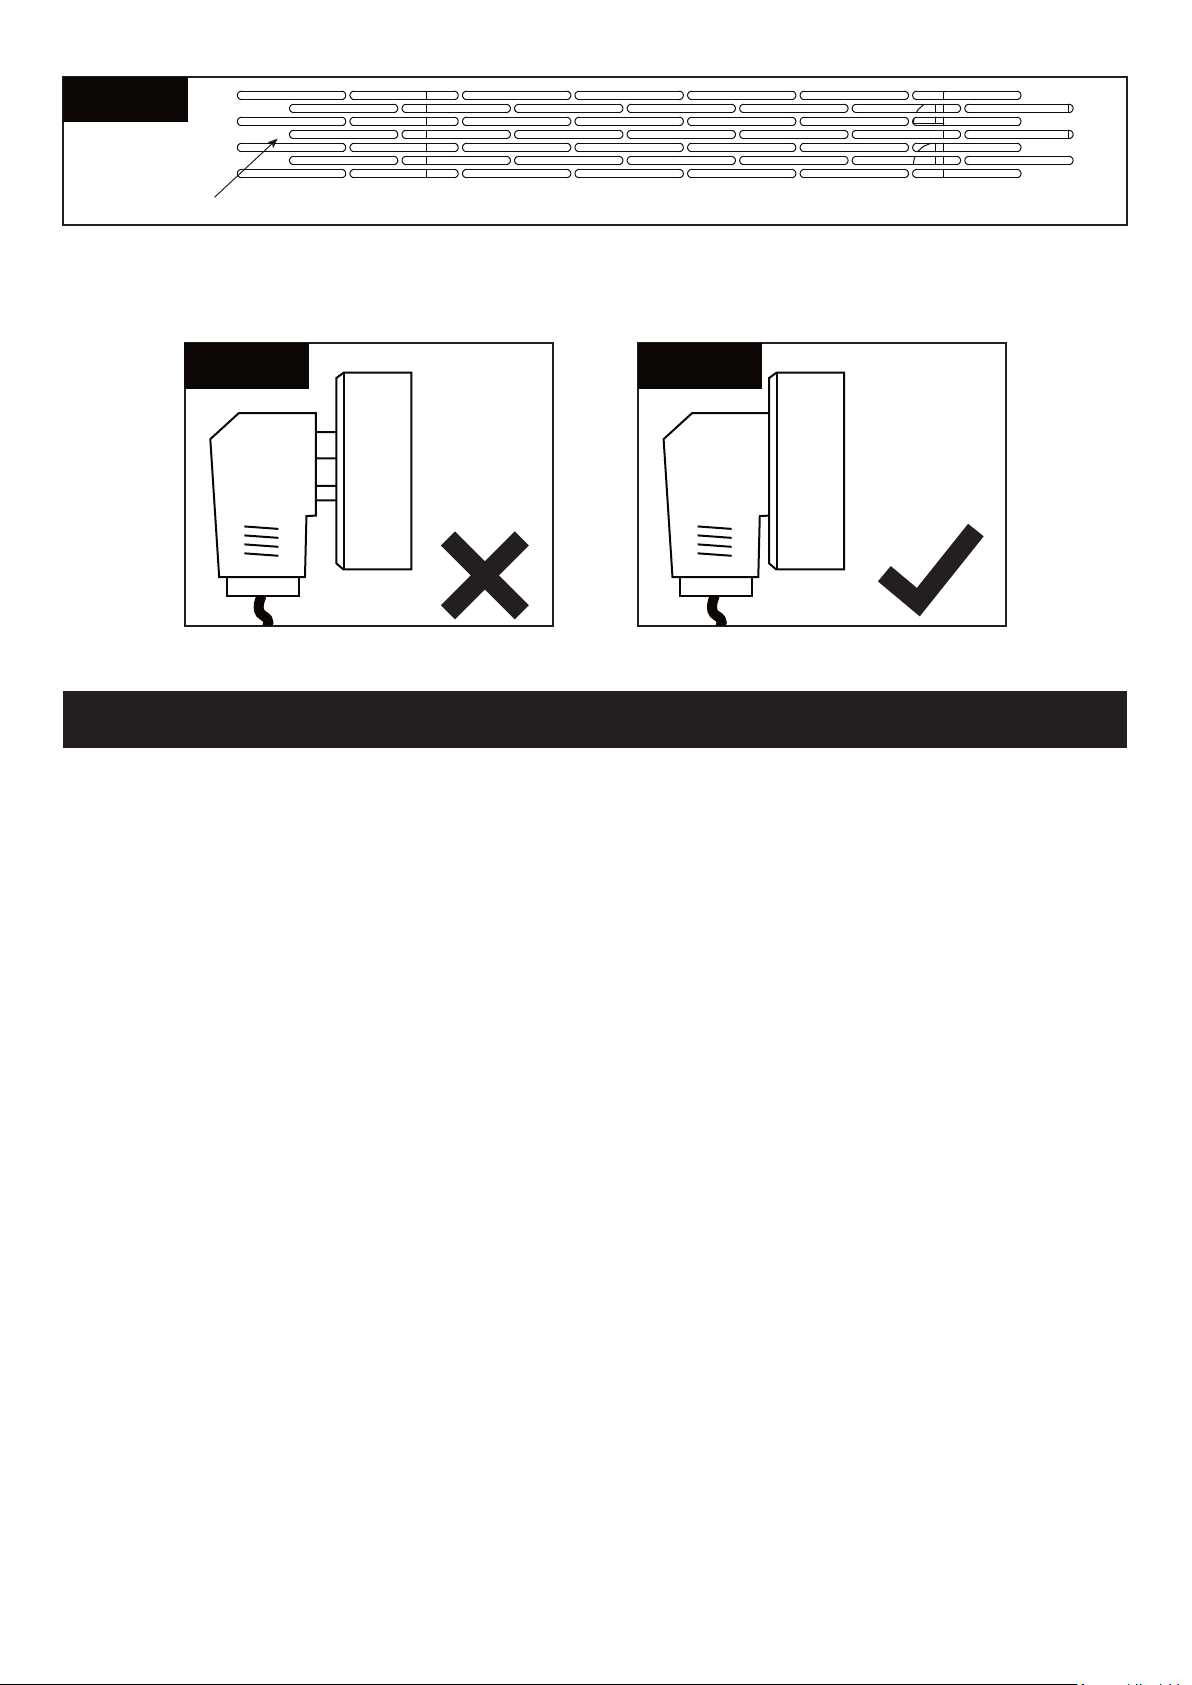
Heater Vent
Do not touch
CARE AND MAINTENANCE
6. Make sure plug is fully inserted into the electrical outlet to avoid fire caused by short circuit
(see Figure 15).

Electric Fireplace Insert
Electric fireplace insert is warranted for a period of one (1) year from original date of purchase,
against defects in function, material and or workmanship. The followings listed herein are not
covered, including: Damage caused from tampering with, modifying, or altering the fireplace insert in
any manner; Damage due to incorrect assembly, improper care, misuse, or abuse; Damage from
being used with the wrong power source; Water damage; Damage caused from this insert being
used outdoors; Damage caused by the insert being used in a commercial application; Damage from
use as a primary heat source; Additionally, rust is not covered, remote control and battery are not
covered either.
Frames
Frames are warranted to be free from defects in materials and workmanship for a period of one (1)
year. Damage to frames or welds due to improper assembly or exposure to water and sub-freezing
temperatures, is not covered. Breakage that is a result of product being dropped, acts of God, acts
of war, etc. are not covered.
Finish
The finish is warranted against peeling, cracking, or blistering for a period of one (1) year provided
the product has not been scratched or abraded. Scratches and chips resulting from normal wear
and tear are not covered. Fading resulting from exposure to elements is not covered. Stains as a
result of chemical spills and certain food items are not covered.
Warranty Exclusions
Failure caused by unreasonable or abusive use. Fireplaces that were clearance items, display
models or items purchased in an "as is" condition, freight damage, fireplaces damaged by acts of
nature, vandalism, fire, abuse, lack of proper care and maintenance, or improper assembly; straps
and normal fading or discoloration from exposure to elements, oils, spills, fluids or chemicals;
hardware against corrosion or rusting, buckling or splitting of tubing resulting from exposure to water
and freezing temperatures; glass display screen, purchased or replacement parts; plastics. Also
excluded: loss of use of time and or inconvenience, money, travel, packaging or any other
consequential or incidental damages. In no event shall Xiamen Ecotop Industrial Co., Ltd.
responsibility exceed the value of the replacement product. Warranty is to the original purchaser
when items are purchased from one of our authorized retailers and is not transferable. All warranty
claims must be submitted with a dated register receipt within the warranty period. Should
replacement of the warranted item be unavailable, Xiamen Ecotop Industrial Co., Ltd. reserves the
right to substitute items of our choice similar in style, color and quality. For quality control purposes
and verification, we reserve the right to request photographs of the damage item(s). The terms of
this warranty are subject to change without notice.
QUESTIONS, PROBLEMS, MISSING PARTS? Before returning to the store, please contact us via
email at [email protected]
1-YEAR LIMITED WARRANTY
11