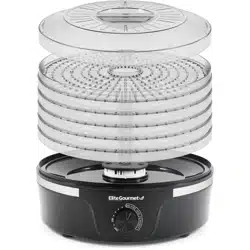
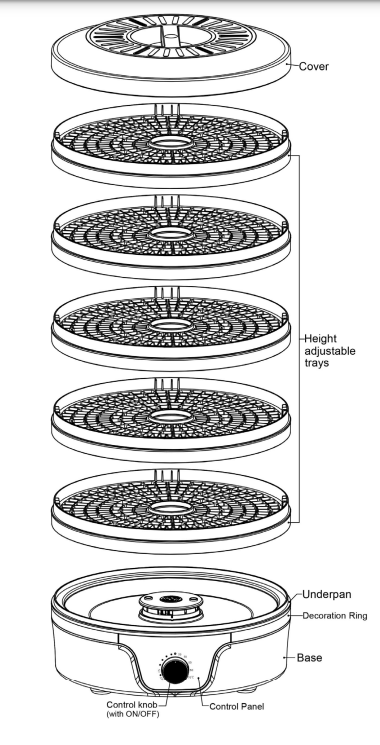
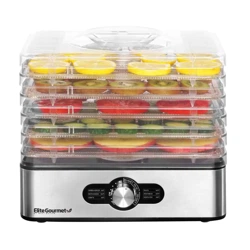
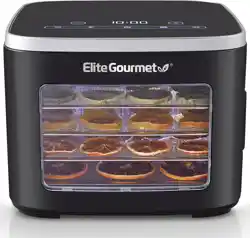
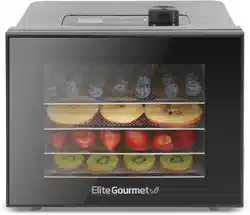
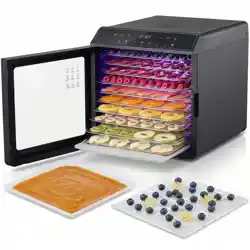
Elite Gourmet EFD319 5-Tier Food Dehydrator With Adjustable Temperature Controls
Product's Documents
Below are documents related to this product, you can read online or download:
- Owner's manual - (English) Read Online | Download pdf