Loading ...
Loading ...
Loading ...
Page 10
OPERATION
1. Attach the battery pack to the Impact
Wrench.
2. Position the direction-of-rotation selector
to the left of the tool for forward rotation,
and press the trigger switch to turn on
the mode-indicator light.
3. Press the mode-selector button; the
speed will change in three steps: low,
medium and high. Press and hold the
mode-selector button for three seconds:
the auto-stop mode is available and the
auto-stop indicator will be on. When
the bolt/nut is sufficiently tight, the
tool stops the impact and rotation after
approximately one second.
4. To turn off the auto-stop function, press
and hold the mode-selector button for
three seconds: the auto-stop will turn
off.
ELECTRIC BRAKE
The Impact Wrench is equipped with an
electric brake. When the trigger switch is
released, the electric brake engages auto-
matically to quickly stop the rotation.
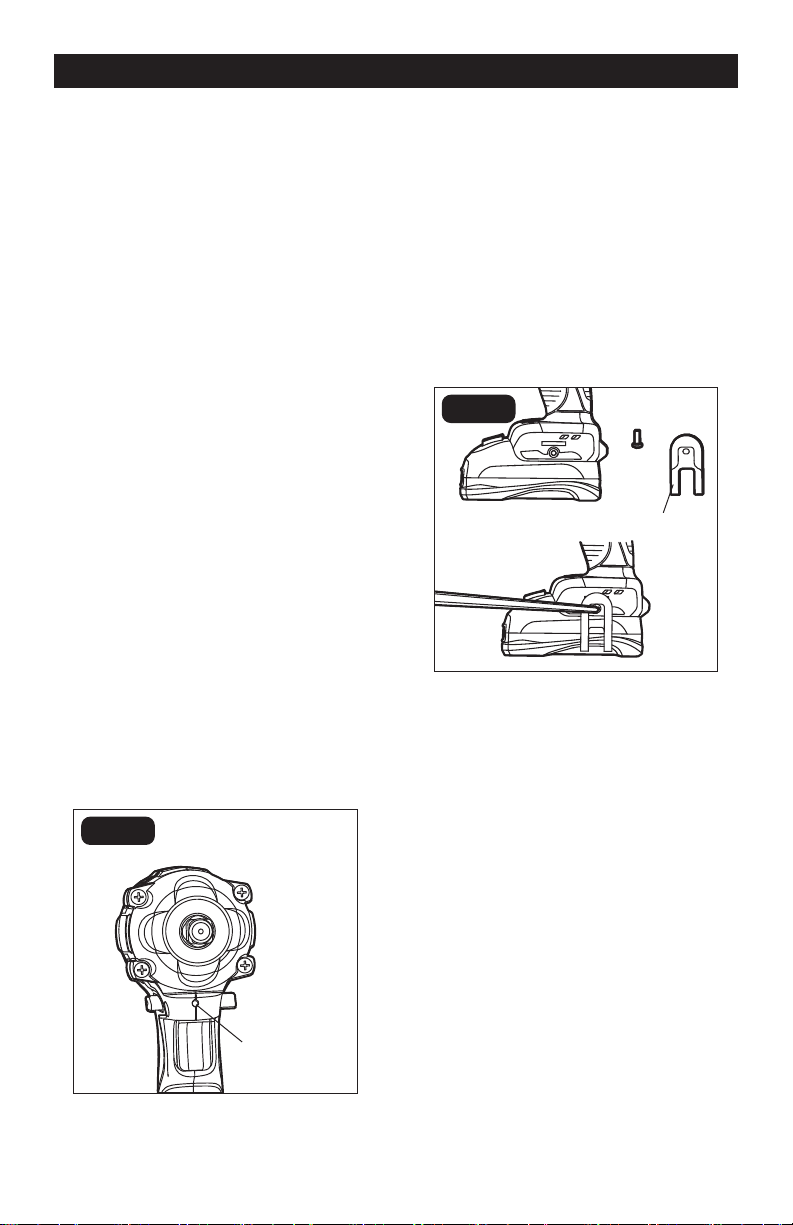
LED WORKLIGHT (FIG. 5)
FIG. 5
LED Worklight
The LED worklight, located on the base of
the Impact Wrench, will illuminate when the
trigger switch is depressed. This provides
additional light on the surface of the
workpiece for operation in lower-light areas.
The light will automatically turn off within 10
seconds after releasing the trigger.
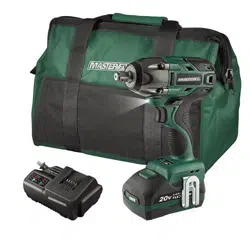
INSTALLING THE BELT
CLIP (FIG. 6)
FIG. 6
Belt Clip
1. Align the rib of the belt clip with the hole
on the base of the wrench.
2. Insert the screw and tighten the screw
securely with a screwdriver (available
separately).
REMOVING THE BELT CLIP
1. Use a screwdriver (available separately)
to loosen the screw that attaches the
belt clip to the wrench.
2. Remove the screw and the belt clip.
Loading ...
Loading ...
Loading ...