
Loading ...
Loading ...
Loading ...
EN
W415-4001 / 08.11.21
9
installation planning
2.0 installation planning
2.1 levelling the appliance
• Risk of fi re! Maintain specifi ed air space clearances to vent pipe and appliance.
Clean out ashes from the inside of the wood-burning appliance. Make sure that the chimney and wood-burning
appliance are in a clean and sound condition and constructed of non-combustible materials. If necessary have any
repair work done by a qualifi ed person before installing the insert. Remove the existing appliance damper or lock
into an open position.
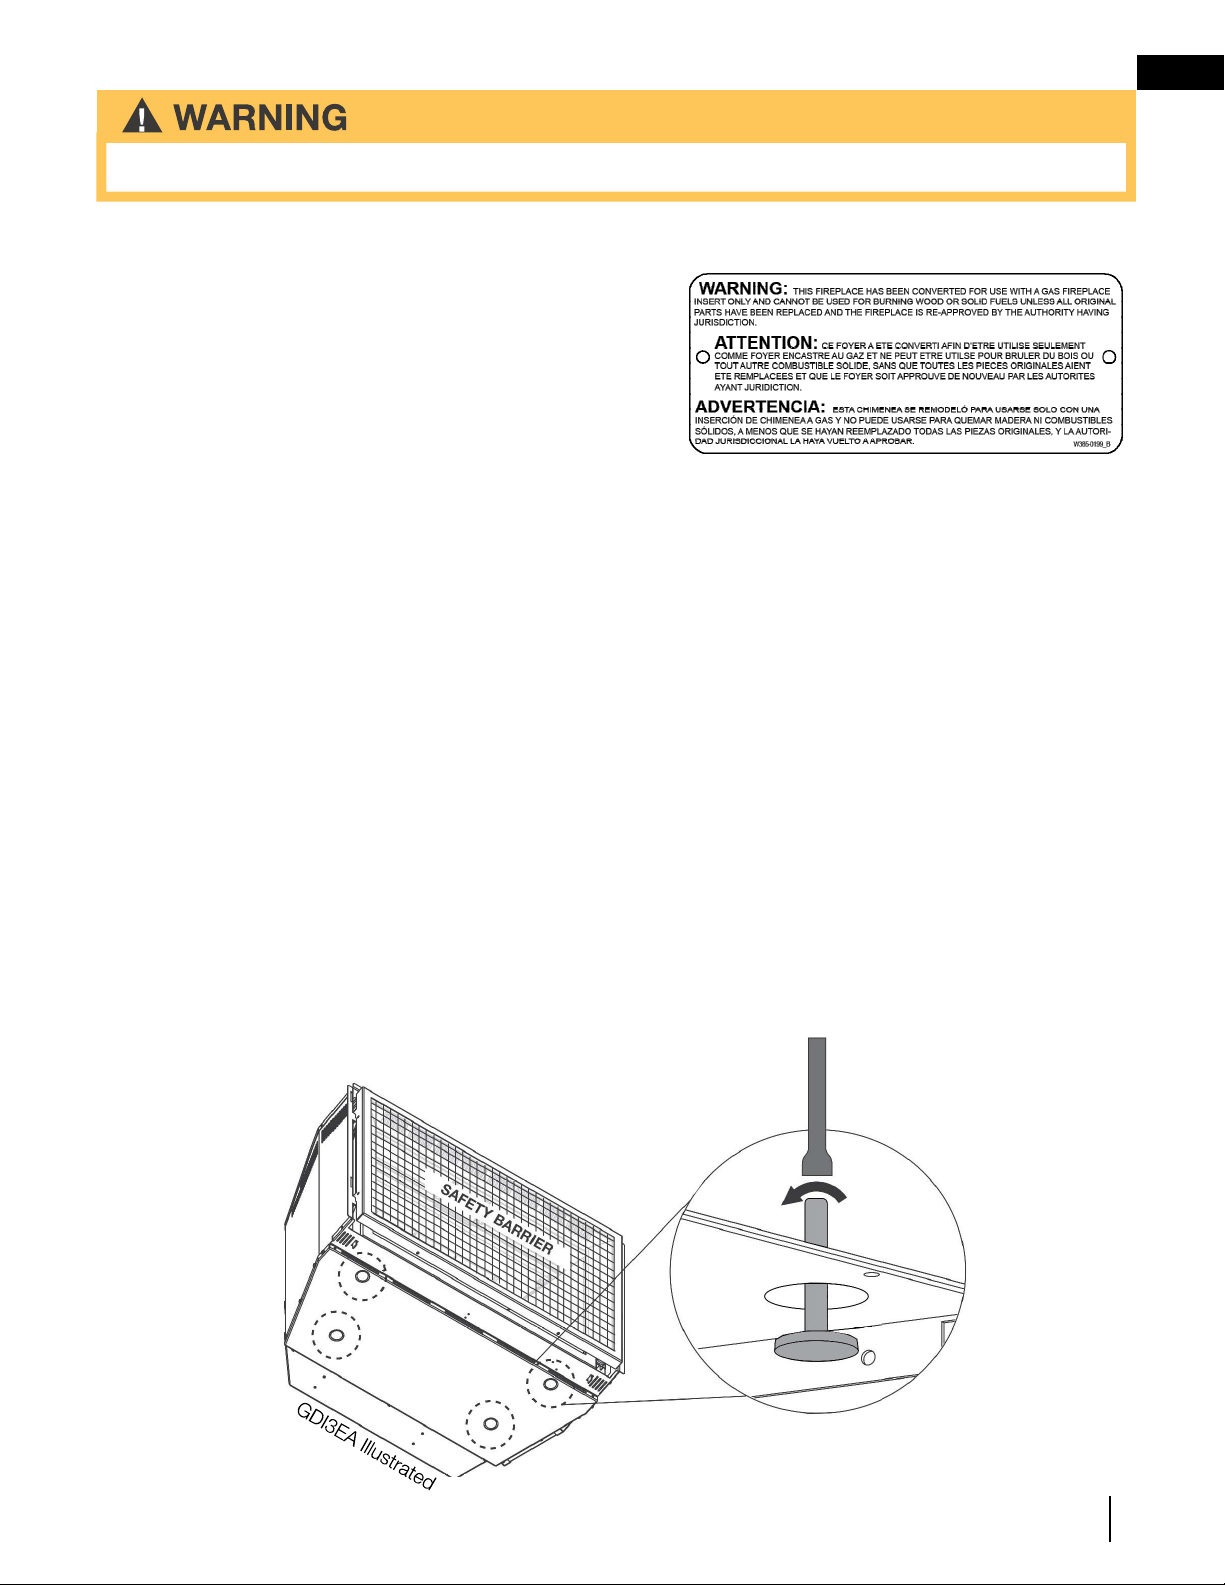
Using screws, attach the appliance warning tag to the inside
of the fi rebox of the appliance into which the insert is being
installed.
The sheet-metal parts of the appliance, in which the gas
appliance insert is to be installed, must not be cut.
If the wood-burning factory-built appliance has no gas access
hole(s) provided, an access hole of 1½ inch (38.1mm) or less
may be drilled through the lower sides or bottom of the appliance in a proper workman like manner. This access
hole must be plugged with non-combustible insulation after the gas supply line has been installed.
Ensure that existing chimney cleanouts fi t properly.
The refractory, glass doors, screen rails, screen mesh and log grates may be removed from the existing appliance
before installing the gas appliance insert.
Smoke shelves, shields and baffl es may be removed if attached by mechanical fasteners.
The ventilation openings in the existing appliance may be obstructed by the backer plates, aluminium trim etc. but
these parts are not to be applied so as to have an airtight seal.
W385-0199
Have an authorized dealer install the appliance. If you install the appliance yourself, have your dealer review your
installation plans and/or installation. Draw out a detailed plan of the installation including dimensions and verify the
dimensions with the requirements listed in this manual.
You may wish to adjust the appliance position slightly to ensure the vent does not intersect with a framing
member. Appliance must be positioned so that no combustibles are within, or can swing within (e.g. drapes,
doors), 48” (121.9cm) of the front of the appliance.
Inserts only: This appliance is equipped with 4 levelling legs. Level the appliance before installing into the fi nal po-
sition, as levelling will eliminate rocking or excessive noise when the fan is in operation. Once the appliance is level,
move it partially into place to allow for all connections to be made. It is not practical to level the appliance once it
has been installed. Determine the required depth prior to installing the appliance and adjust the levelling screws
accordingly.
Loading ...
Loading ...
Loading ...