Loading ...
Loading ...
Loading ...
11
EN
Manual mode:
• Set the cooking in minutes by using the +/- button (see cooking table p. 14 to p. 16).
• Then set the cooking temperature by pressing the temperature/timer button - fig.18, and
set the temperature required using the +/- button (see cooking table p. 14 to p. 16).
• Press start.
NOTE:
• The selected time will be displayed and a minute by minute countdown will begin. Time is selected
and displayed in minutes. Only time remaining under 1 minute will be displayed in seconds.
• The appliance can be paused. Simply press the key. Pressing the key will restart cooking.
• The time can be changed at any time during cooking by using the +/- buttons - fig.17.
• In the event of an error or to delete the selected time, hold down the key for 2 seconds
and re-select the time.
Delayed start
Delayed start can be set using one of the 9 automatic cooking modes or the manual mode:
– Plug in the appliance.
– Press the Temperature/Timer button for 3 seconds. The pictogram will appear, and the
timer will flash 0:00.
– Set the delayed start time using the +/- buttons (Intervals: 10 minutes) (up to a maximum
of 9 hours).
– Press start, and the delayed start timer will begin to count down. Cooking will commence
once the delayed start timer reaches 0:00.
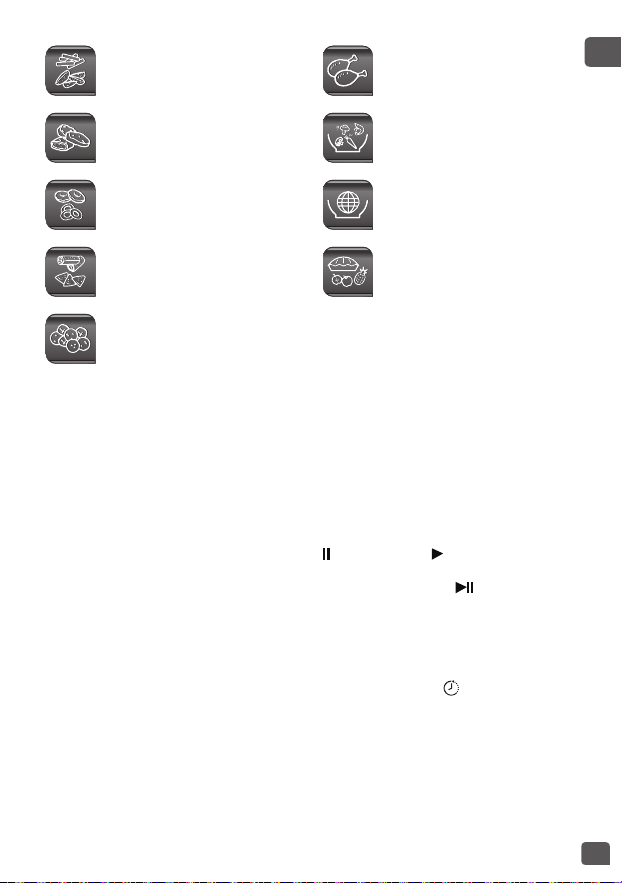
1. Chips and fries e.g potato
chips, vegetable chips, potato
wedges, ...
6. Chicken e.g drumsticks and
wings, ...
2. Breaded snacks e.g chicken
nuggets, breaded king
prawns, ...
7. Wok* e.g. fried rice with
prawns, sauted beef, stir fry
vegetables, ...
3. Battered snacks e.g. battered
onion rings, battered calamari
rings, ...
8. World food* e.g lamb
tajine, kebab, ...
4. Rolls e.g. pastry snacks like
samosa, spring rolls, ...
9. Desserts e.g apples and pear
compote, caramelised nuts, ...
5. Meatballs and vegetable balls
*’1 meal in 1 go’ programs
Loading ...
Loading ...
Loading ...