Loading ...
Loading ...
Loading ...
39
6-3. DETAILED DIAGNOSIS
1. Driving Compartment Test Mode
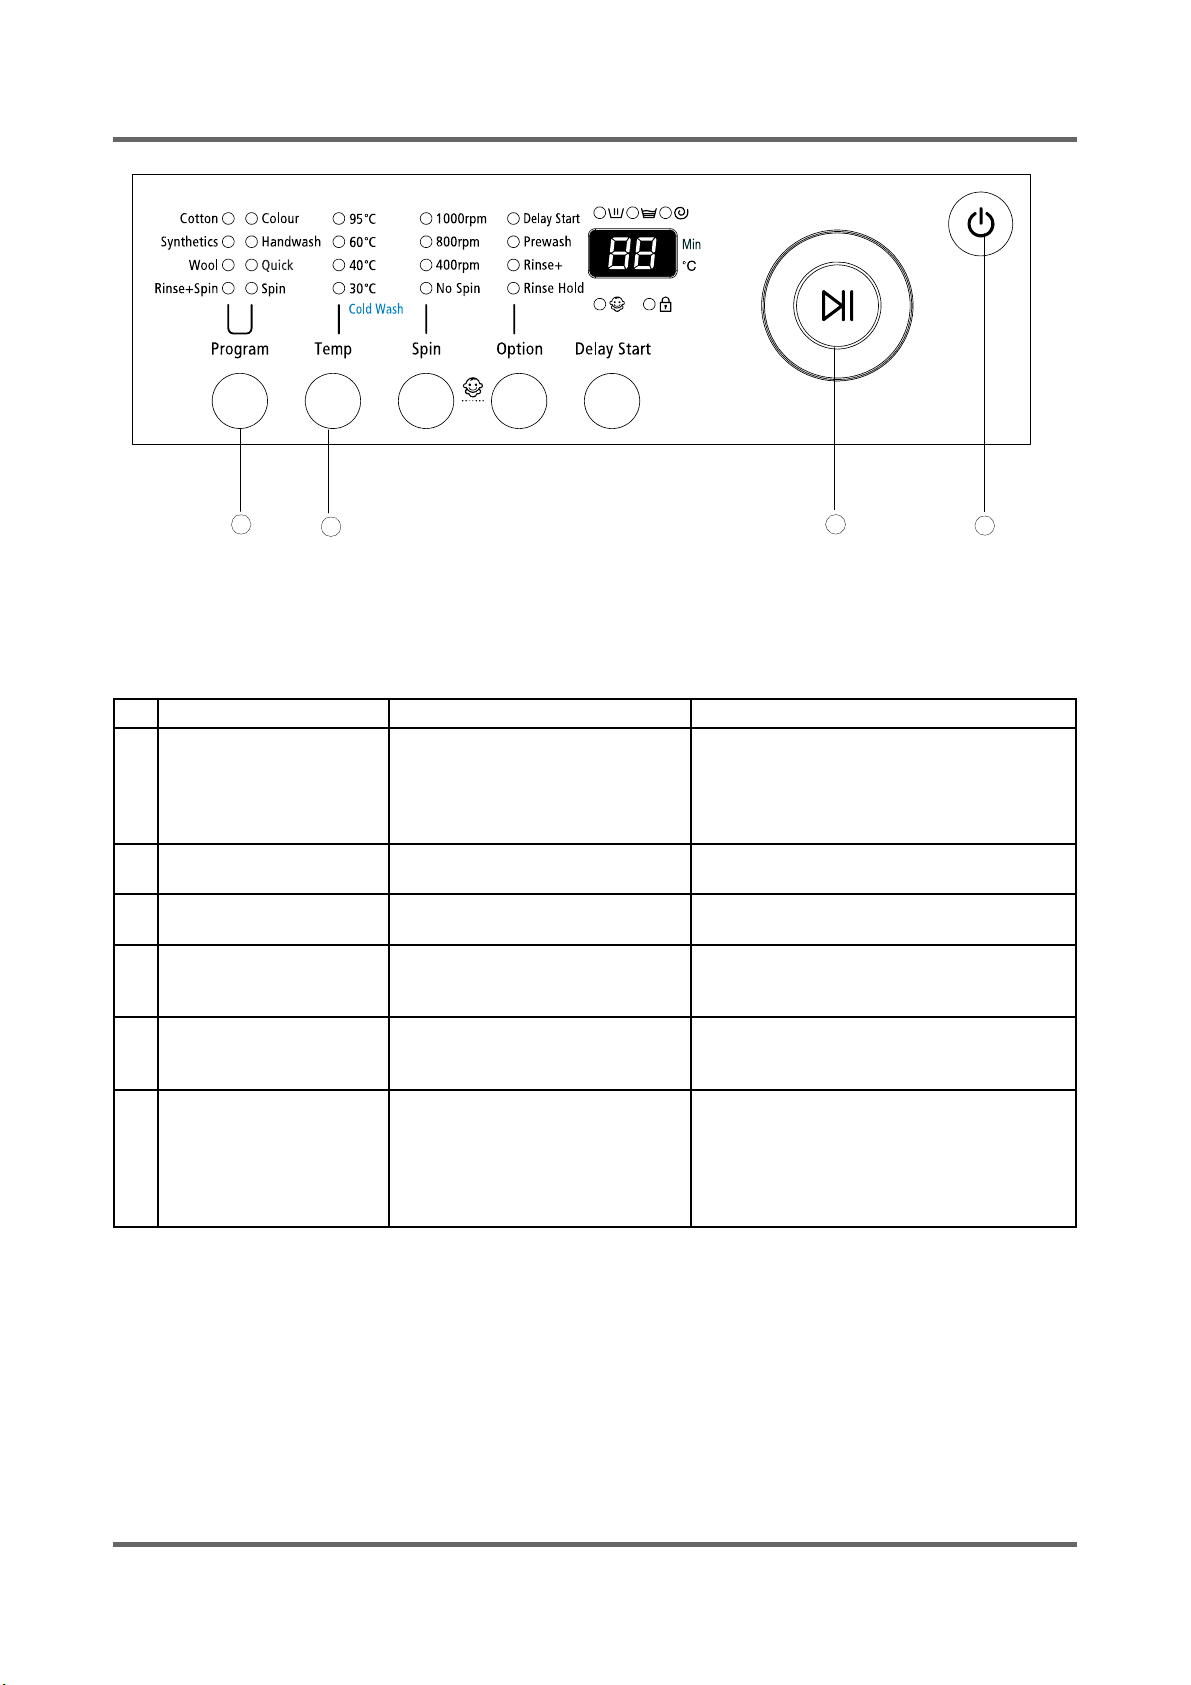
A. Hold down the ķ and the ĸ buttons simultaneously and then press the Power button ĺ.
(All of the LEDs li ght up and the display shows t1 in 3 seconds.)
B. The driving part can be tested when you press the push button dial Ĺ right after entering
into the TEST MODE.
No Check Test Method Description
1 Motor
Check if the motor operates or
check the Motor terminals.
Motor Wiring (Red/Whiteķ/Blue/Pink/
Violet/Whiteĸ)
Resistance between Blue-Red,
Red-Whiteķand Whiteķ-Blue should be
2.0Ω±10%.
2 Water Valve
Check if it supplies water or check
the Water Valve terminals.
Check resistance of the Water Valve
terminals.
3 Drain Pump
Check if it drains normally or check
the pump terminals.
Check resistance of the Drain Pump
terminals.
4 Door S/W
Check if it works at the Cotton
course or check the Door S/W
terminals.
Check resistance of the Door S/W
terminals.
5 Water Pressure Sensor
Refer to Page 15.
(Water Level Table at each
Course)
Check frequency (Hz) between the Water
Pressure Sensor terminals.
6 MAIN PCB
1. Press the buttons on the
display.
Check if all of the LEDs work.
2.Check if voltage between the
white and the black terminals
is 220~240V.
1.Replace the SUB PCB.
2.If not, replace the Noise Filter.
1
2
3
4
Loading ...
Loading ...
Loading ...