Loading ...
Loading ...
EN
3
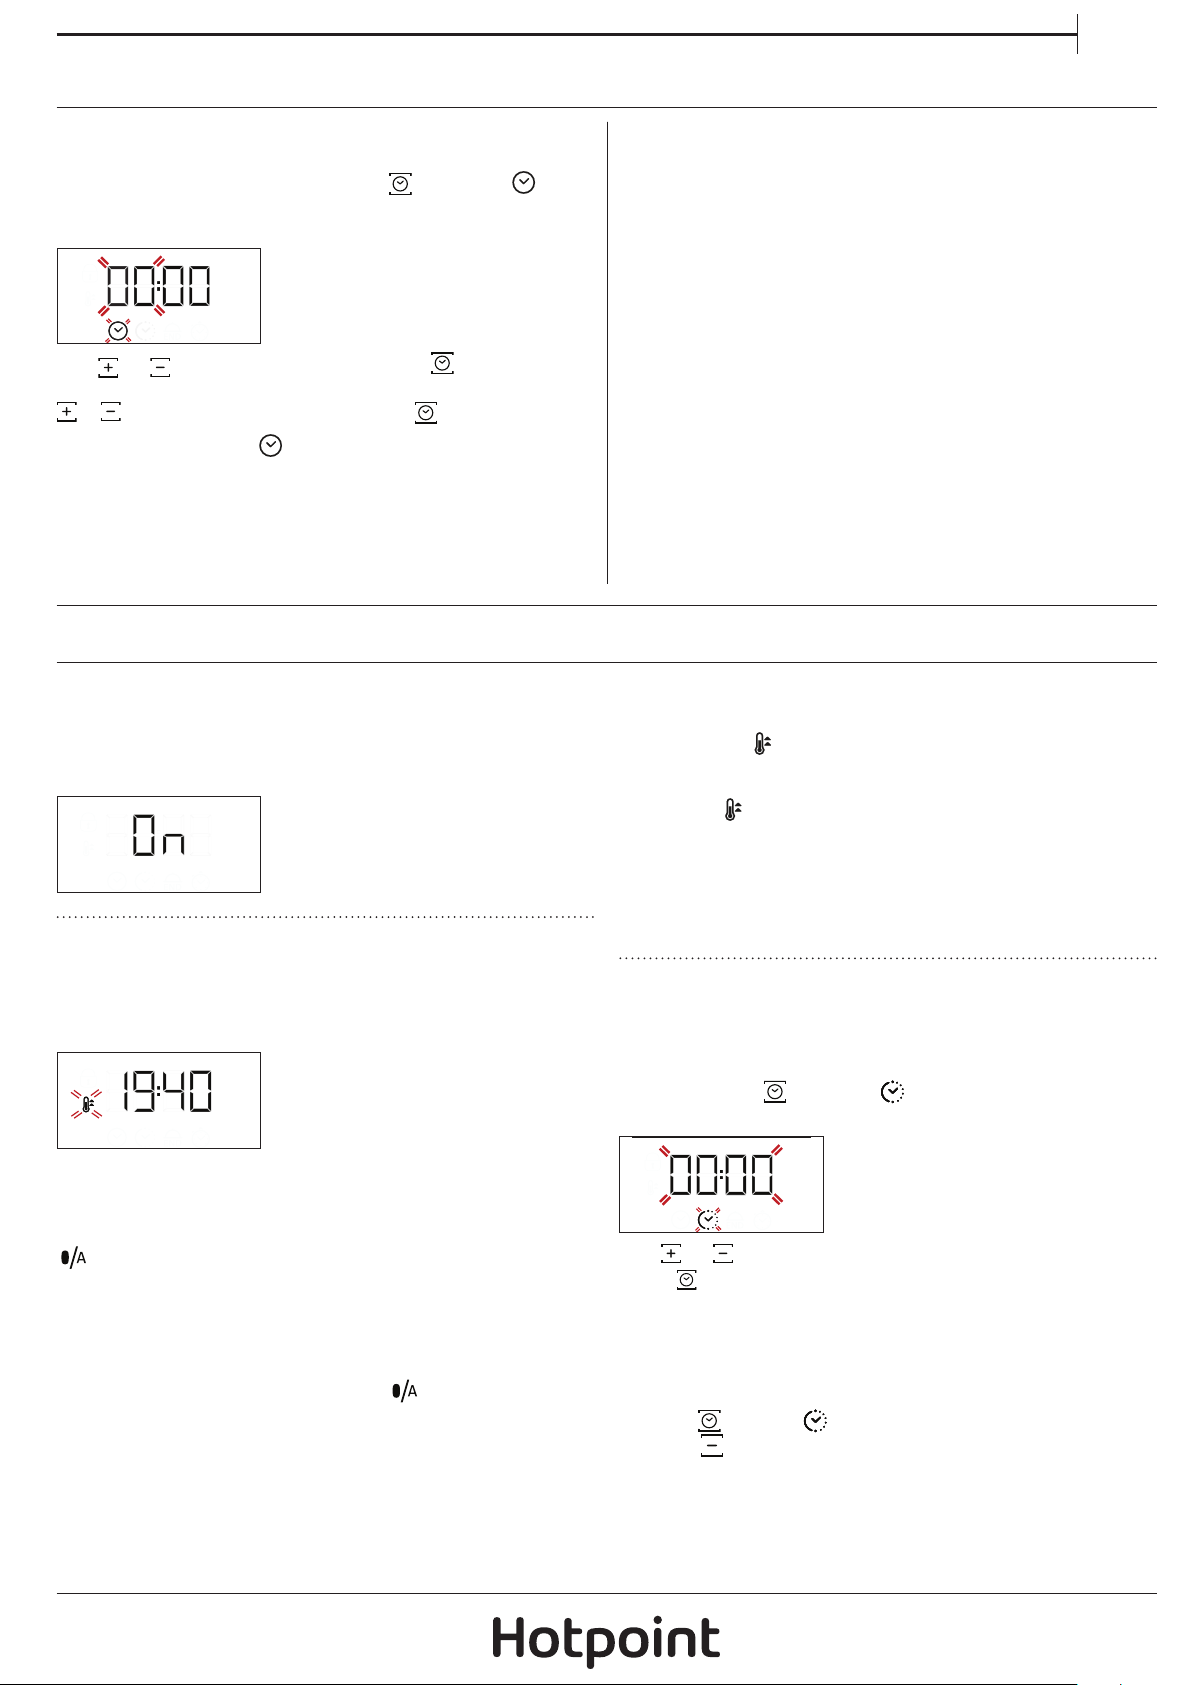
1. SETTING THE TIME
You will need to set the time when you switch on the
appliance for the first time: Press
until the icon
and the two digits for the hour start flashing on the
display.
Use or to set the hour and press to confirm.
The two digits for the minutes will start flashing. Use
o to set the minutes and press to confirm.
Please note: When the icon is ashing, for example
following lengthy power outages, you will need to reset the
time.
2. HEAT THE OVEN
A new oven may release odours that have been left
behind during manufacturing: this is completely
normal.
Before starting to cook food, we therefore
recommend heating the oven with it empty in order
to remove any possible odours.
Remove any protective cardboard or transparent lm
from the oven and remove any accessories from inside it.
Heat the oven to 250 °C for about one hour,
preferably using the “Multilevel” function. The oven
must be empty during this time.
Follow the instructions for setting the function
correctly.
Please note: It is advisable to air the room after using the
appliance for the rst time.
USING THE APPLIANCE FOR THE FIRST TIME
1. SELECT A FUNCTION
To select a function, turn the selection knob to the
symbol for the function you require: the display will
light up and an audible signal will sound.
2. ACTIVATE A FUNCTION
MANUAL
To start the function you have selected, turn the
thermostat knob to set the temperature you require.
Please note: During cooking you can change the function
by turning the selection knob or adjust the temperature by
turning the thermostat knob.
The function will not start if the thermostat knob will be on
. You can set the cooking time, cooking end time (only if
you set a cooking time) and a timer.
AUTOMATIC
To start the automatic function you have selected
(“Bread” or “Pastry”), keep the thermostat knob at the
position for automatic functions (
).
Please note: You can set the cooking end time and timer.
3. PREHEATING
Once the function starts, an audible signal and a
flashing icon
on the display indicate that the
preheating phase has been activated.
At the end of this phase, an audible signal and the
fixed icon
on the display will indicate that the oven
has reached the set temperature: at this point, place
the food inside and proceed with cooking.
Please note: Placing the food in the oven before preheating
has nished may have an adverse eect on the nal cooking
result.
. PROGRAMMING COOKING
You will need to select a function before you can start
programming cooking.
DURATION
Keep pressing
until the icon and “00:00” start
flashing on the display.
Use or to set the cooking time you require, then
press
to confirm.
Activate the function by turning the thermostat knob
to the temperature you require: an audible signal will
sound and the display will indicate that cooking is
complete.
Notes: To cancel the cooking time you have set, keep
pressing until the icon starts ashing on the display,
then use to reset the cooking time to “00:00”. This cooking
time includes a preheating phase.
DAILY USE
Loading ...
Loading ...
Loading ...