Loading ...
Loading ...
Loading ...
BEFORE EMBROIDERING
Getting Ready
Basic operations B-63
B
1
b
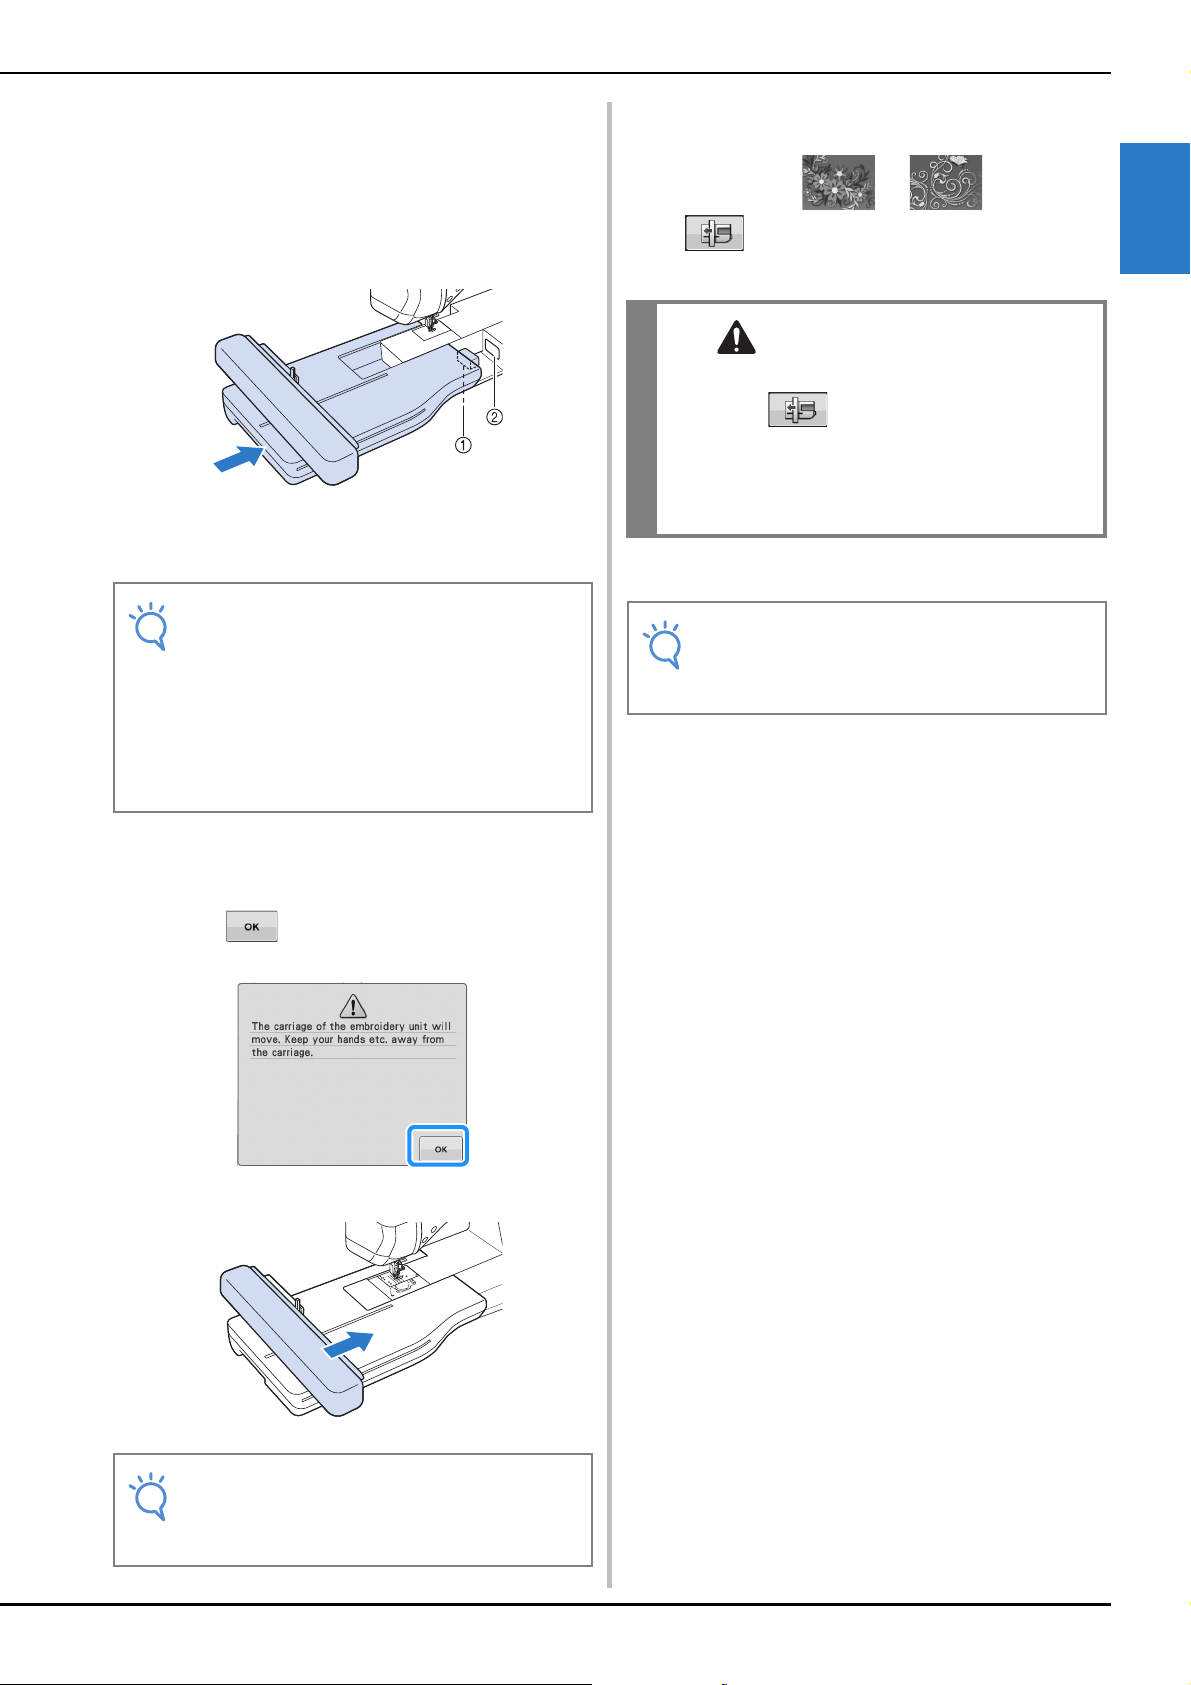
Insert the embroidery unit connection into
the machine connection port. The spring
hinge on the connection port cover will
allow easy access to the port. Push lightly
on the connection port cover until the unit
clicks into place.
a Embroidery unit connection
b Machine connection port
c
Turn the main power to ON.
→ The following message will appear.
d
Press .
→ The carriage will move to the initialization position.
■ Removing the Embroidery Unit
a
Press either or , then press
.
→ The carriage will move to the removal position.
b
Turn the main power to OFF.
Note
• Be sure there is no gap between the
embroidery unit and the sewing machine. If
there is a gap, the embroidery patterns will
not embroider with the correct registration.
• Do not push on the carriage when installing
the embroidery unit onto the machine.
Moving the carriage may damage the
embroidery unit.
Note
• Either “Embroidery” screen or “Embroidery
Edit” screen appears, depending on the
setting selected in the settings screen.
CAUTION
• Always remove the embroidery frame before
pressing . Otherwise, the frame may
strike the embroidery foot, and possibly cause
injury.
• The embroidery unit will not fit in the storage
case if this step is not done.
Note
• Be sure to turn off the machine before
removing the embroidery unit, otherwise
damage to the machine may result.
Loading ...
Loading ...
Loading ...