
Loading ...
Loading ...
Loading ...
EN 44
7. After completion of value entry, press [OK].
8. A confirmation screen will appear. Select “Yes”,
then press [OK].
9. Select “Subnet Mask”, “Default Gateway”,
“DNS Auto Configuration”, “Primary DNS” and
“Secondary DNS” in turn, and enter each address
number with cursor buttons and number buttons,
then press [OK].
• Enter the DNS addresses provided by your Internet
provider.
• If the DNS address is unknown, check the DNS
address of other devices (e.g. PC connected via LAN
cable) and assign the same DNS address.
HDMI
Vide
o
Audio
3D
L
anguage
Network
Ratin
g
s
S
yste
m
Connection Test
IP Address Auto Conguration
IP Address
Subnet Mask
Default Gateway
DNS Auto Conguration
Primary DNS
Secondary DNS
----
O
192.168.XXX.XXX
255.255.255. 0
192.168.XXX.XXX
O
192.168.XXX.XXX
---.---.---.---
IP Address/DNS Settings
L
10. After completing this series of settings, perform the
“Connection Test”.
If your Internet connection requires Proxy Server
settings, perform the following:
1. Select “Network” “Network Settings”, then press
[OK].
2. Use [ K / L ] to select “Proxy Server Settings”, then
press [OK].
3. Use [ K / L ] to select “Proxy Address”, then press
[OK].
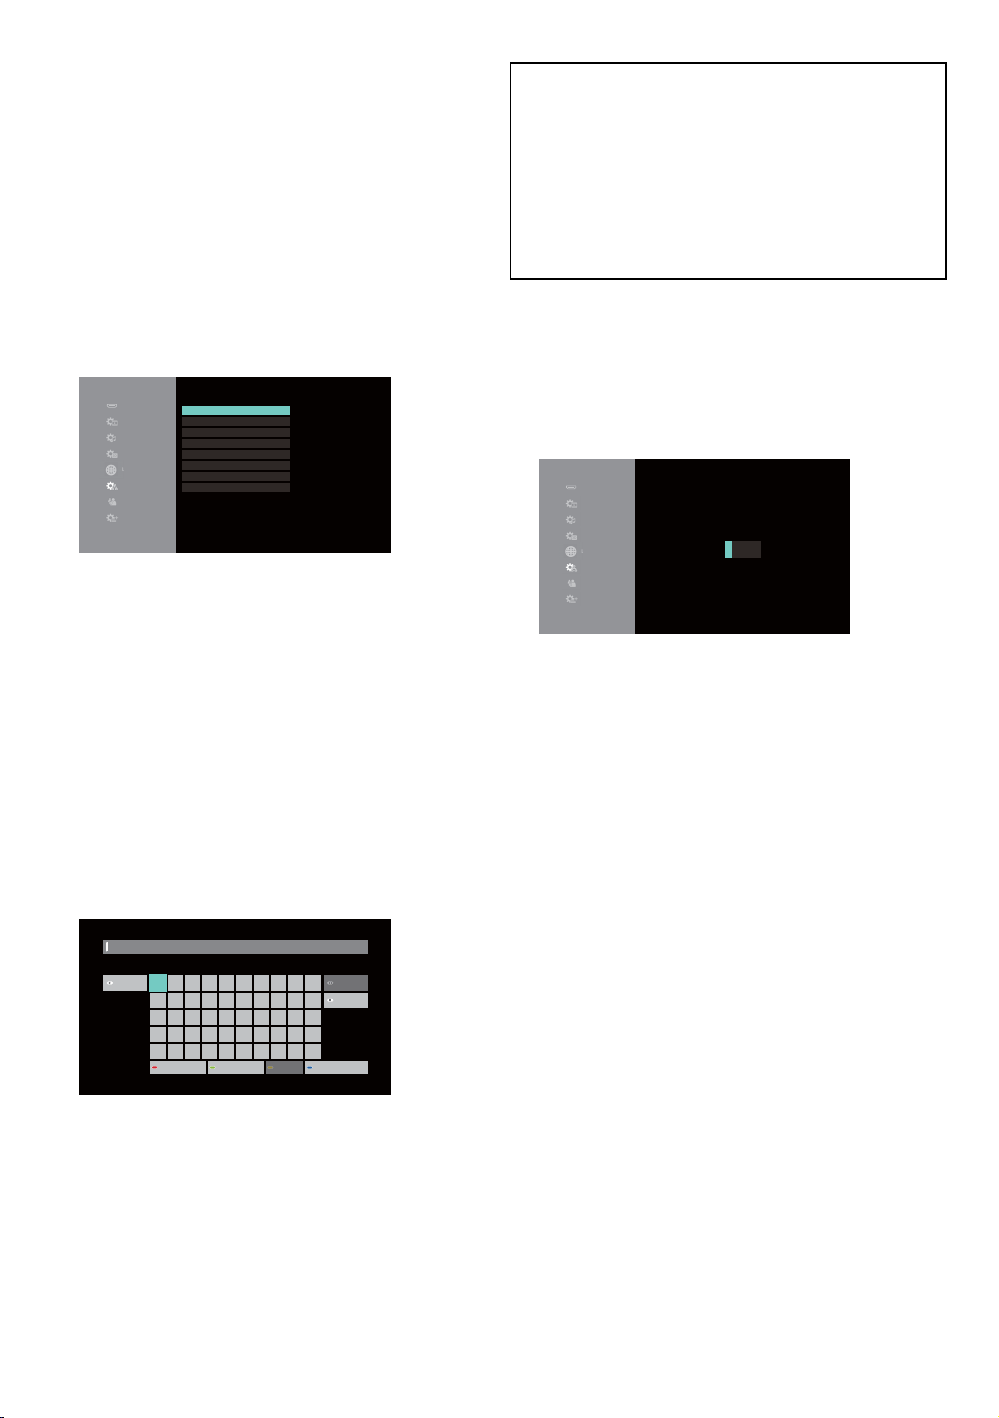
4. The “Proxy Address” setting screen will appear.
Enter a proxy address with cursor buttons, number
buttons and color key.
1 2
Shift
3 4 5 6 7 8 9 0
q w e r t y u i o p
a s d f g h j k l .
z x c v b n m @ * #
Space
/ : _ - , ; ‘ “
Delete
Finish
Symbols Alphanumeric Other Characters
Proxy Address
[ K / L / 0 / 1 ] : Move the highlight.
[OK] : Enter the highlighted number / letter.
*[Red] : Switches the Software Keyboard to
Symbol mark mode.
[Green] : Switches the Software Keyboard to
Number/Alphabet mode.
*[Blue] : Switches the Software Keyboard to
External character mode.
* These buttons can be used in other network settings.
5. After completion of address entry, select “Finish”,
then press [OK].
6. If necessary, select “Proxy Port Number” using
[ K / L ], then press [OK]
7. The “Proxy Port Number” setting screen will
appear. Enter a number using [ K / L / 0 / 1 ].
HDMI
V
ide
o
A
u
d
i
o
3
D
L
anguage
Network
Ratin
g
s
Sy
ste
m
Proxy Port Number
Input Proxy Server Port Number.
00000
L
8. After completion of value entry, press [OK].
9. A confirmation screen will appear. Select “Yes”,
then press [OK].
10. Use [ K / L ] to select “Connection Test”, then press
[OK].
11. Press [OK] to go back to the setup menu, or press
[ Q (home)] to exit.
Loading ...
Loading ...
Loading ...