Loading ...
Loading ...
Loading ...
COFFEE MAKER INSTALLATION GUIDE|3
2PARTS SUPPLIED
3PRIOR TO INSTALLATION
4AFTER INSTALLATION
Screws
(7)
Spacers
(4) for side
(4) for bottom
●
The countertop and coffee maker cavity are square and level, and are the required dimensions.
●
The installation will comply with all clearance requirements and applicable standards and regulations.
●
The isolating switch will be easily accessible to the customer with the coffee maker installed.
●
The electrician provides sufficient free length of power supply cable to reach from the bottom rear of the cavity
to at least 1.5m in front of the bottom edge of the opening.
●
The cable may enter the cavity from the side, top or bottom, but top entry must be at the rear of the cavity.
●
The coffee maker connection socket (if fitted) is outside the cavity if the oven is flush to the rear wall.
●
The coffee maker will rest on a surface that can support its weight.
●
The height from the floor suits the customer.
●
You consult local building authorities and by-laws if in doubt regarding installation.
IMPORTANT!
Some environmental factors and cooking habits can cause condensation in and around the coffee maker during use.
To protect surrounding cabinetry from possible damage caused by frequent or excessive condensation, we recommend
moisture-proofing the cavity.
IMPORTANT!
Take extra care not to damage the lower trim of the coffee maker during installation. The trim is important for correct air circulation and allows the door to open and close without obstruction.
The manufacturer does not accept any responsibility for damage resulting from incorrect installation.
●
The coffee maker can be used fully without obstruction.
●
The power supply cable does not touch any hot metal parts.
●
The isolating switch is easily accessible to the customer with the coffee maker installed.
●
You complete the ‘Final checklist’ at the end of the installation.
●
If, after following the instructions given, correct performance cannot be achieved, please contact your nearest Fisher & Paykel Authorised Service Center, Customer Care, or
contact us through our local website listed at the end of this document.
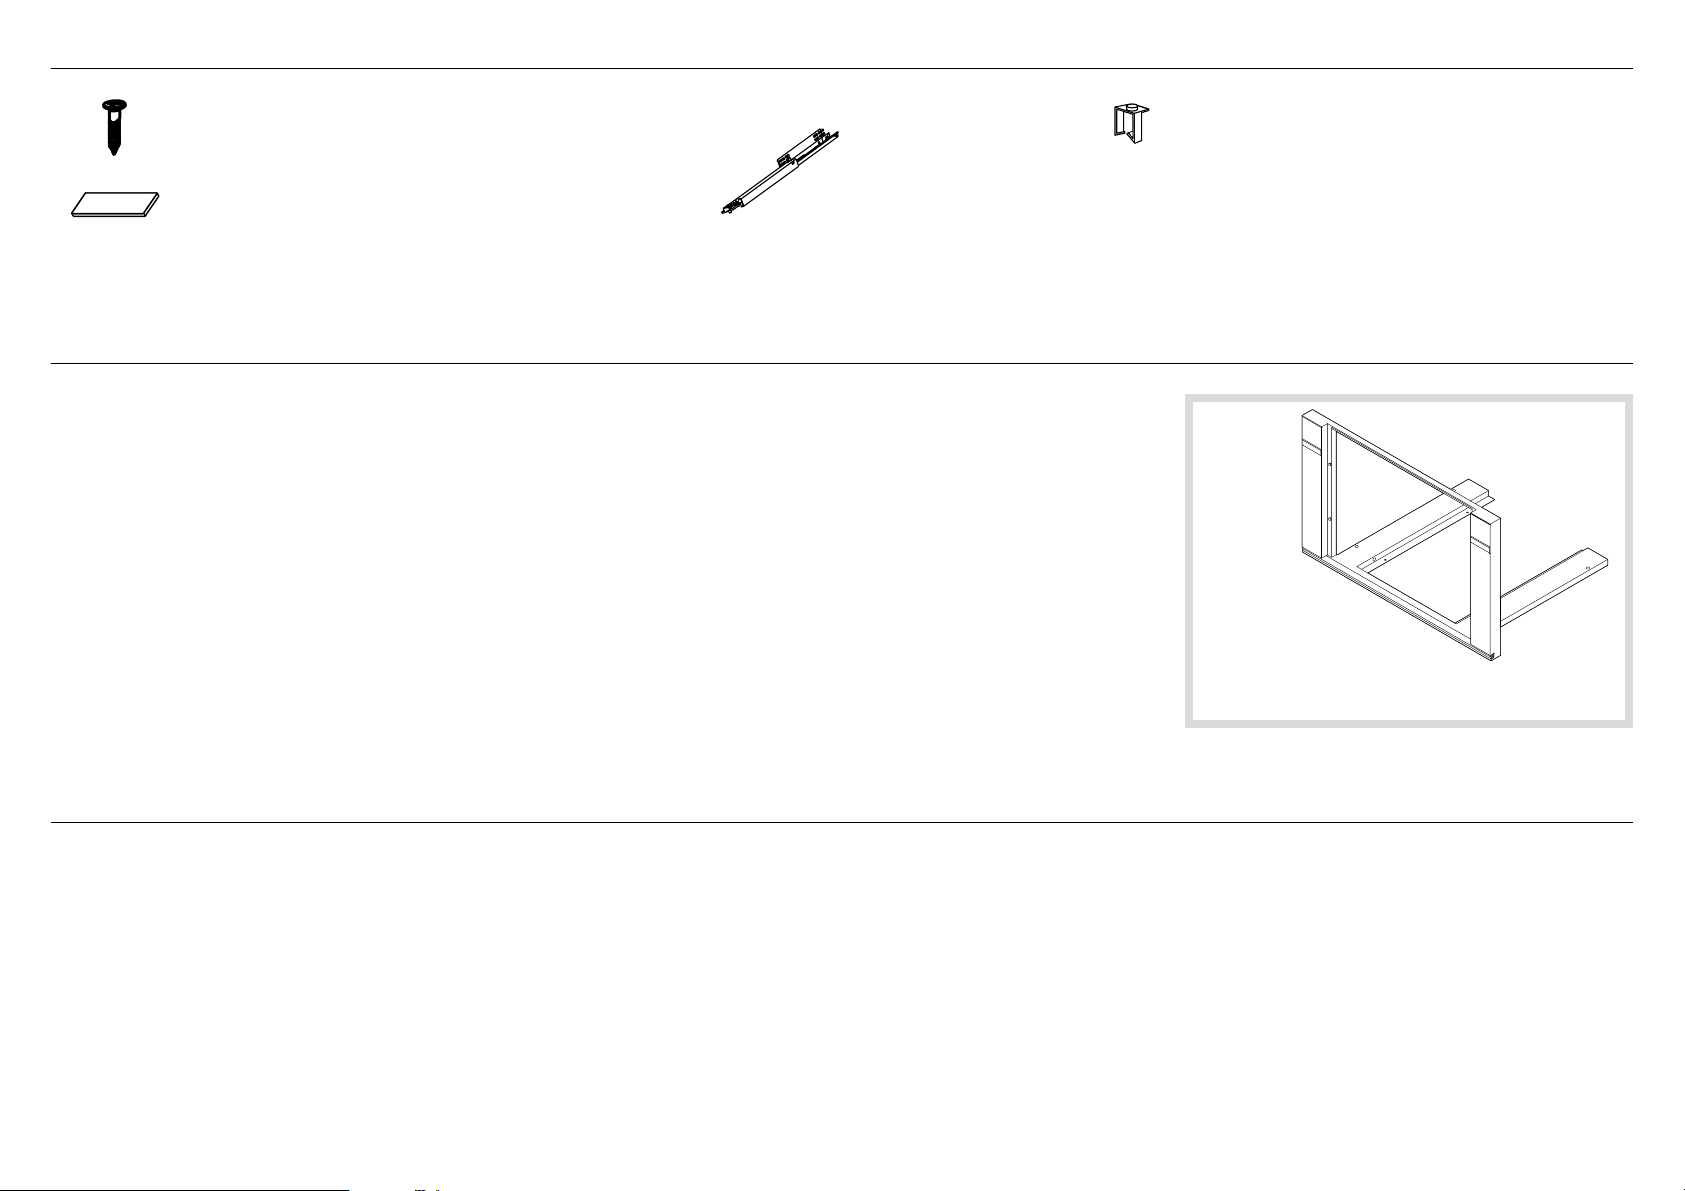
Rails (2)
Clip (1)
Optional Trim kit installation
If you are using a 762mm trim kit, refer
to the separate Trim Kit Installation Guide.
Loading ...
Loading ...
Loading ...